
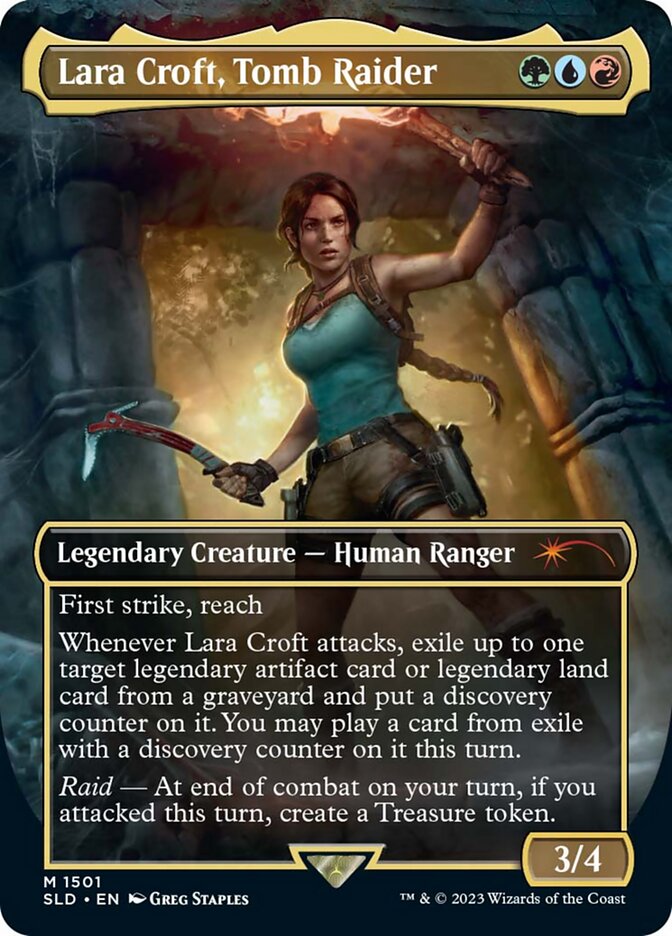
Lara Croft, Tomb Raider $48.76
$48.76Legendary Creature — Human Ranger



High Synergy Cards
The highest-synergy picks for Lara Croft, Tomb Raider's Equipment builds — cards that lean hardest into the Equipment theme.
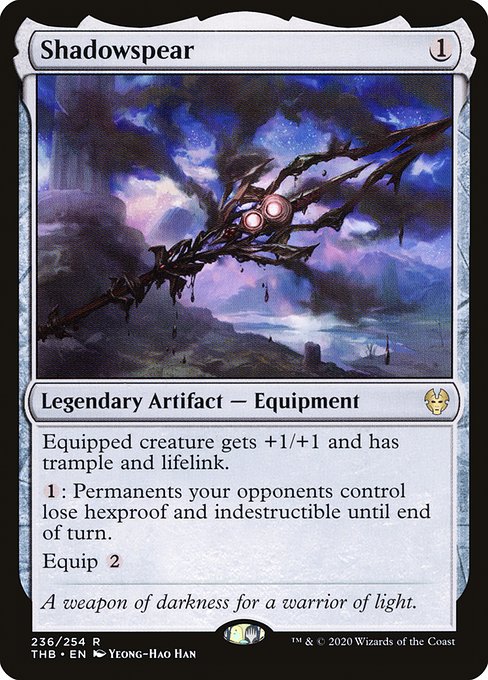 Shadowspear
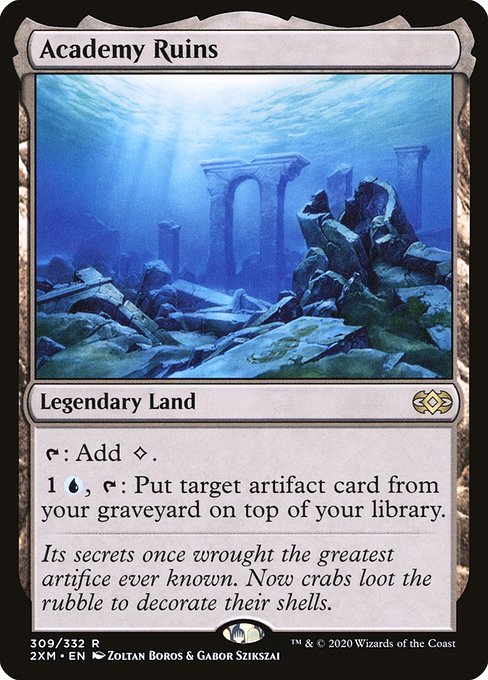 Academy Ruins
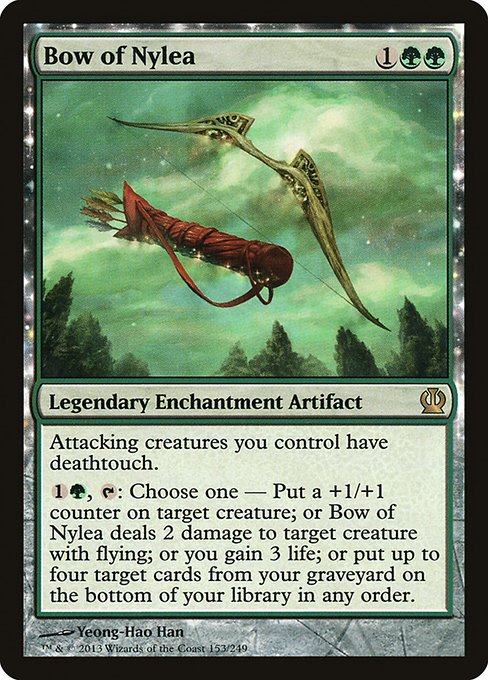 Bow of Nylea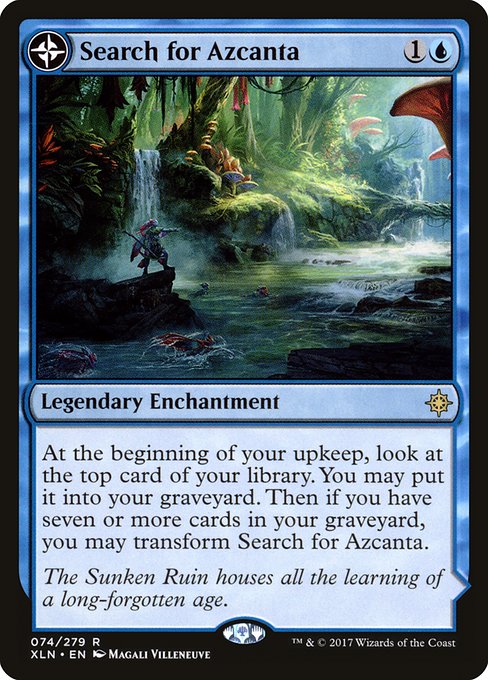
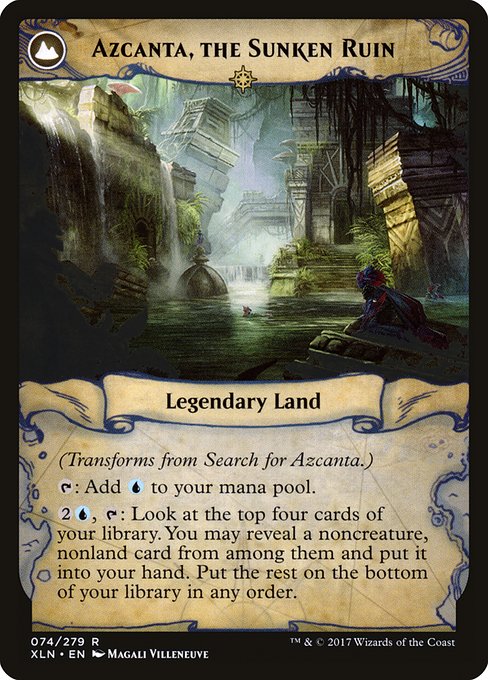 Search for Azcanta
 Emry, Lurker of the Loch
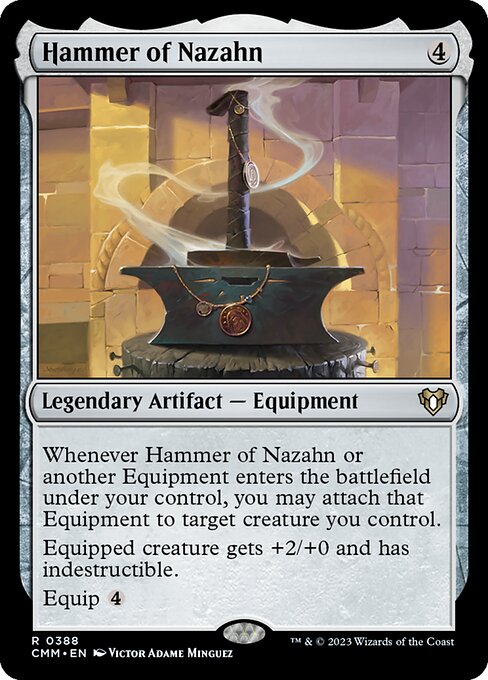 Hammer of Nazahn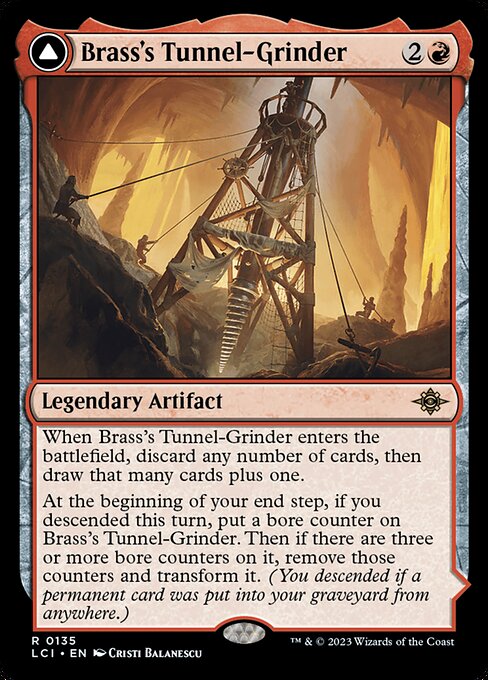
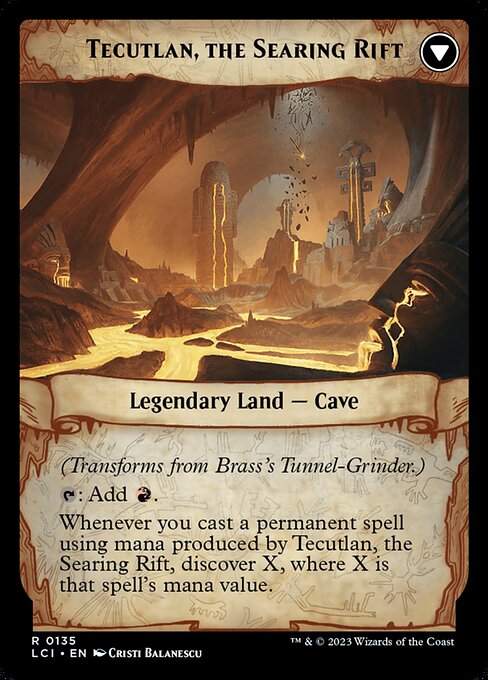 Brass's Tunnel-Grinder
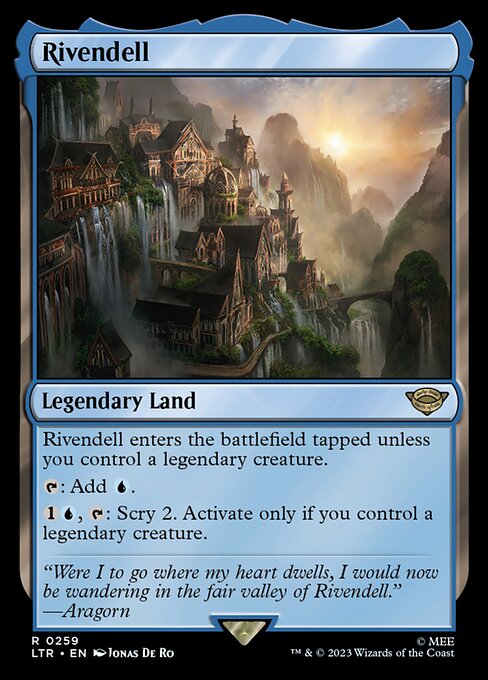 Rivendell
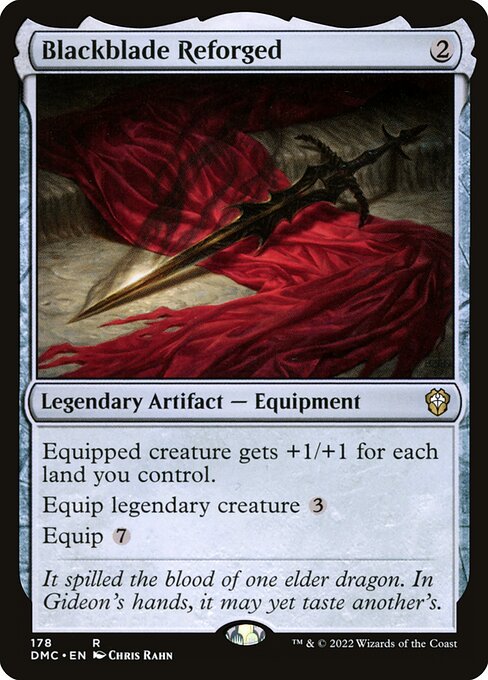 Blackblade Reforged
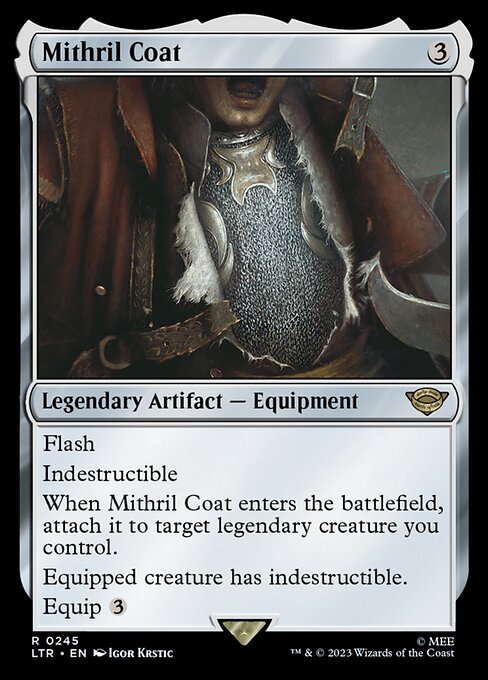 Mithril Coat
Top Cards
The staple cards most Lara Croft, Tomb Raider Equipment decks run as their core.
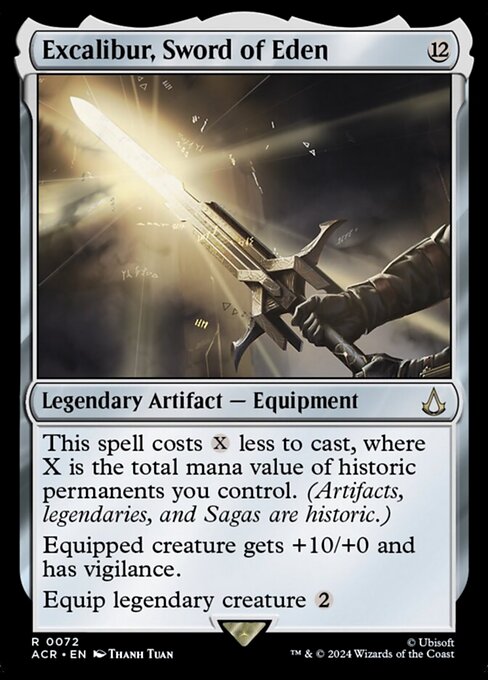 Excalibur, Sword of Eden
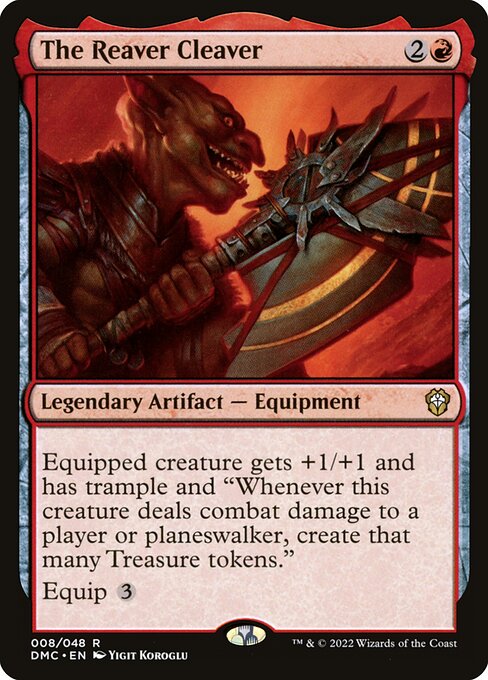 The Reaver Cleaver
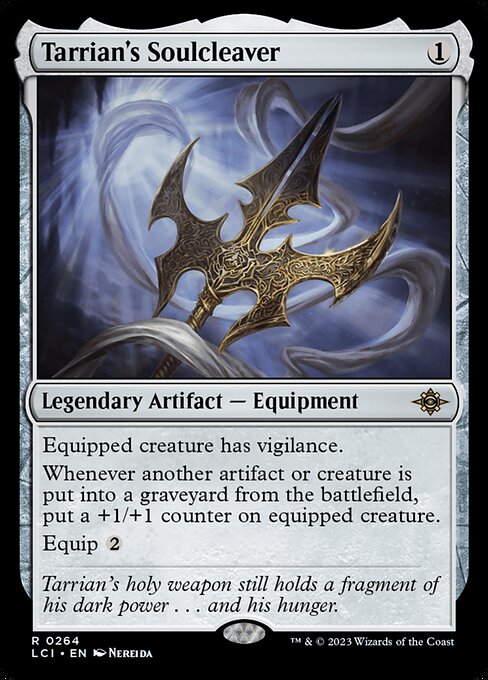 Tarrian's Soulcleaver
 Jhoira, Weatherlight Captain
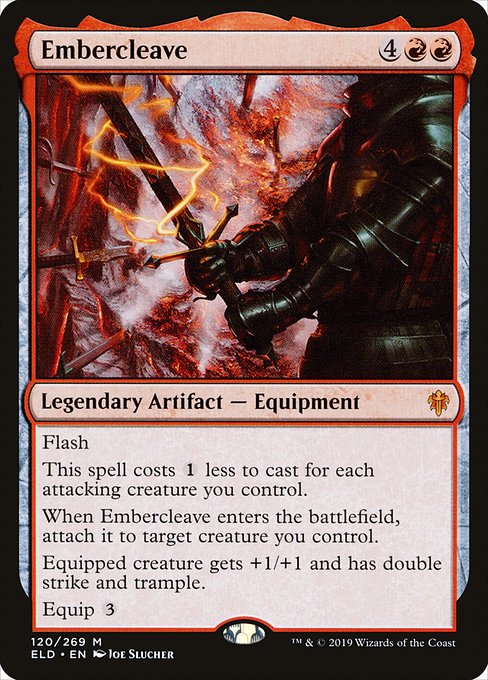 Embercleave
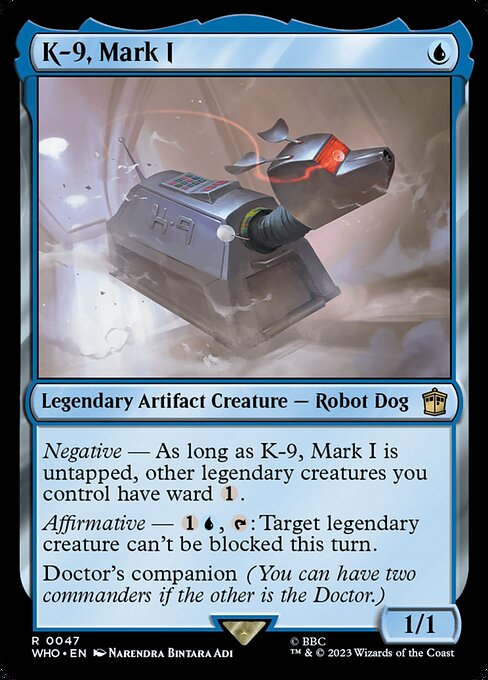 K-9, Mark I
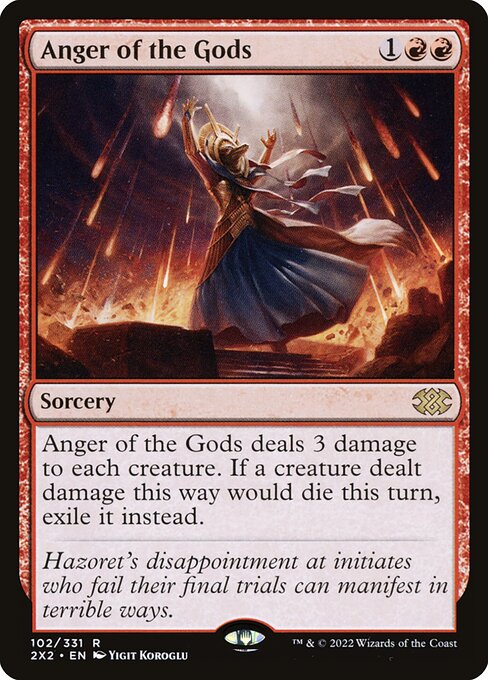 Anger of the Gods
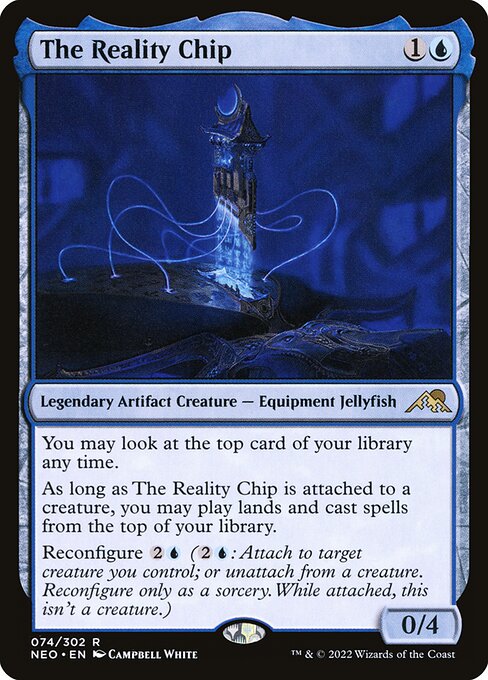 The Reality Chip
 Faithless Looting
 Swiftfoot Boots
Game Changers
High-impact bombs that can take over a Lara Croft, Tomb Raider Equipment game on their own.
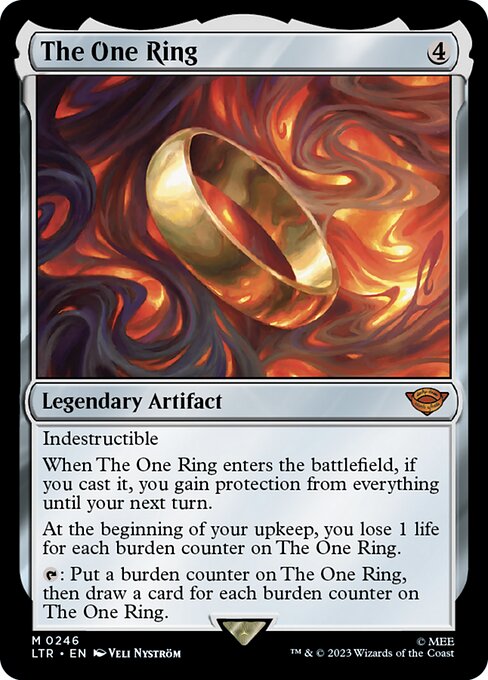 The One Ring
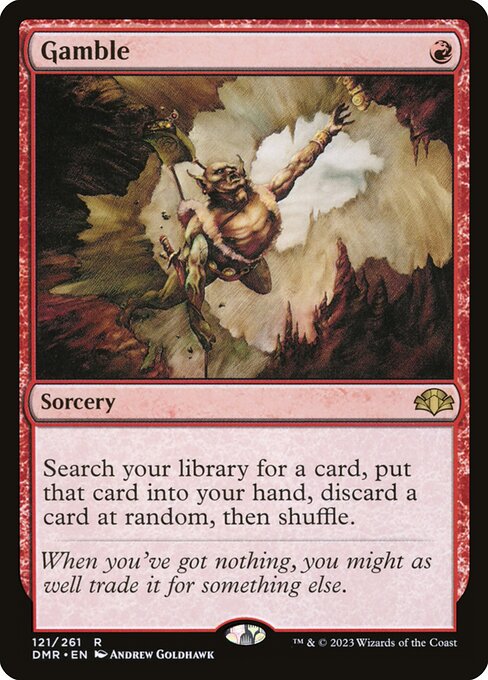 Gamble
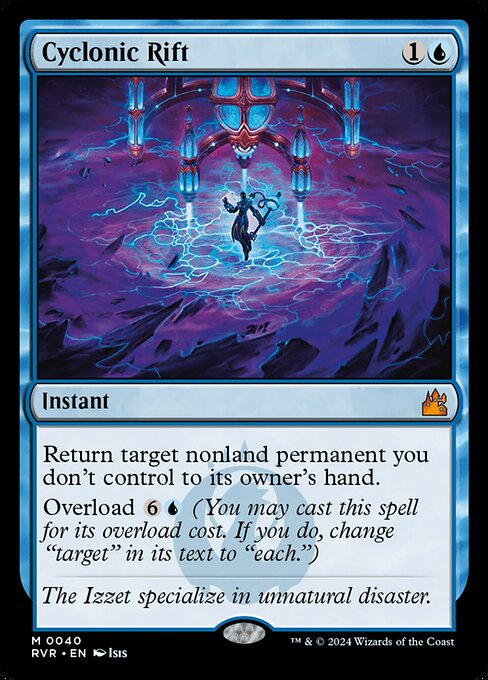 Cyclonic Rift
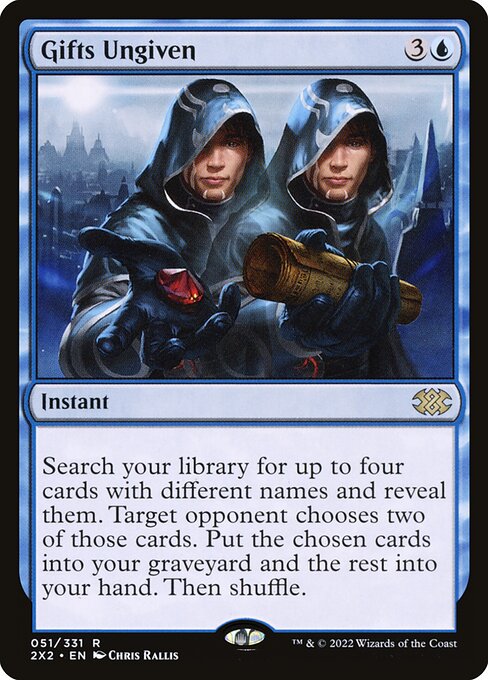 Gifts Ungiven
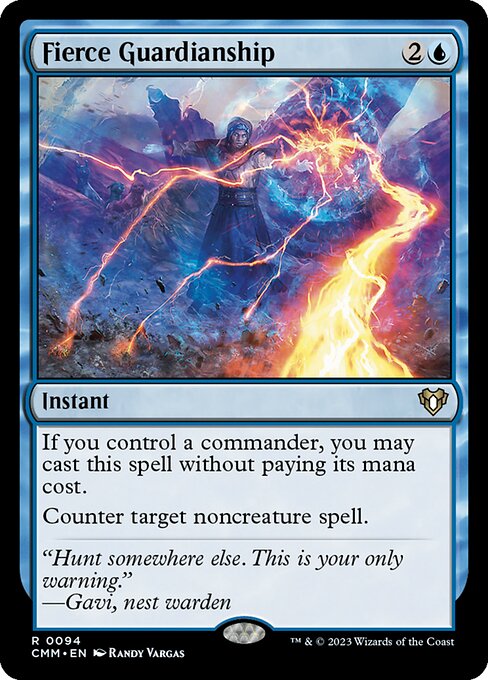 Fierce Guardianship
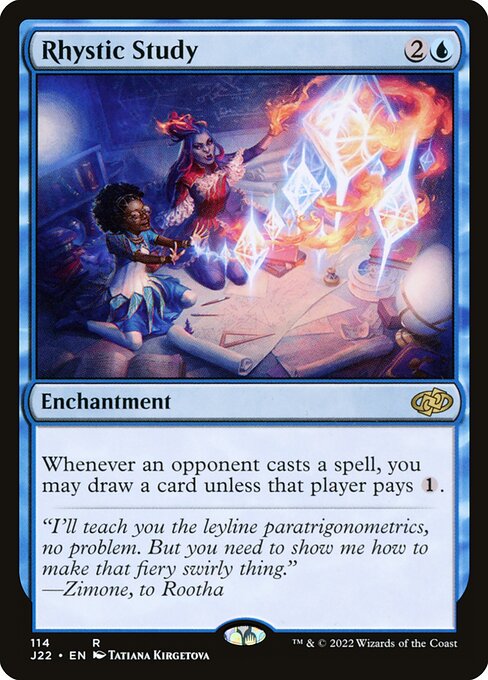 Rhystic Study
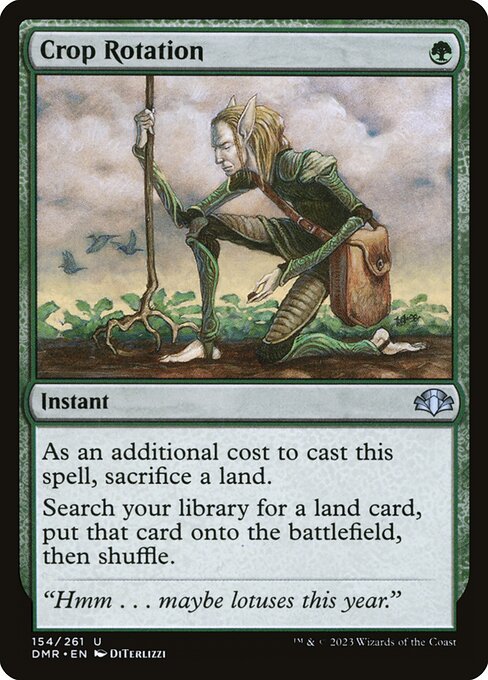 Crop Rotation
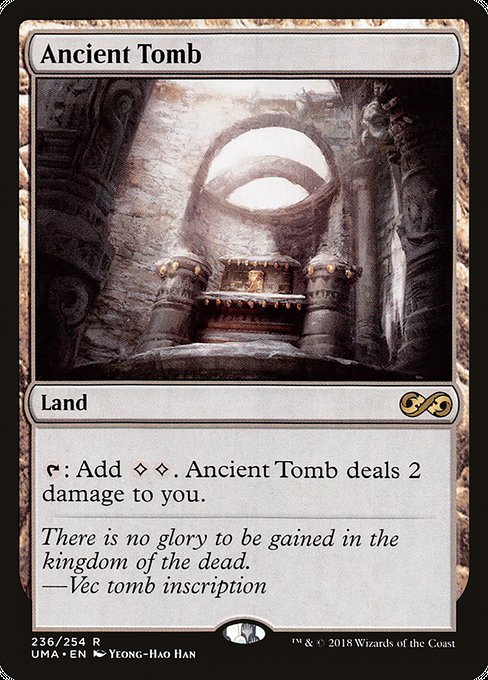 Ancient Tomb
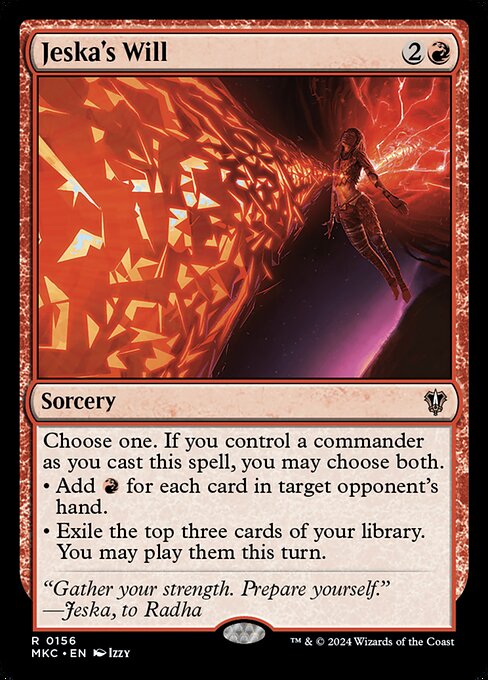 Jeska's Will
Creatures
Creatures that carry the Equipment plan in Lara Croft, Tomb Raider decks, from early pressure to payoff.
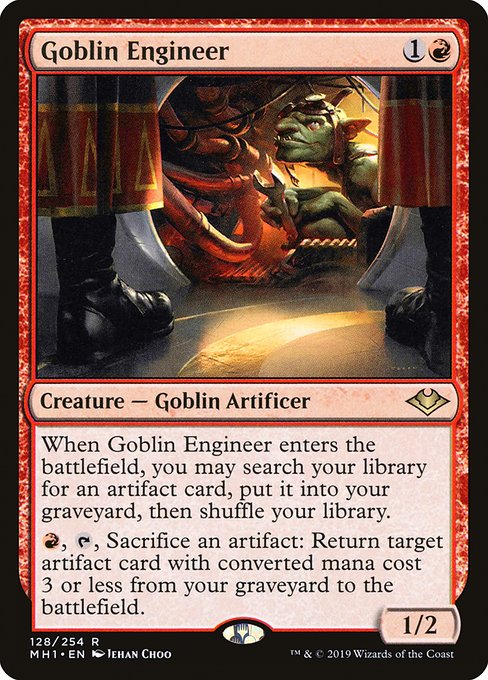 Goblin Engineer
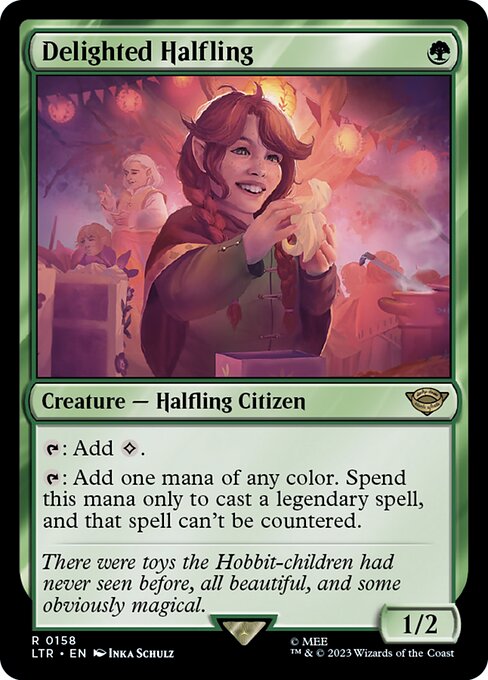 Delighted Halfling
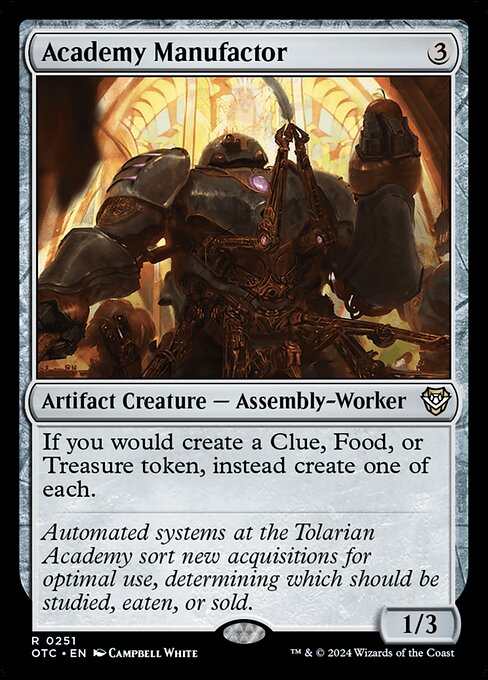 Academy Manufactor
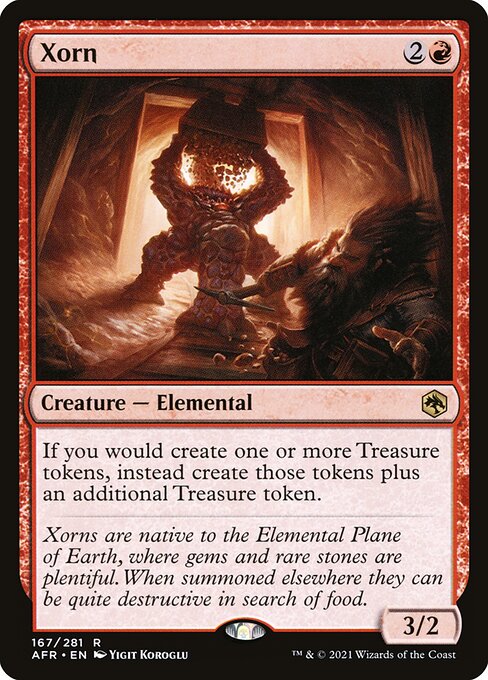 Xorn
Xorn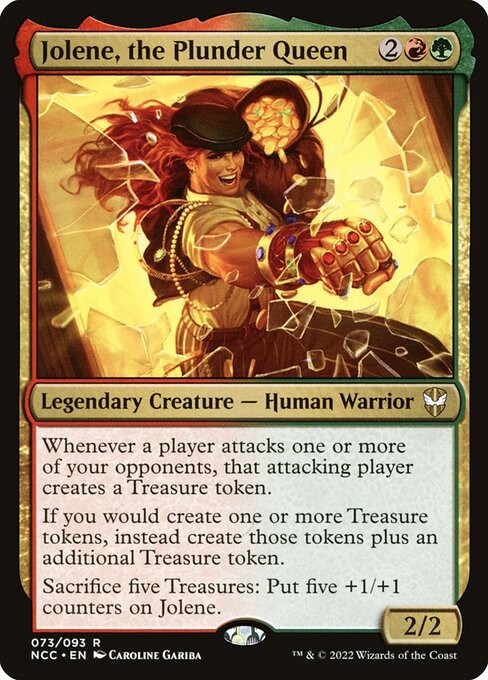 Jolene, the Plunder Queen
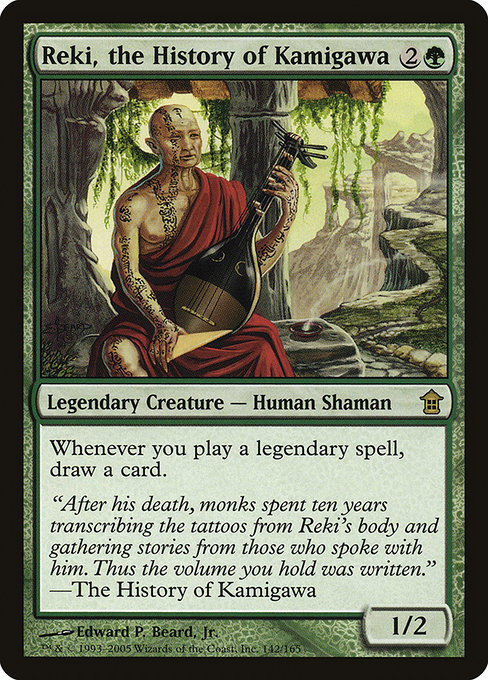 Reki, the History of Kamigawa
 Etherium Sculptor
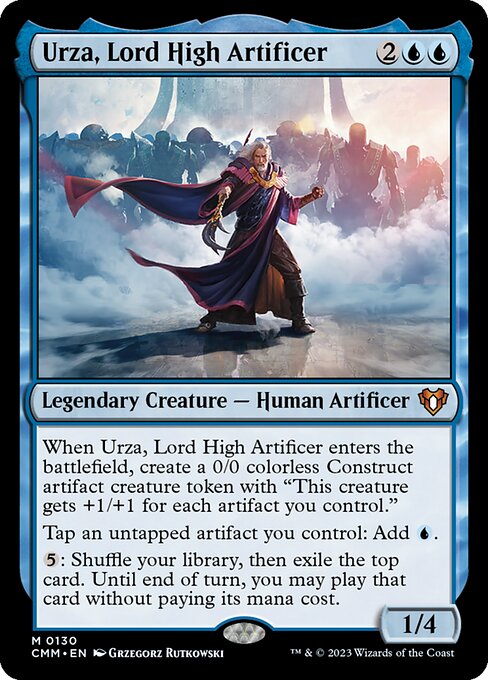 Urza, Lord High Artificer
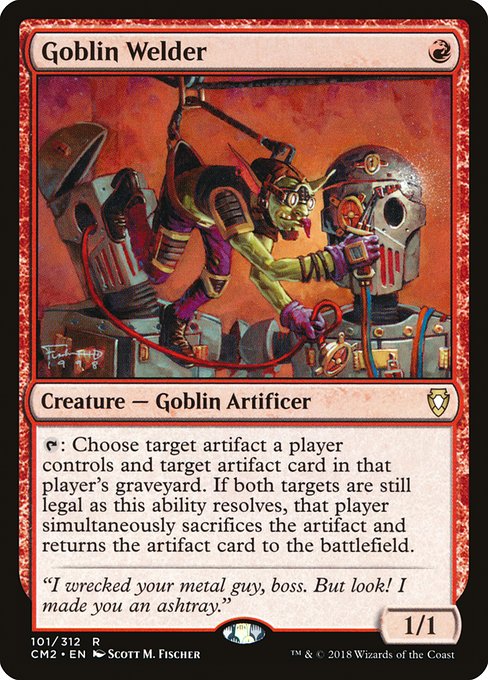 Goblin Welder
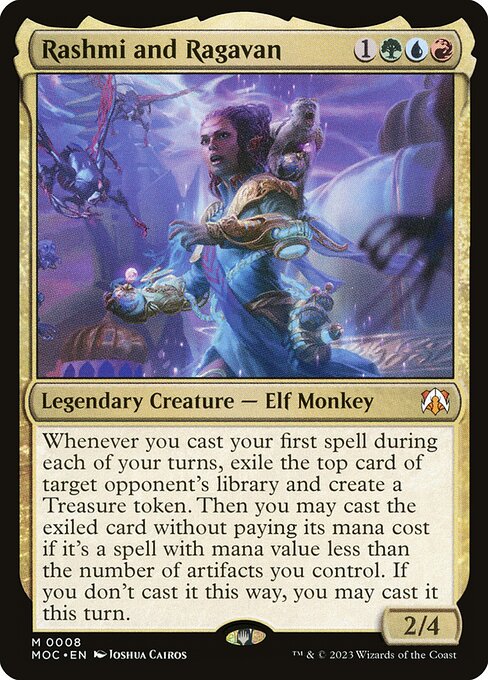 Rashmi and Ragavan
 Enthusiastic Mechanaut
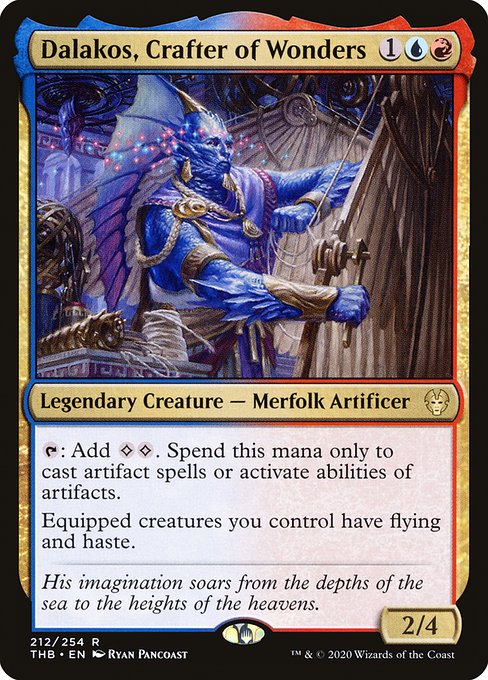 Dalakos, Crafter of Wonders
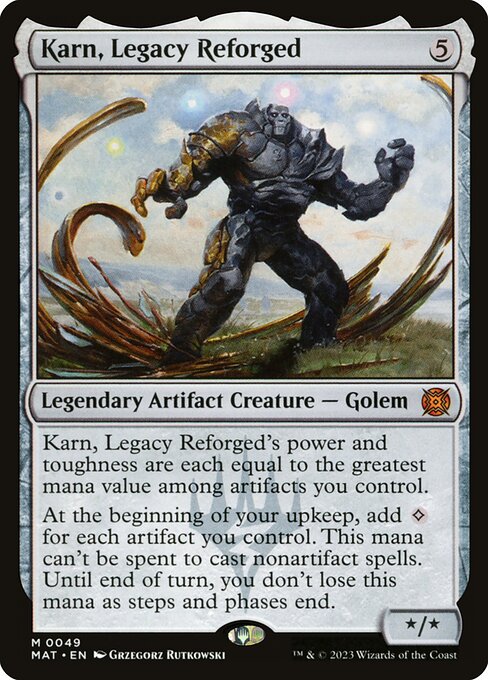 Karn, Legacy Reforged
 Iron Man, Titan of Innovation
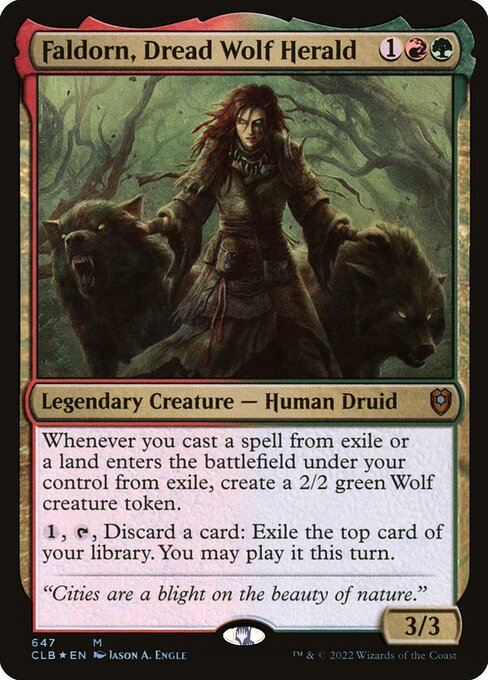 Faldorn, Dread Wolf Herald
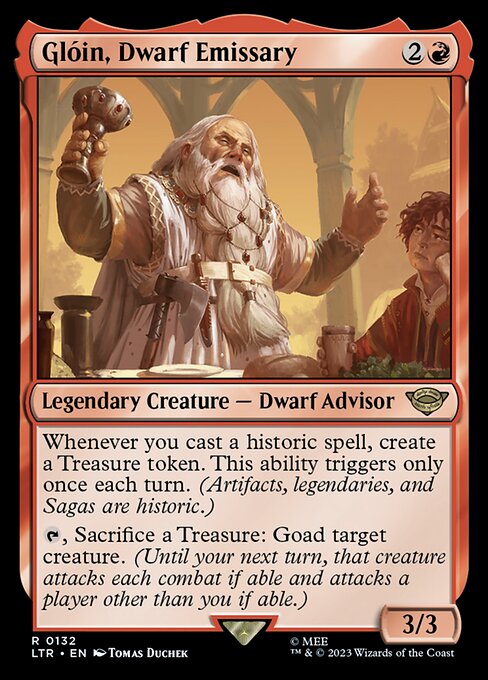 Glóin, Dwarf Emissary
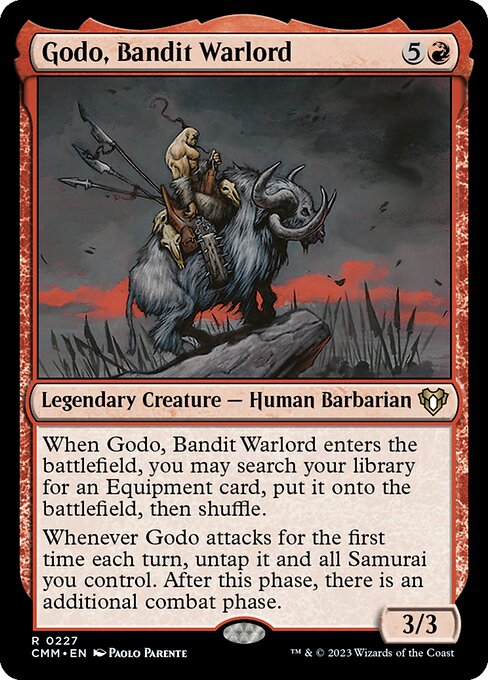 Godo, Bandit Warlord
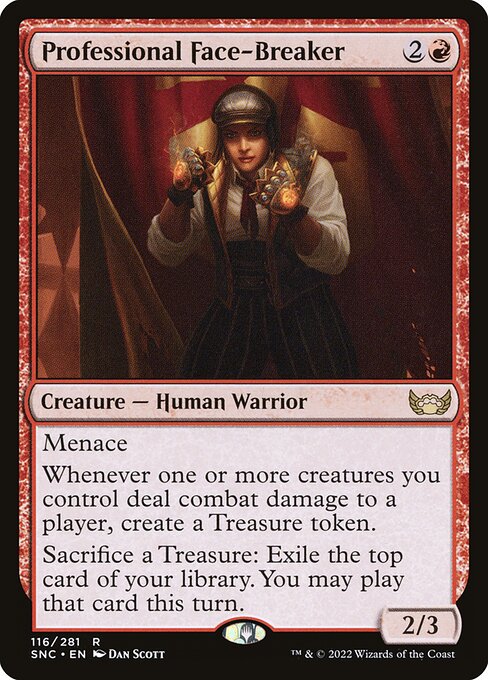 Professional Face-Breaker
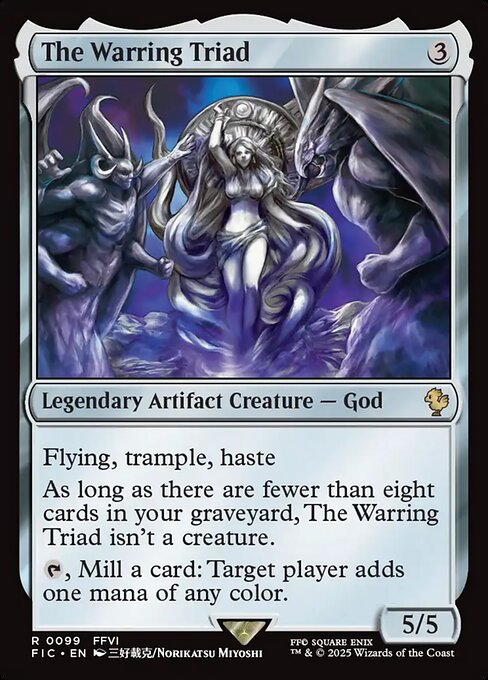 The Warring Triad
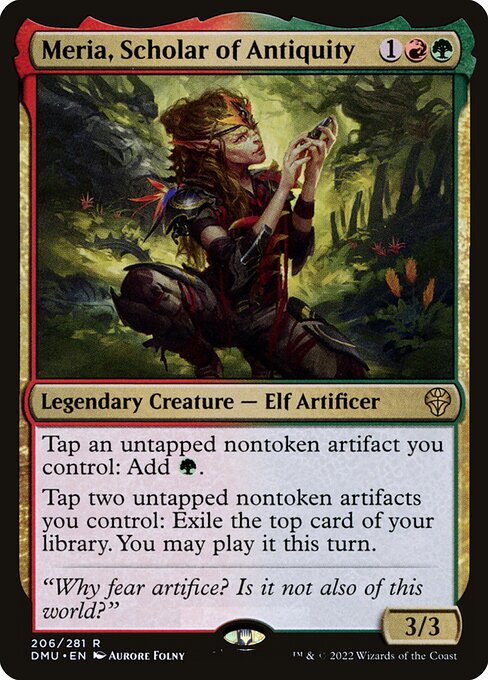 Meria, Scholar of Antiquity
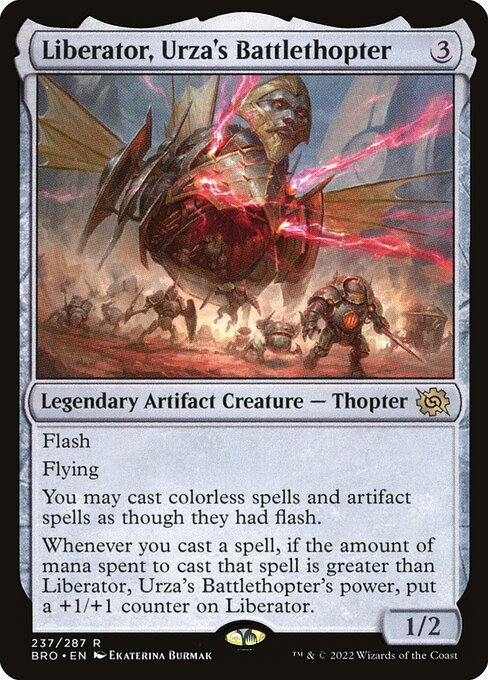 Liberator, Urza's Battlethopter
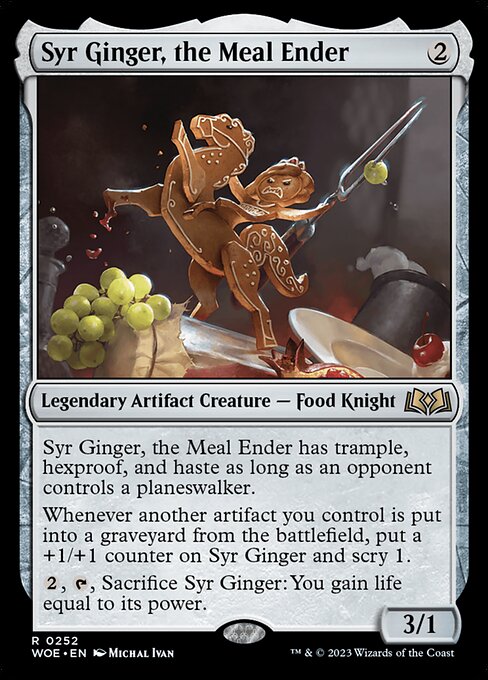 Syr Ginger, the Meal Ender
 Goldspan Dragon
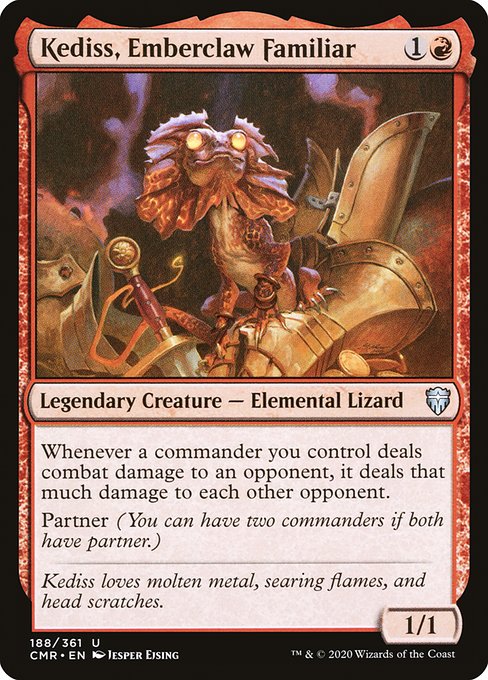 Kediss, Emberclaw Familiar
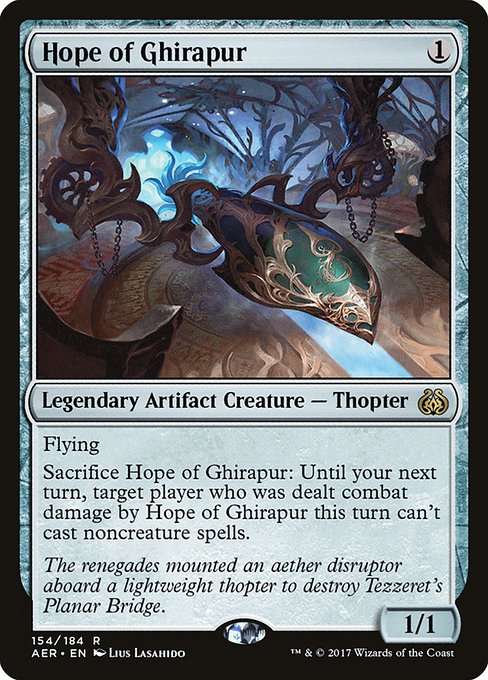 Hope of Ghirapur
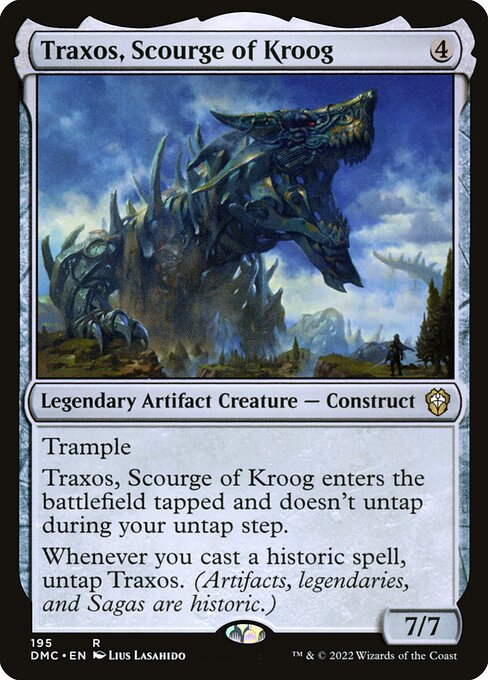 Traxos, Scourge of Kroog
 Birds of Paradise
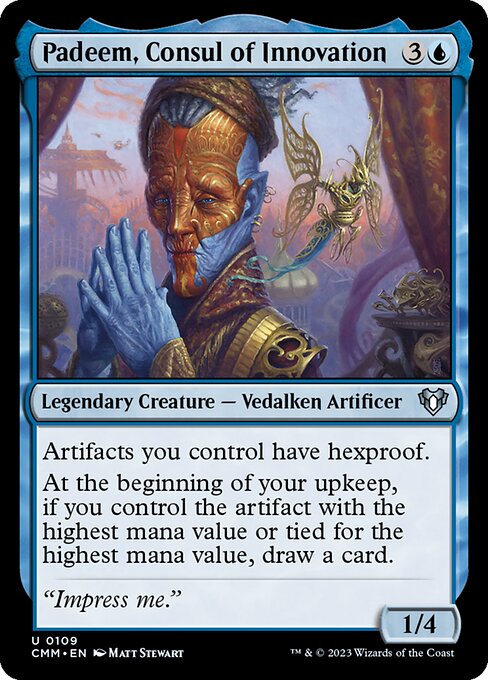 Padeem, Consul of Innovation
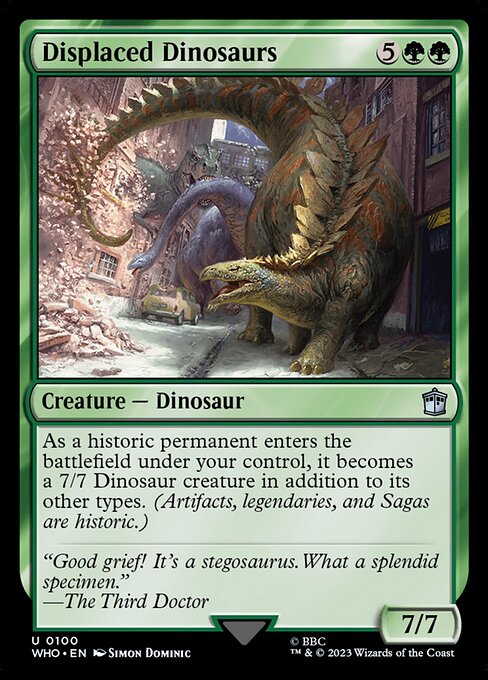 Displaced Dinosaurs
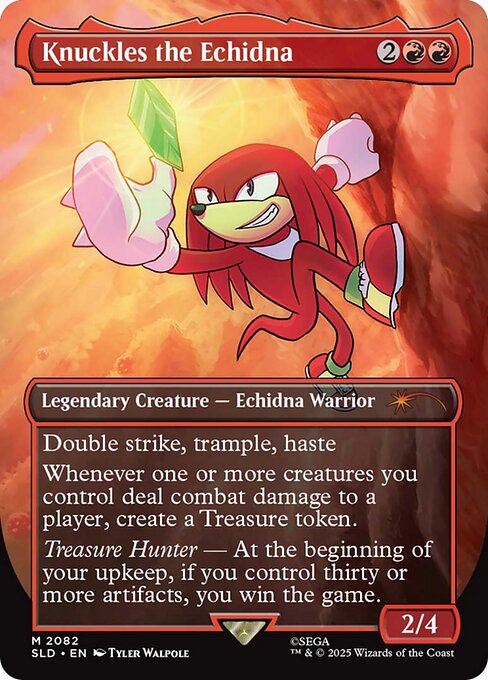 Knuckles the Echidna
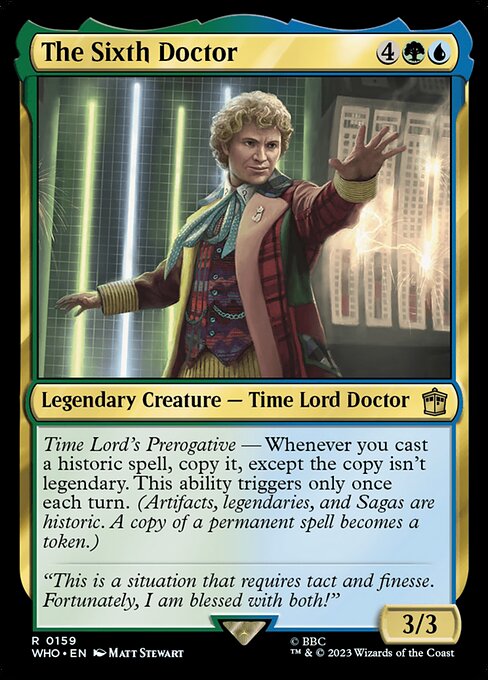 The Sixth Doctor
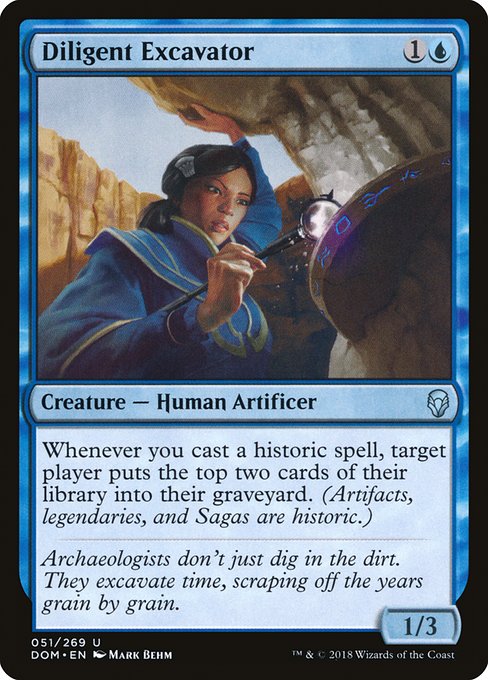 Diligent Excavator
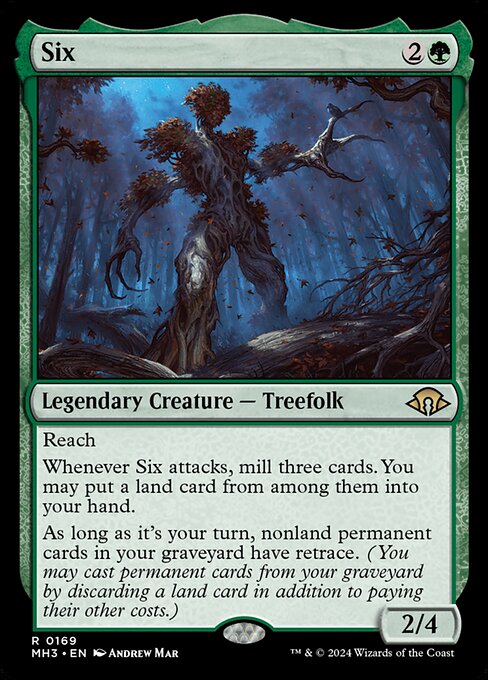 Six
Six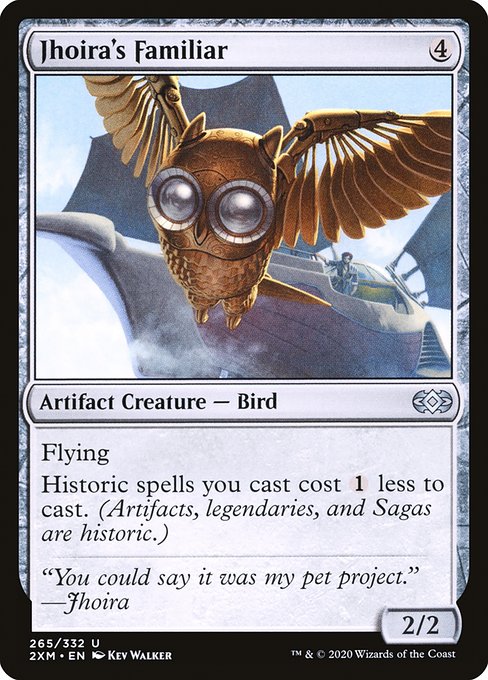 Jhoira's Familiar
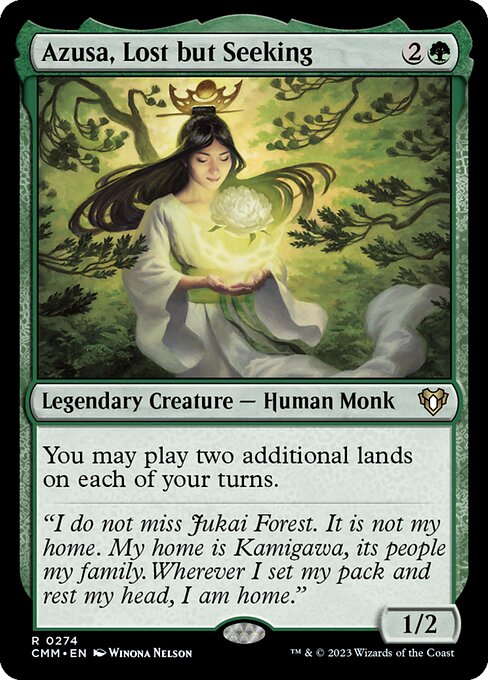 Azusa, Lost but Seeking
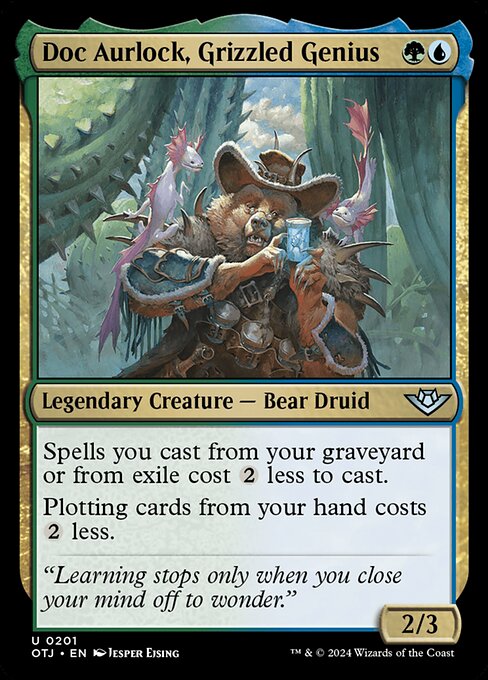 Doc Aurlock, Grizzled Genius
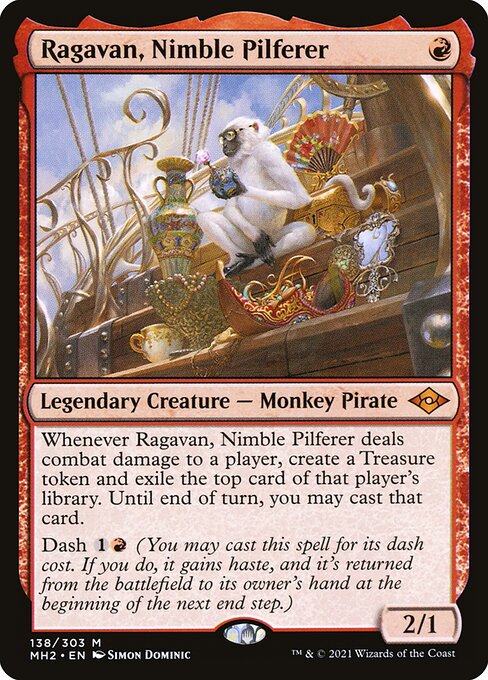 Ragavan, Nimble Pilferer
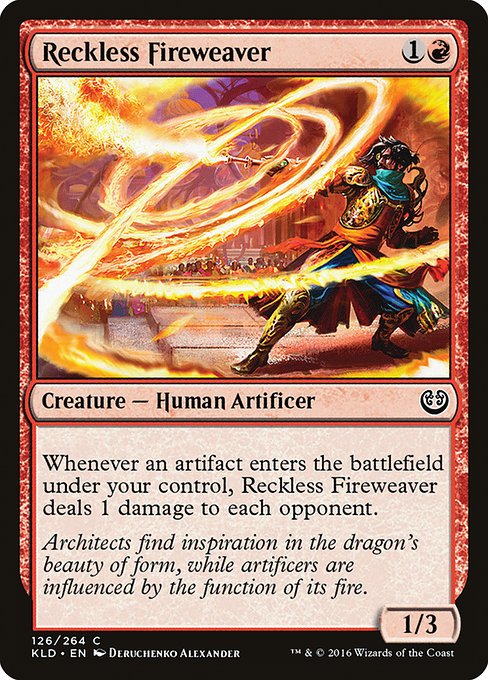 Reckless Fireweaver
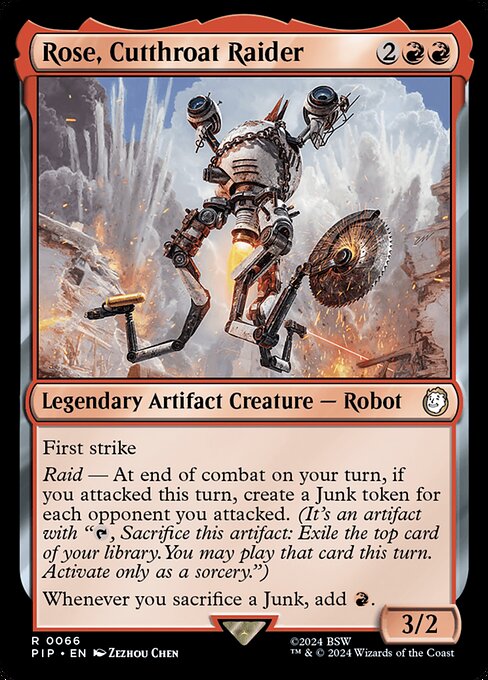 Rose, Cutthroat Raider
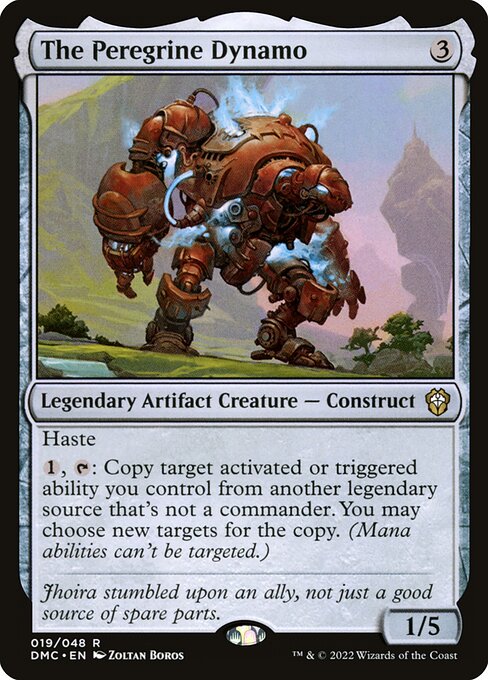 The Peregrine Dynamo
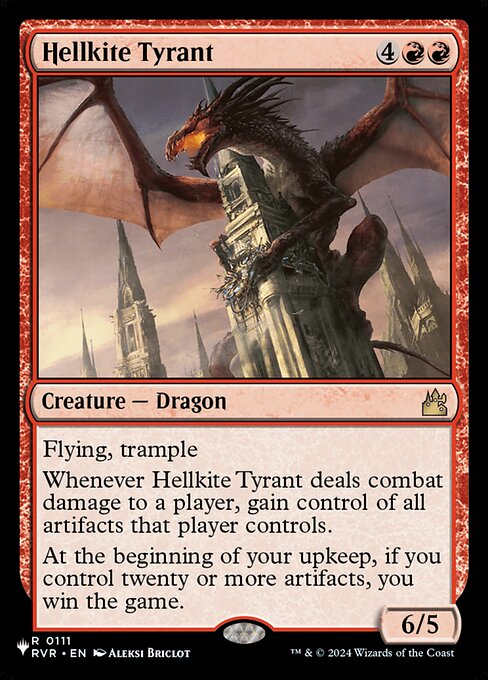 Hellkite Tyrant
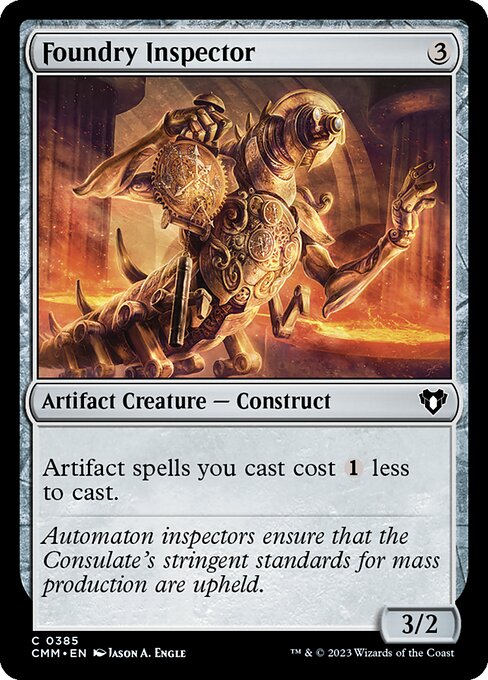 Foundry Inspector
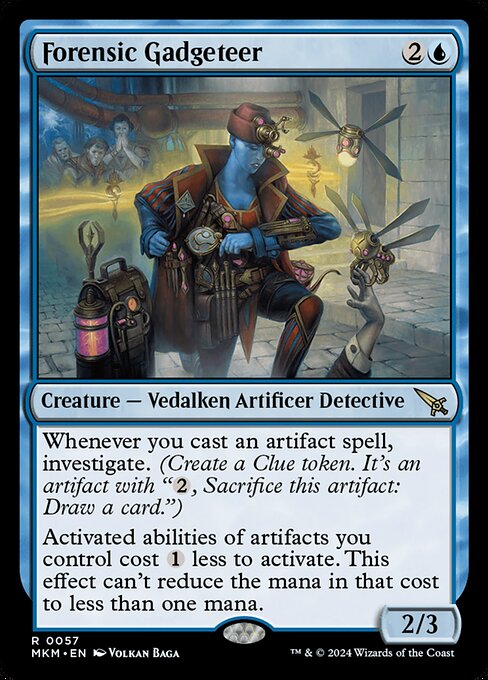 Forensic Gadgeteer
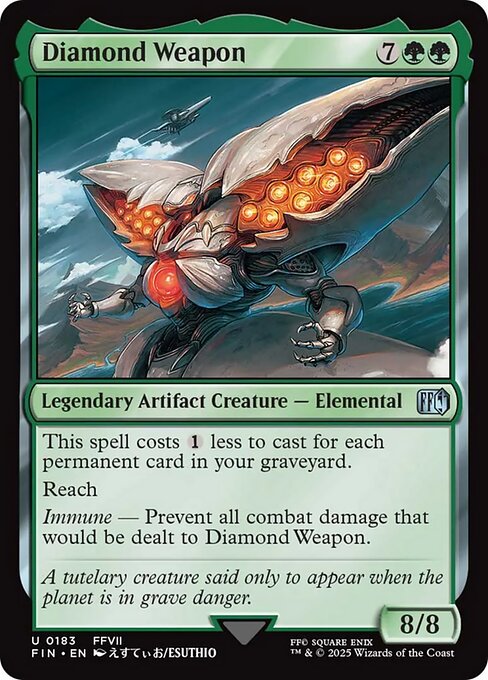 Diamond Weapon
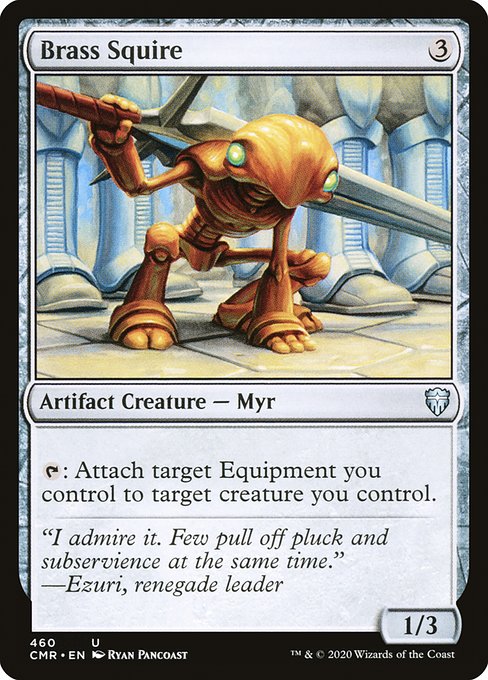 Brass Squire
 Brudiclad, Telchor Engineer
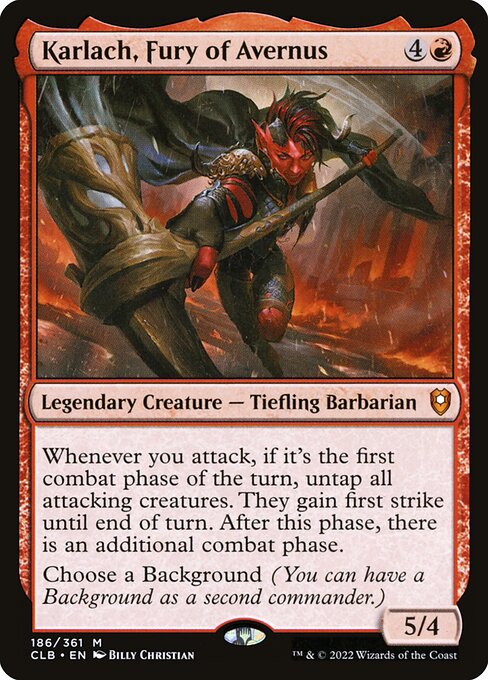 Karlach, Fury of Avernus
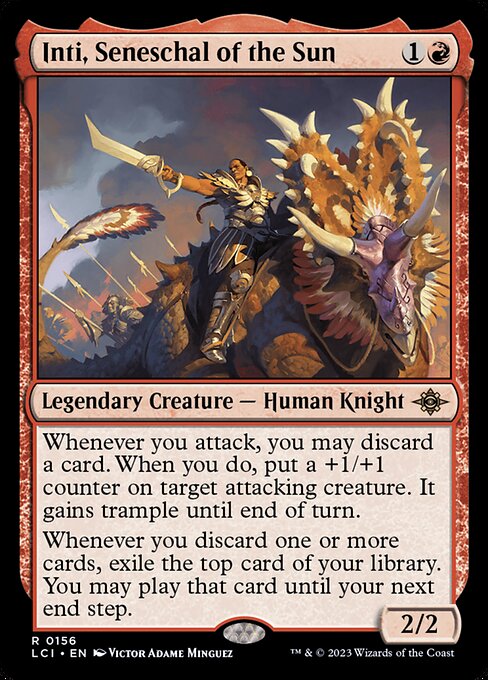 Inti, Seneschal of the Sun
 Moraug, Fury of Akoum
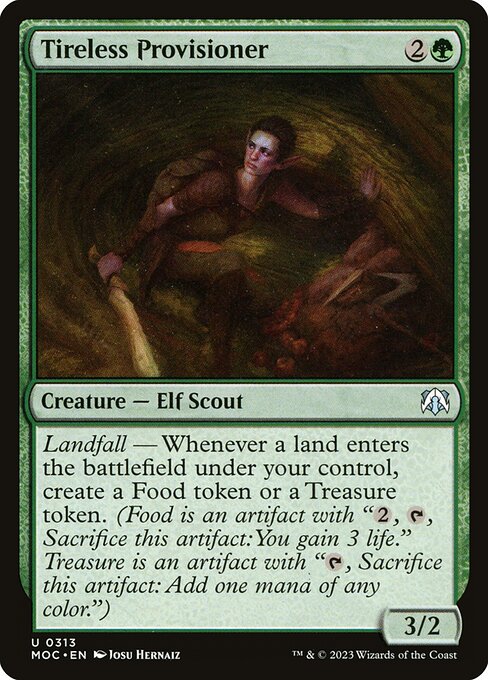 Tireless Provisioner
Instants
Instant-speed interaction and tricks that keep Lara Croft, Tomb Raider's Equipment deck ahead.
 Frantic Search
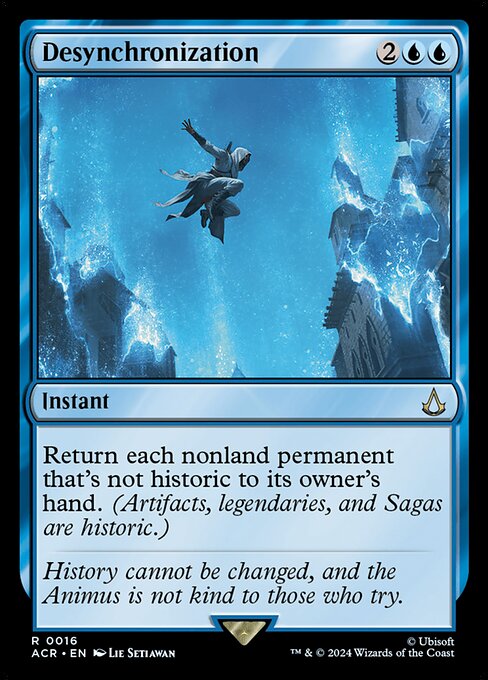 Desynchronization
 Big Score
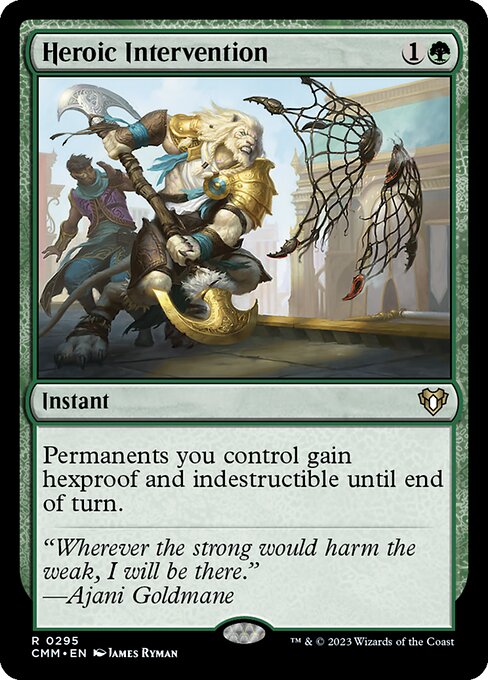 Heroic Intervention
 Thirst for Knowledge
 Thrill of Possibility
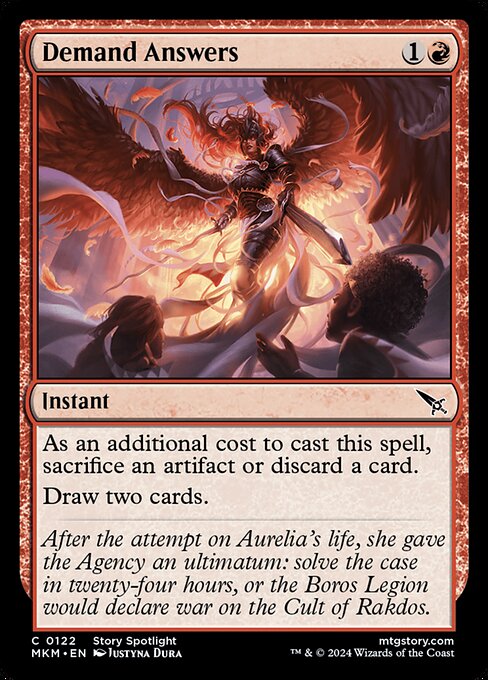 Demand Answers
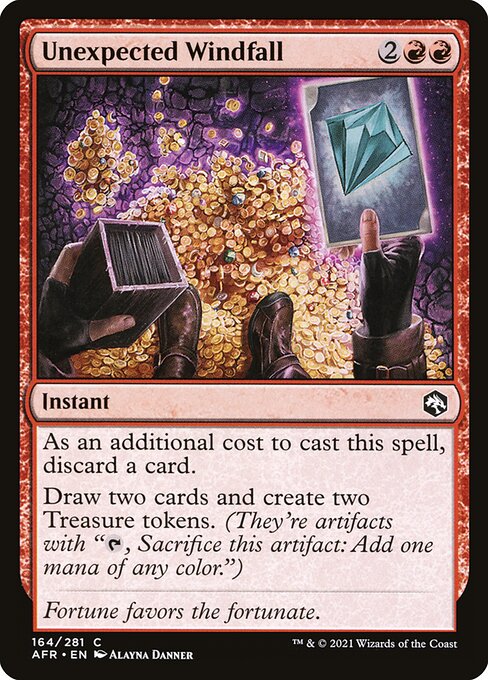 Unexpected Windfall
 Beast Within
 Fact or Fiction
 Chaos Warp
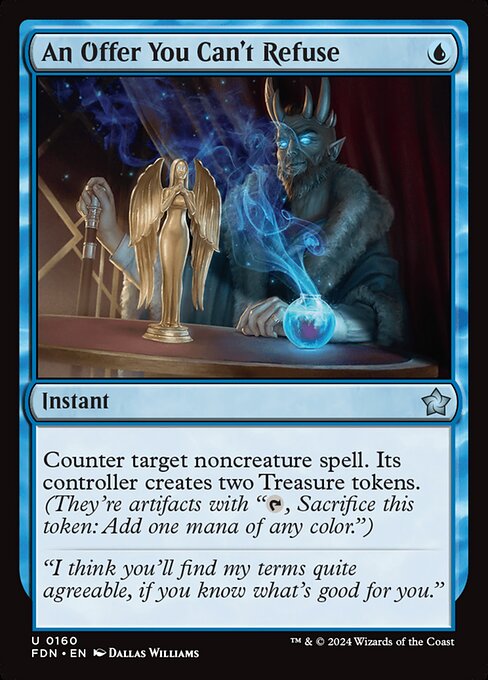 An Offer You Can't Refuse
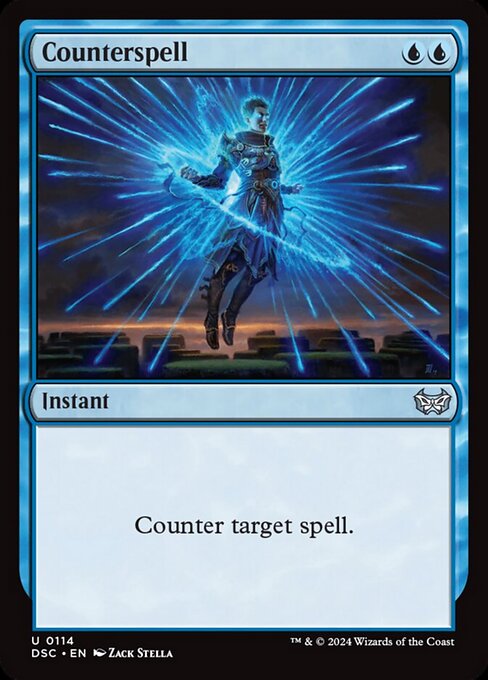 Counterspell
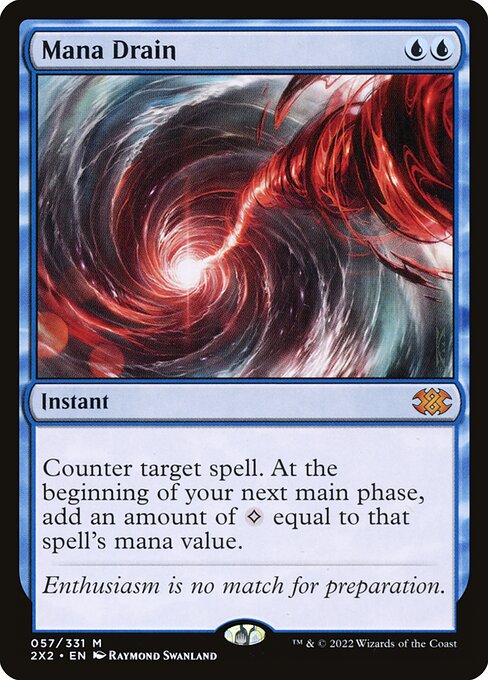 Mana Drain
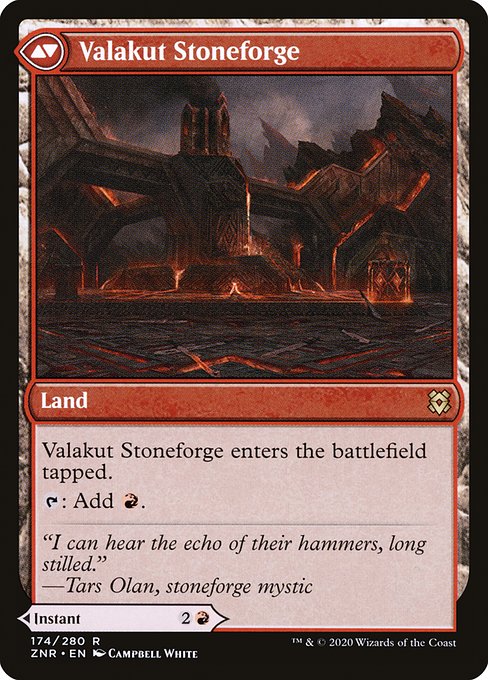 Valakut Awakening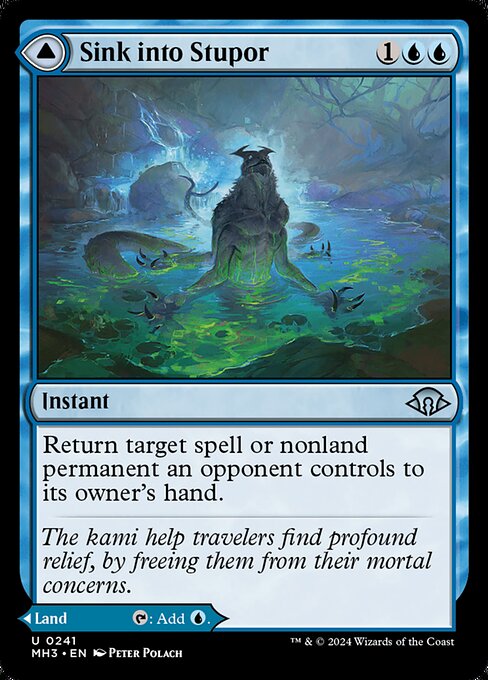
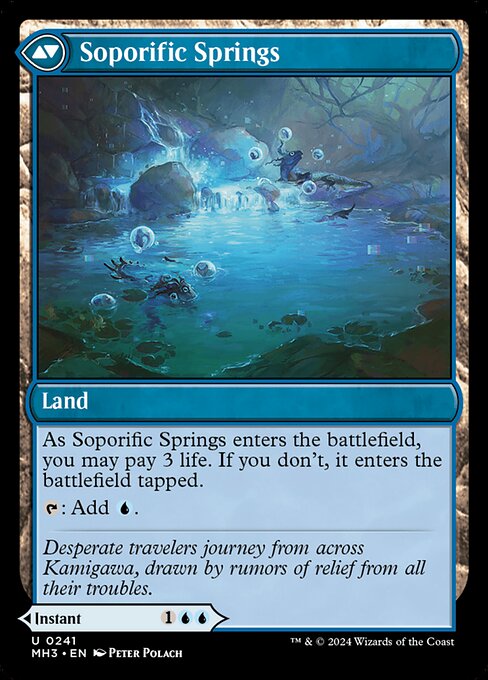 Sink into Stupor
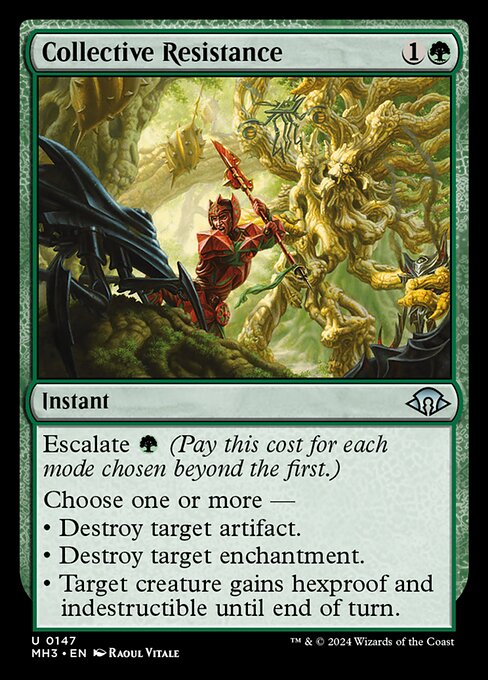 Collective Resistance
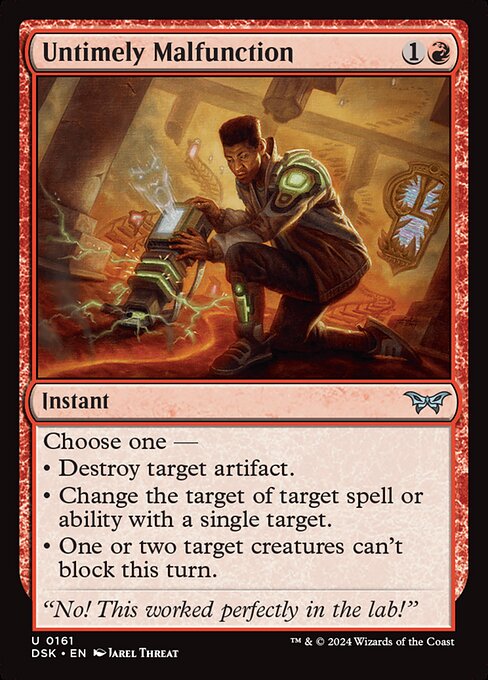 Untimely Malfunction
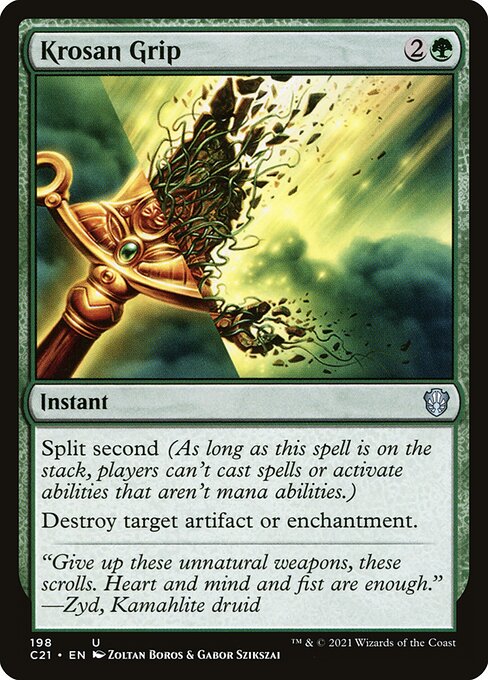 Krosan Grip
 Reality Shift
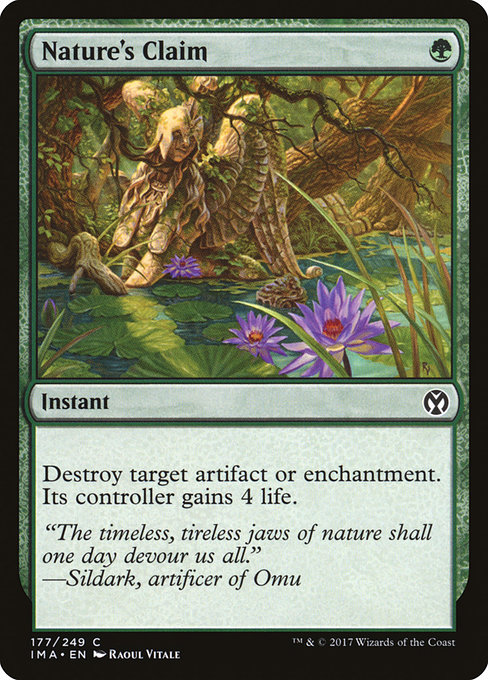 Nature's Claim
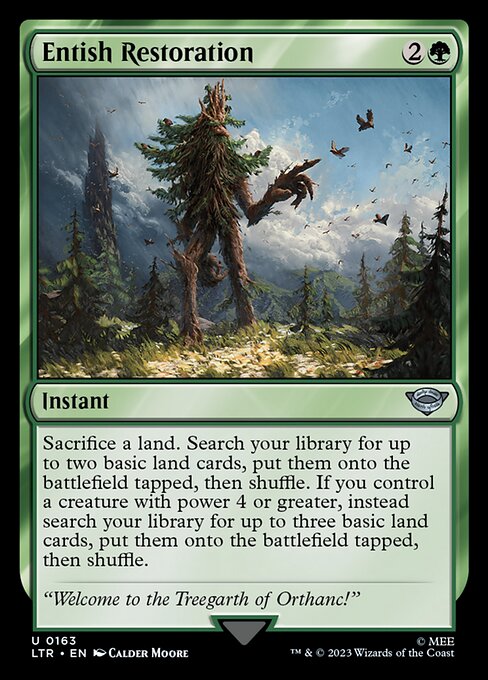 Entish Restoration
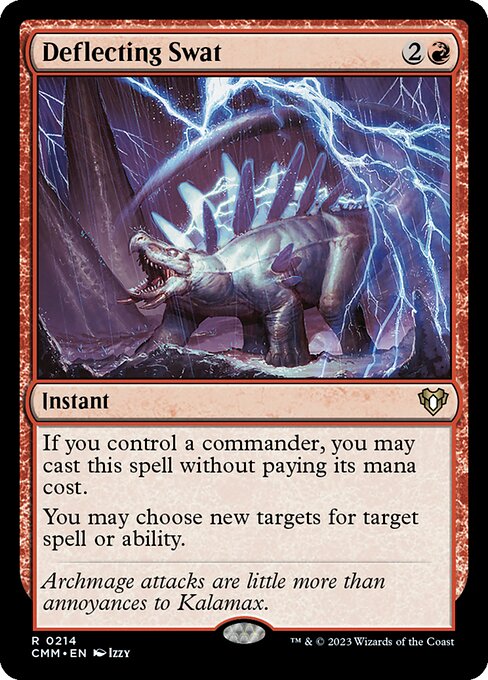 Deflecting Swat
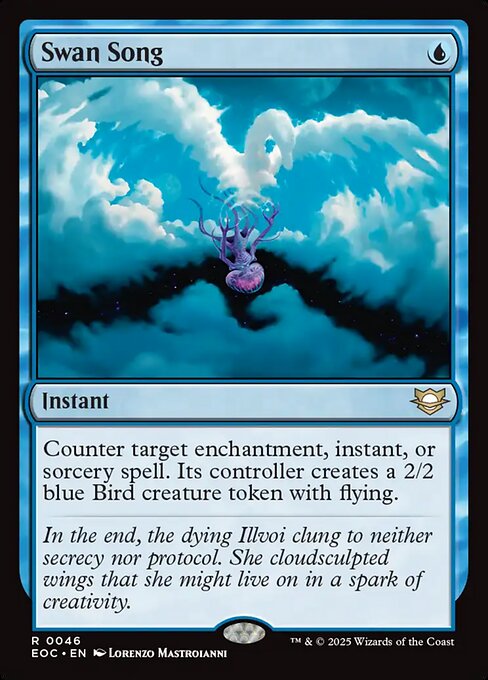 Swan Song
 Rapid Hybridization
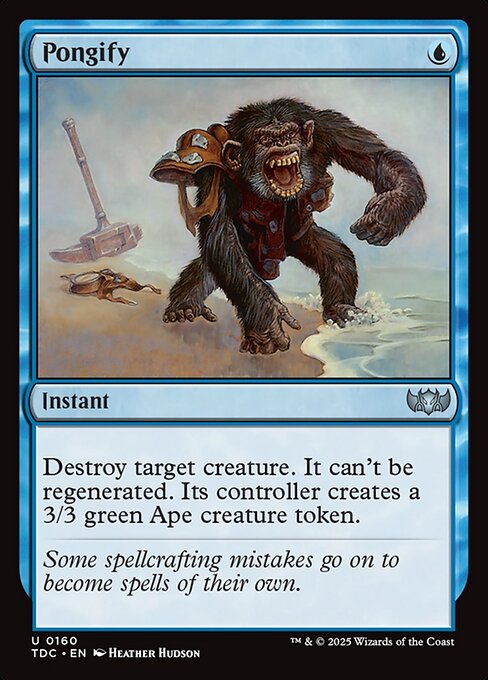 Pongify
 Arcane Denial
 Negate
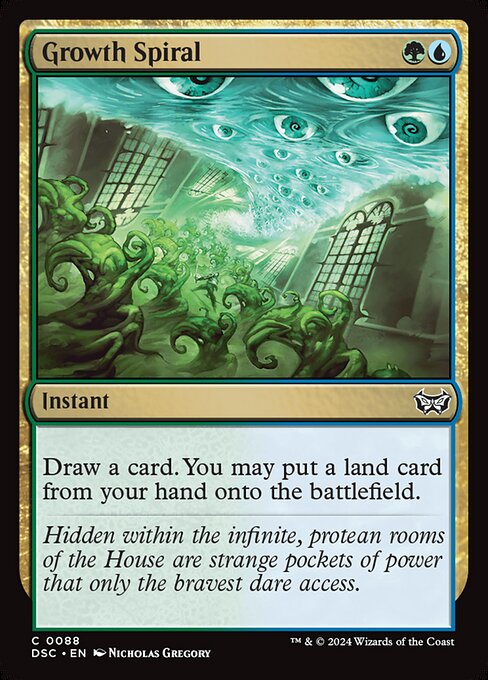 Growth Spiral
Sorceries
Sorceries that push the Equipment game plan forward for Lara Croft, Tomb Raider.
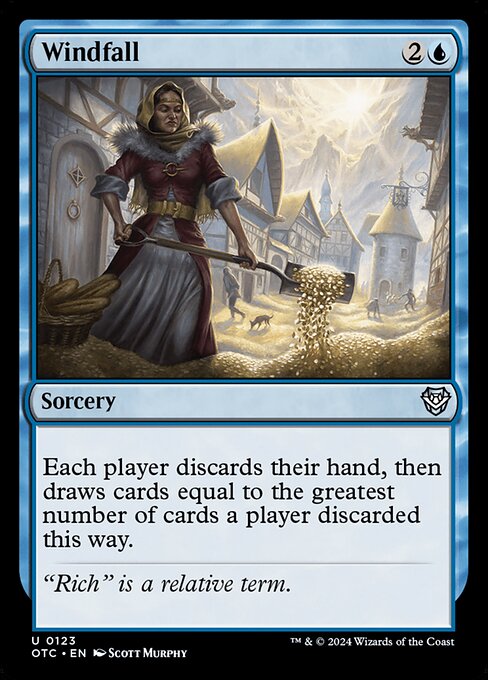 Windfall
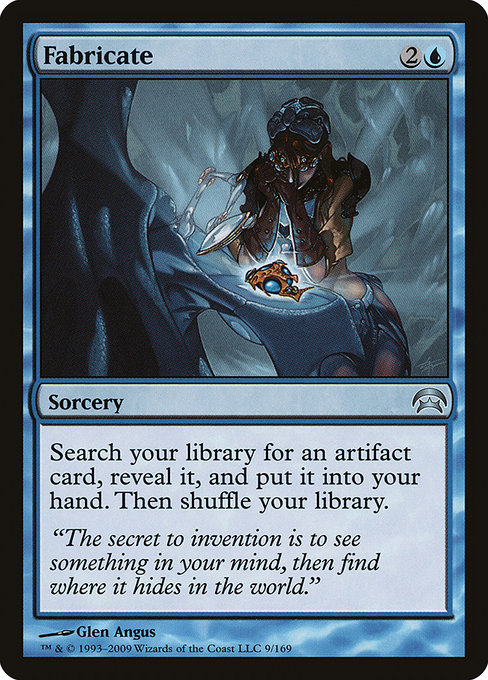 Fabricate
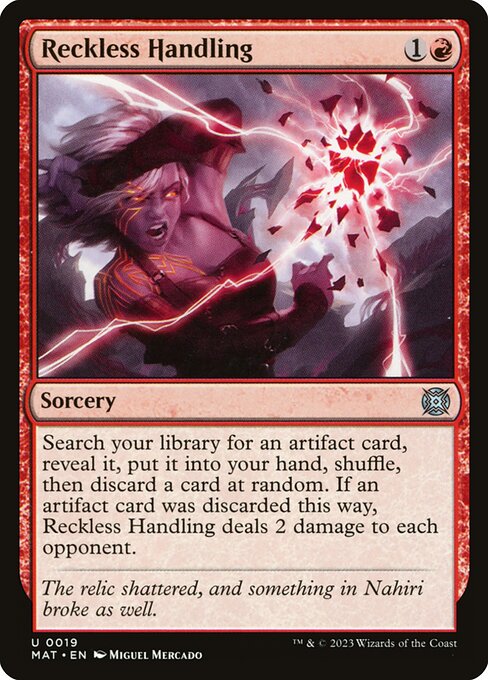 Reckless Handling
 Blasphemous Act
 Vandalblast
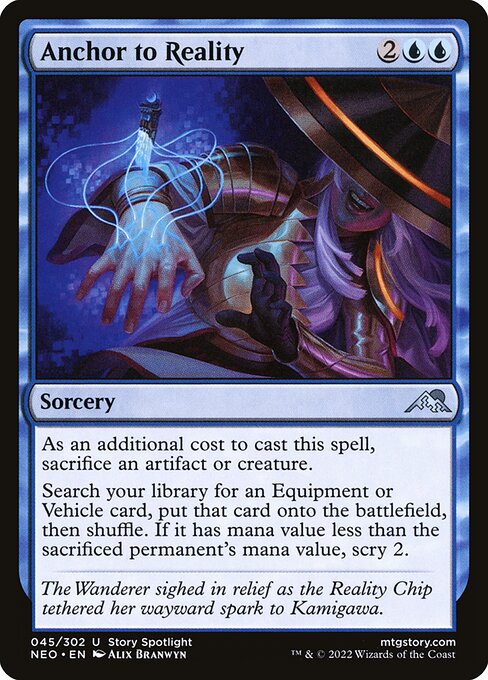 Anchor to Reality
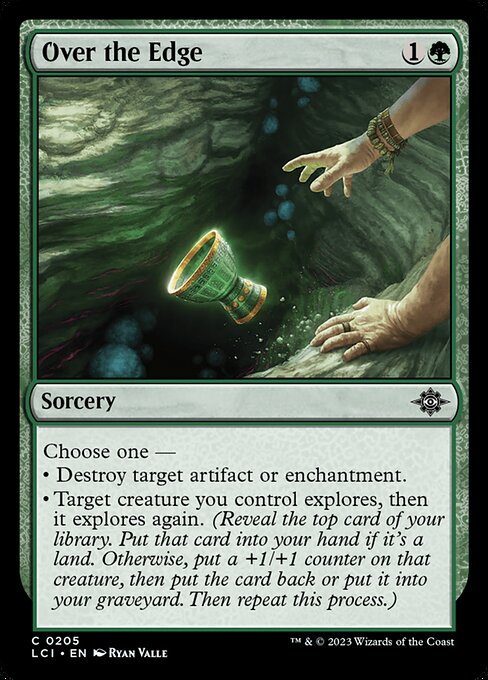 Over the Edge
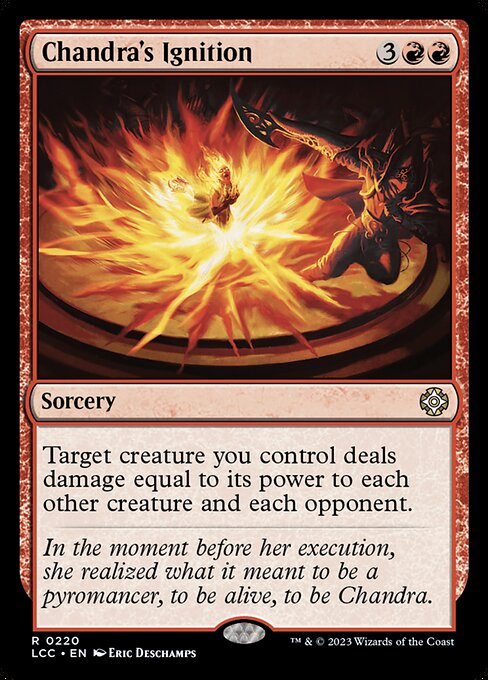 Chandra's Ignition
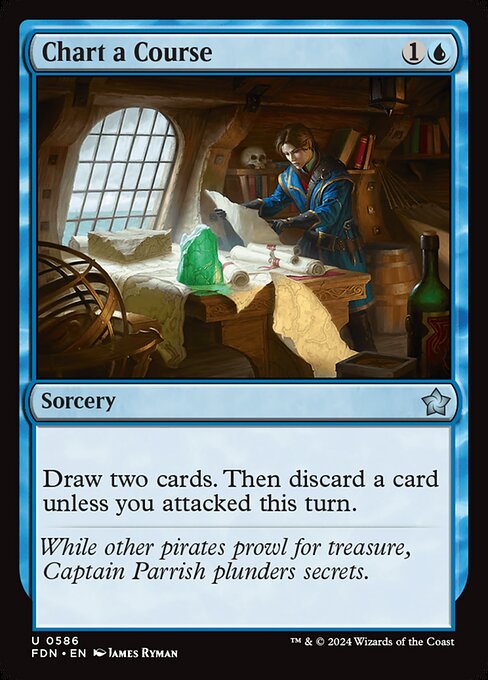 Chart a Course
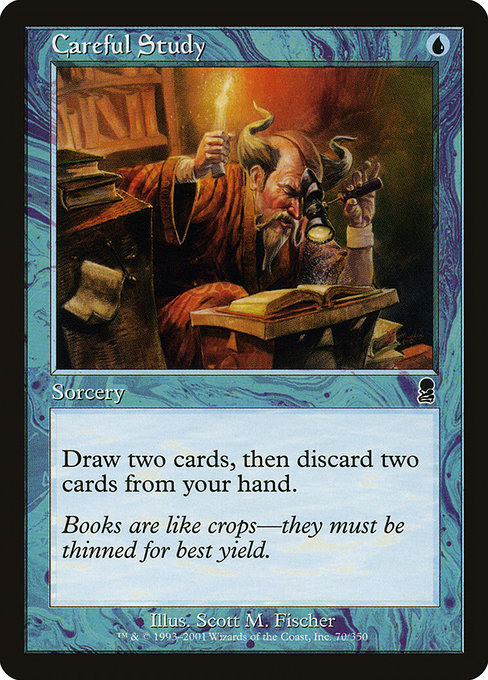 Careful Study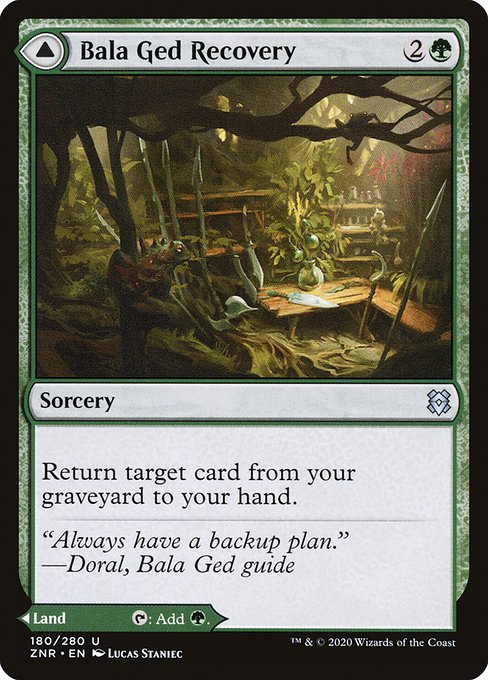
 Bala Ged Recovery
 Nature's Lore
 Three Visits
 Explore
 Farseek
 Kodama's Reach
 Cultivate
 Rampant Growth
Utility Artifacts
Artifacts that add consistency and utility to Lara Croft, Tomb Raider Equipment decks.
 Matzalantli, the Great Door
 The Key to the Vault
 Chimil, the Inner Sun
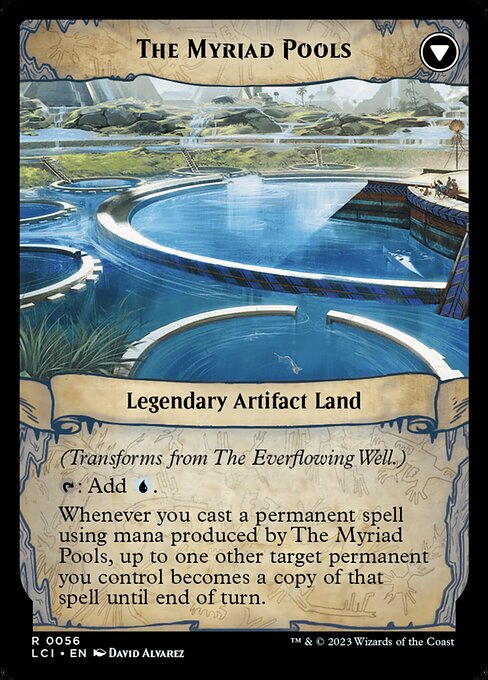 The Everflowing Well
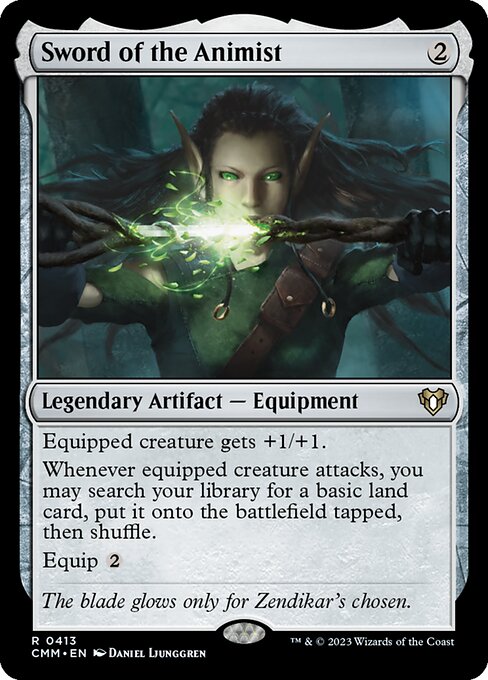 Sword of the Animist
 Helm of the Host
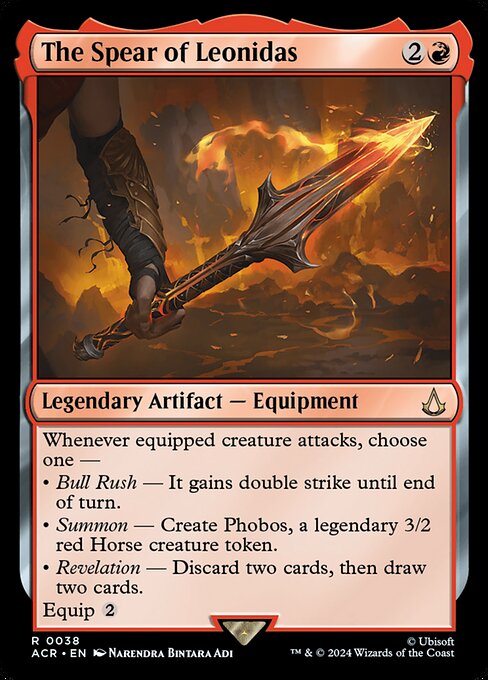 The Spear of Leonidas
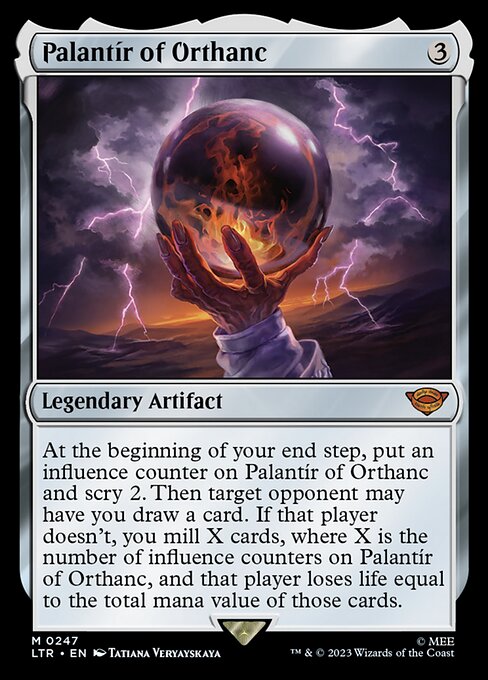 Palantír of Orthanc
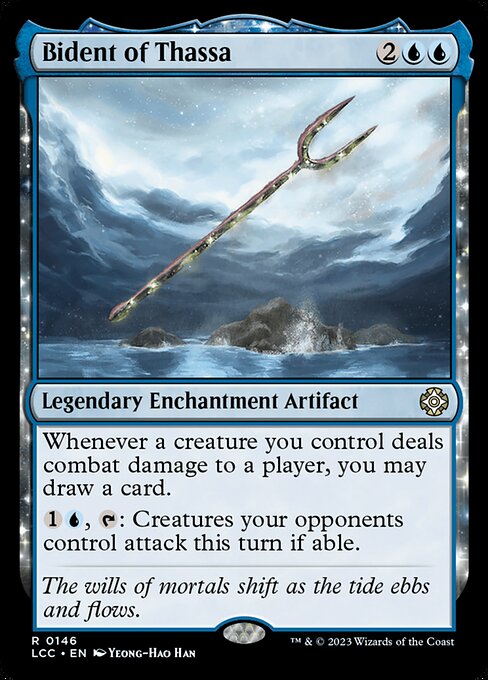 Bident of Thassa
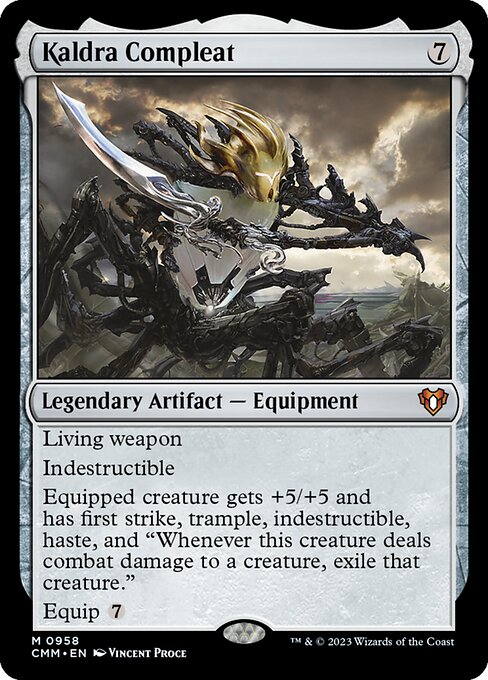 Kaldra Compleat
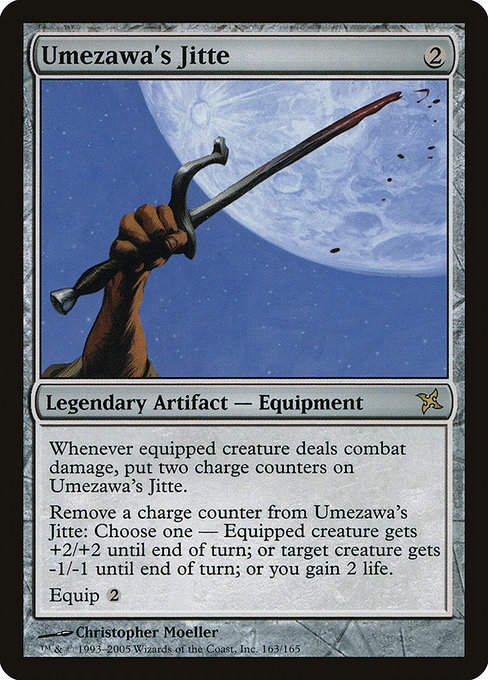 Umezawa's Jitte
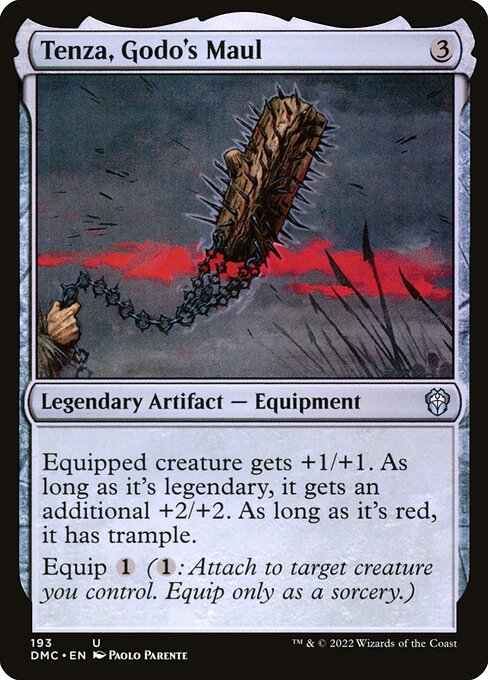 Tenza, Godo's Maul
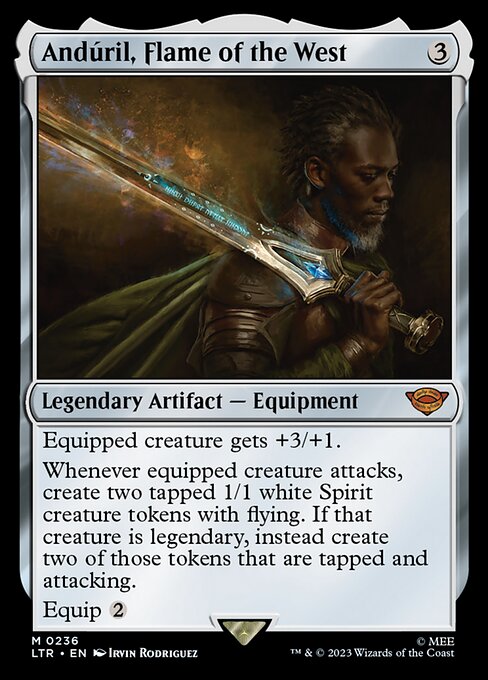 Andúril, Flame of the West
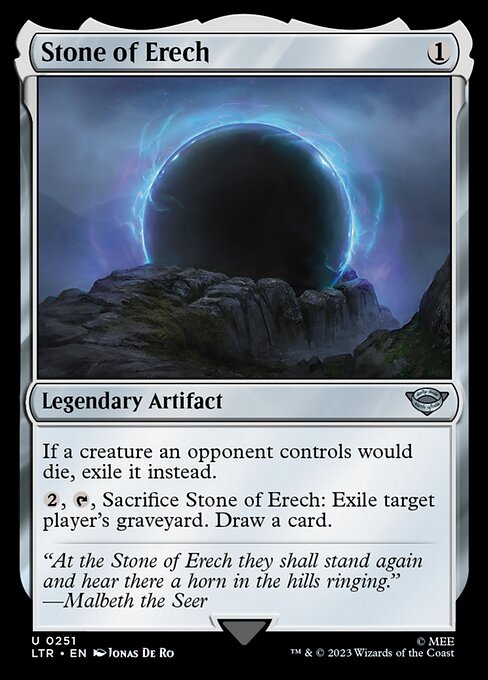 Stone of Erech
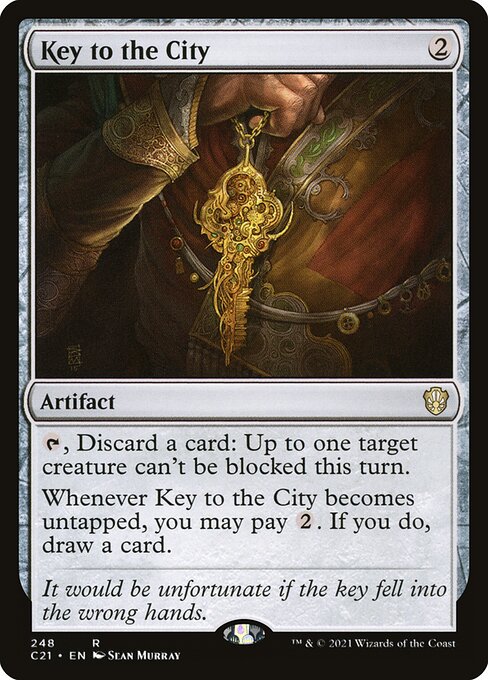 Key to the City
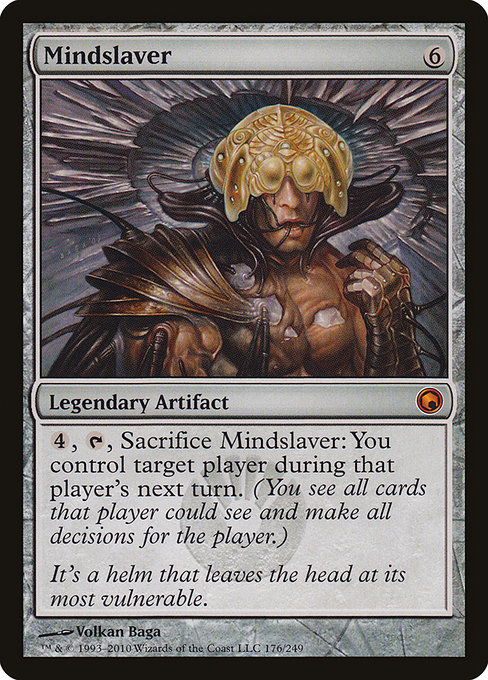 Mindslaver
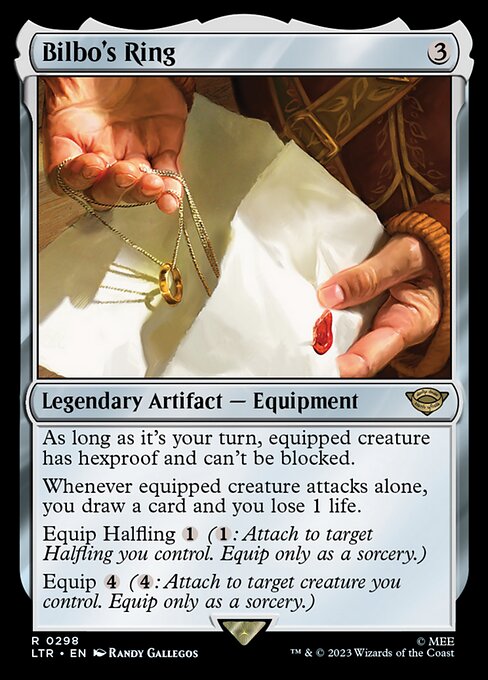 Bilbo's Ring
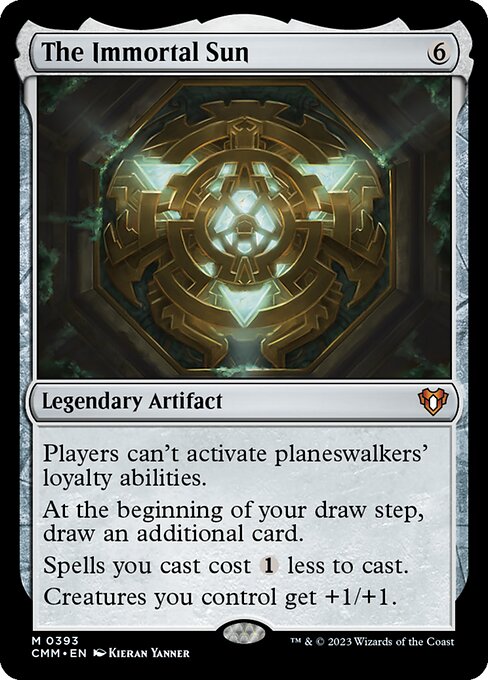 The Immortal Sun
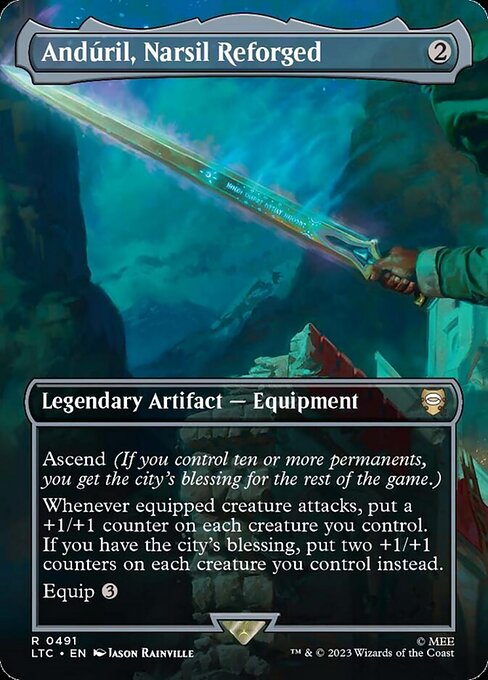 Andúril, Narsil Reforged
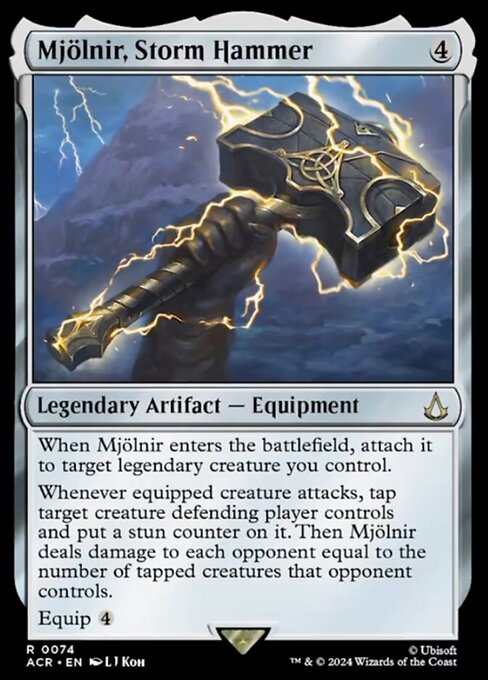 Mjölnir, Storm Hammer
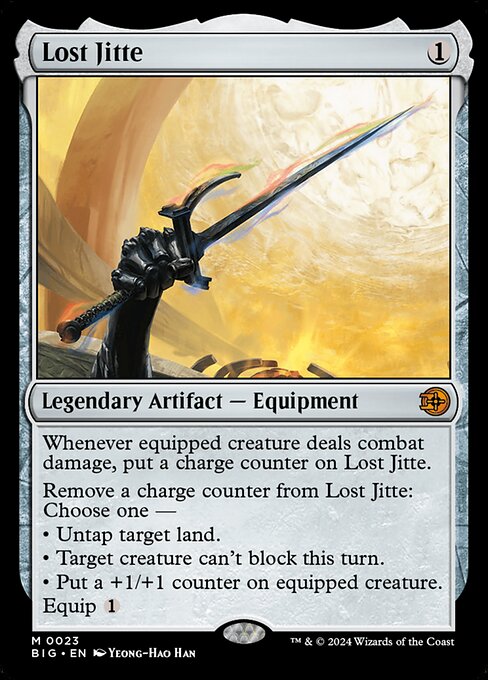 Lost Jitte
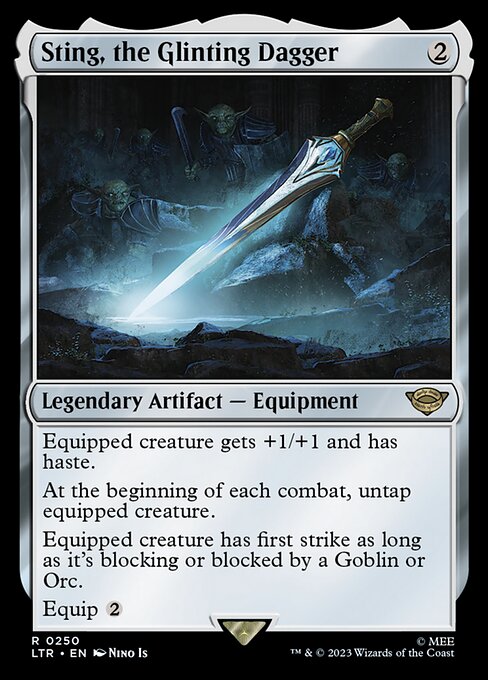 Sting, the Glinting Dagger
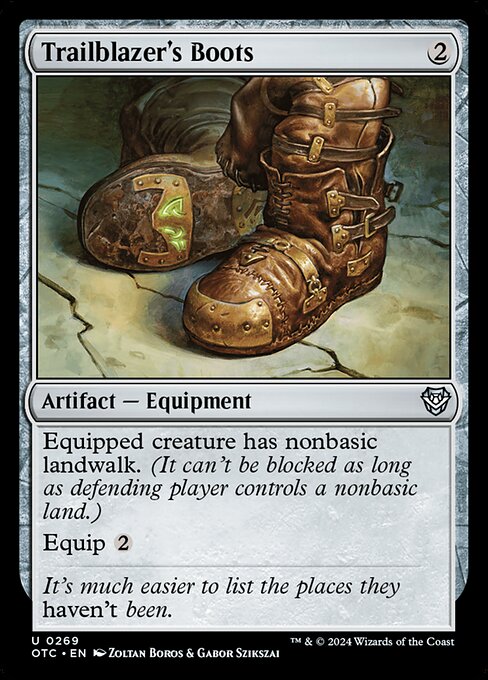 Trailblazer's Boots
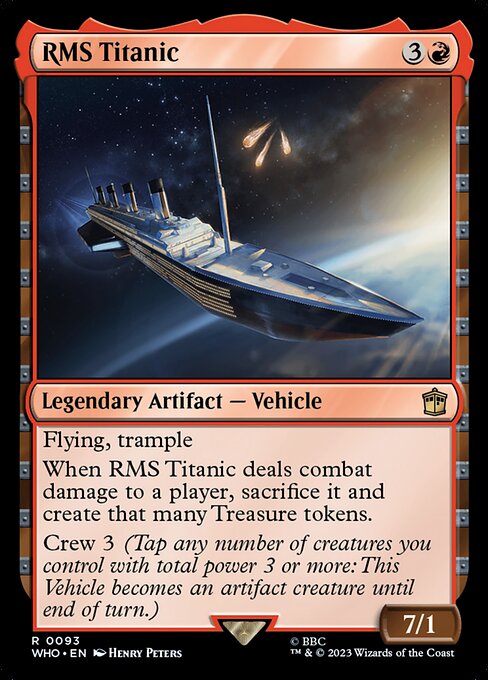 RMS Titanic
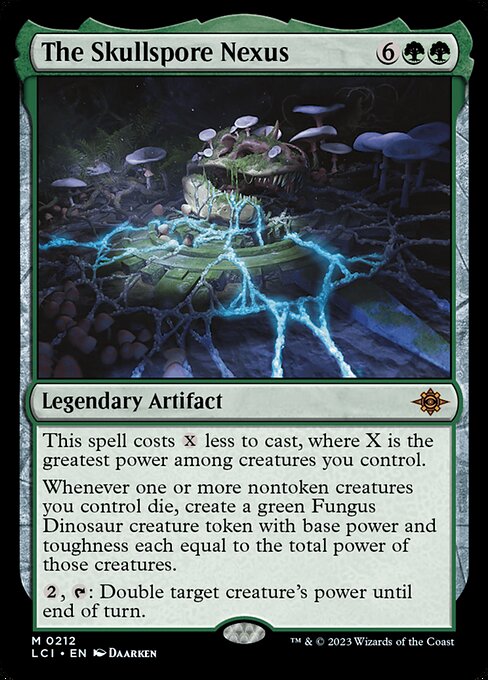 The Skullspore Nexus
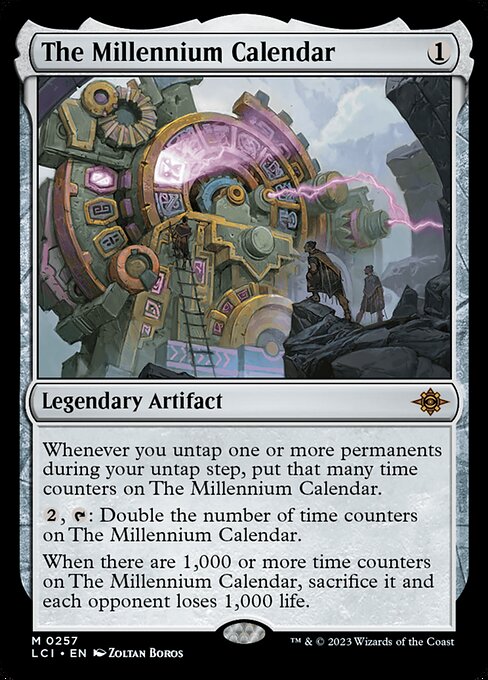 The Millennium Calendar
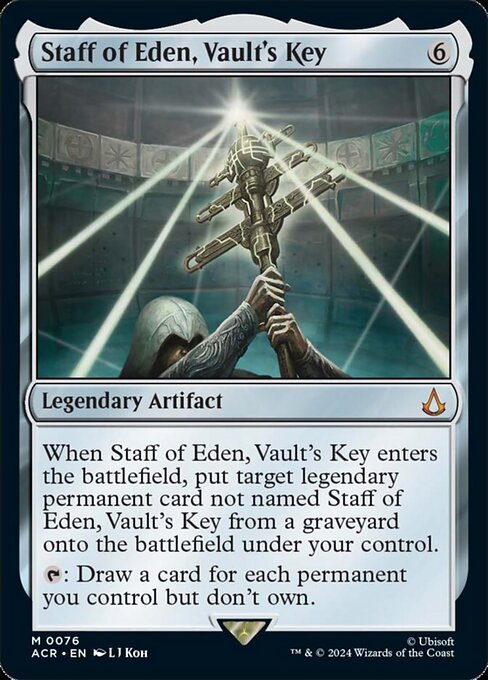 Staff of Eden, Vault's Key
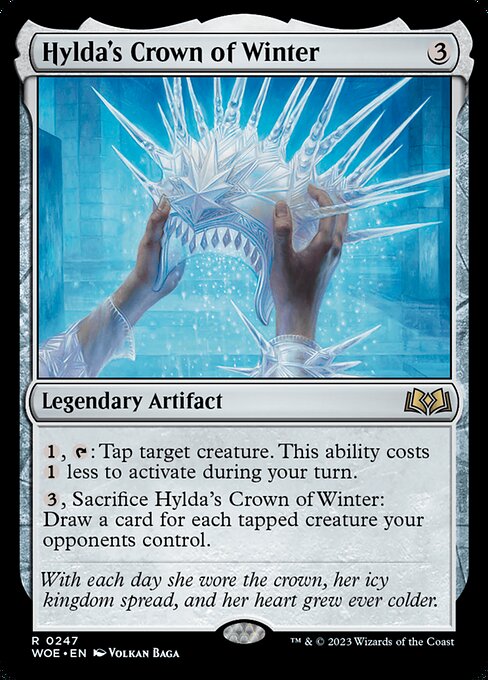 Hylda's Crown of Winter
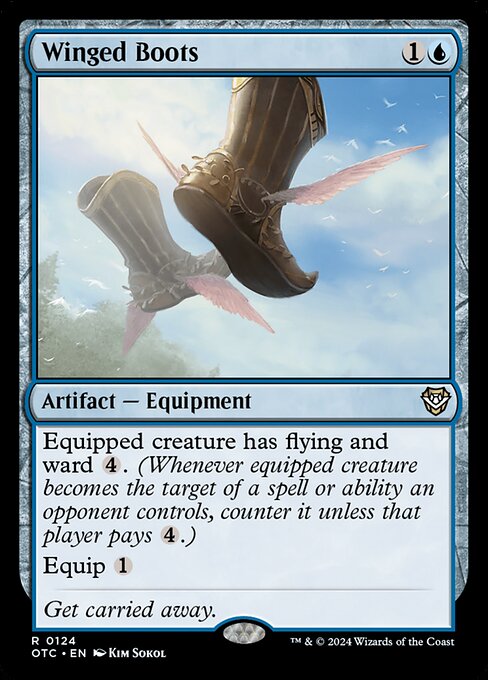 Winged Boots
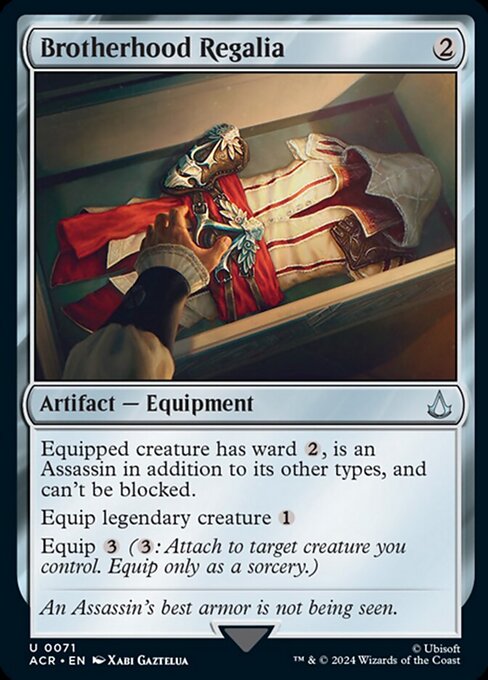 Brotherhood Regalia
 Buster Sword
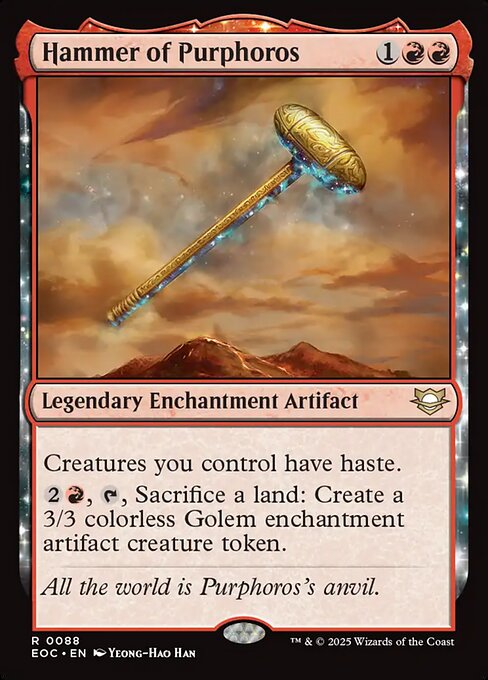 Hammer of Purphoros
 Bitterthorn, Nissa's Animus
 Wrecking Ball Arm
 Conduit of Worlds
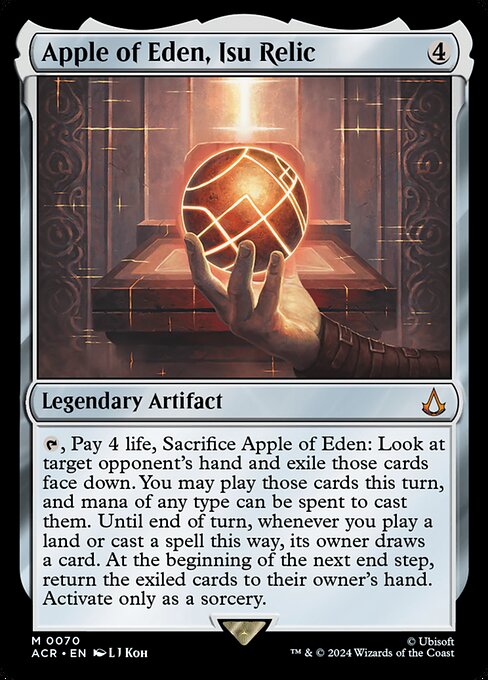 Apple of Eden, Isu Relic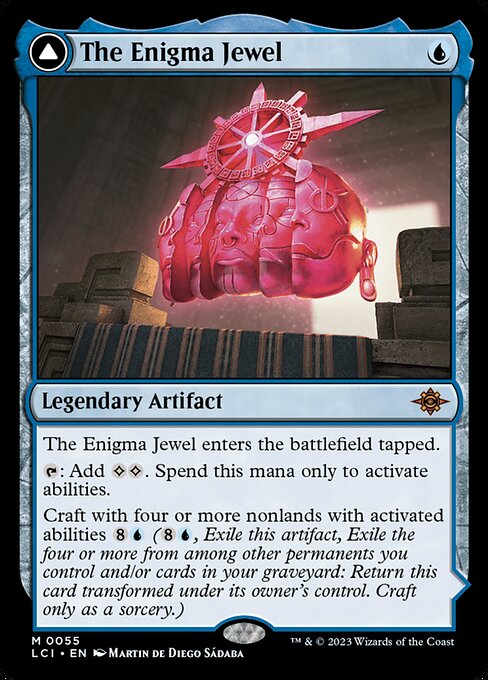
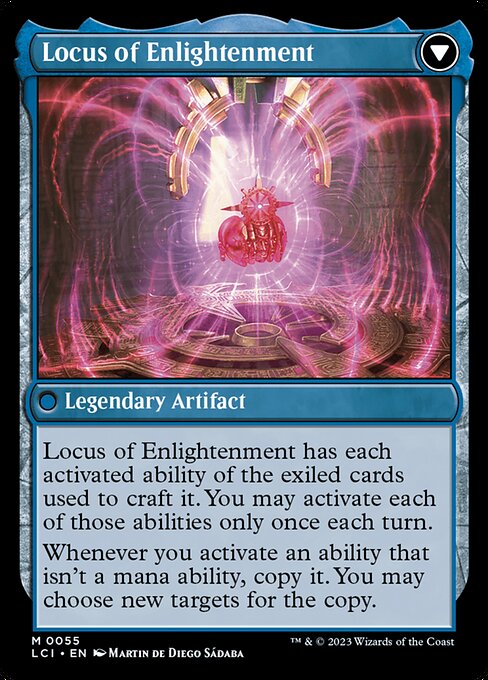 The Enigma Jewel
 Whispersilk Cloak
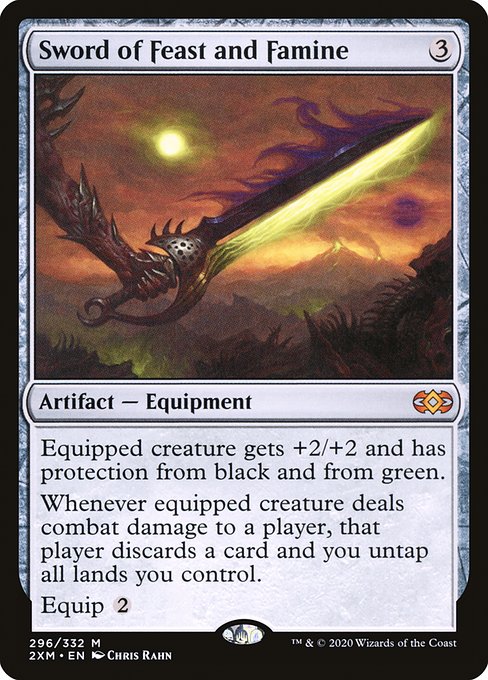 Sword of Feast and Famine
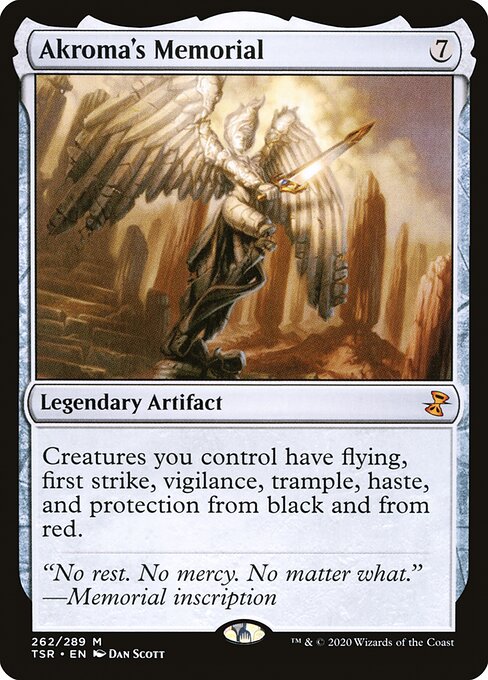 Akroma's Memorial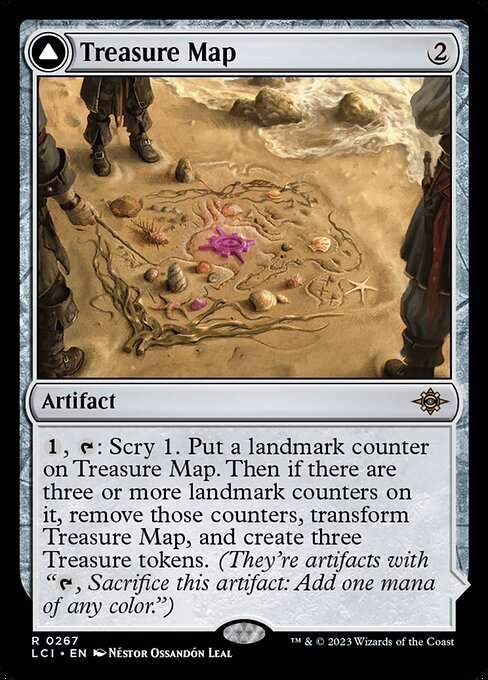
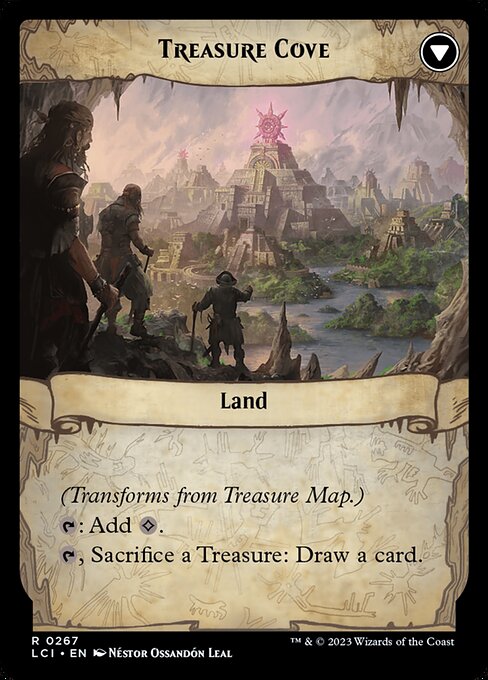 Treasure Map
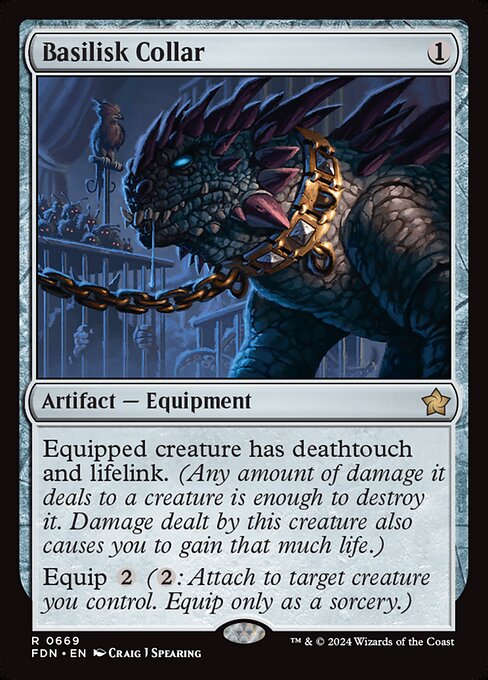 Basilisk Collar
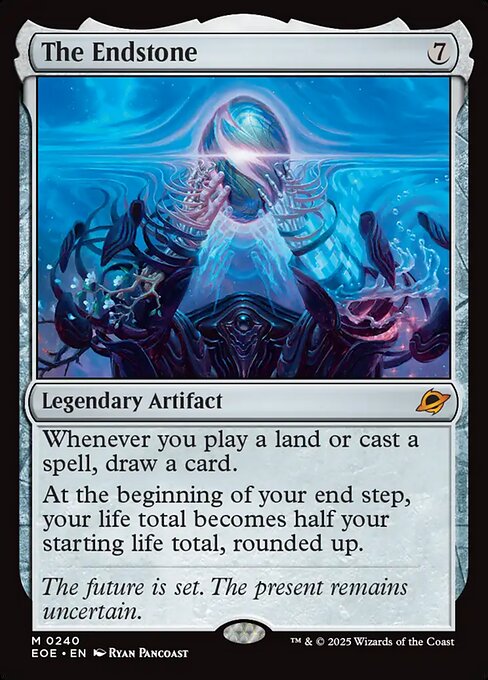 The Endstone
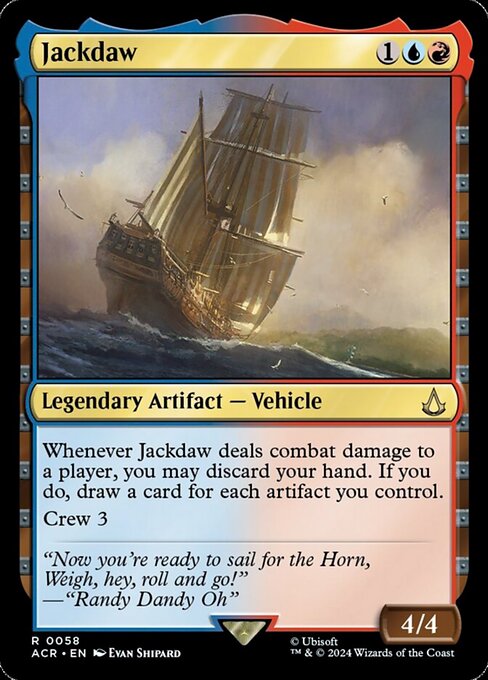 Jackdaw
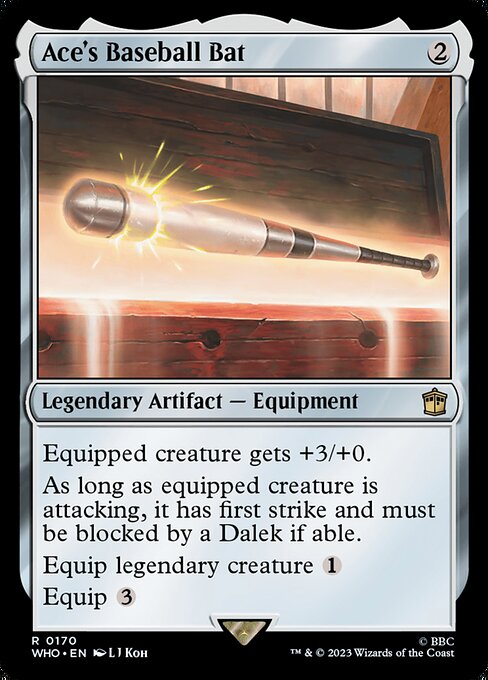 Ace's Baseball Bat
 Adaptive Omnitool
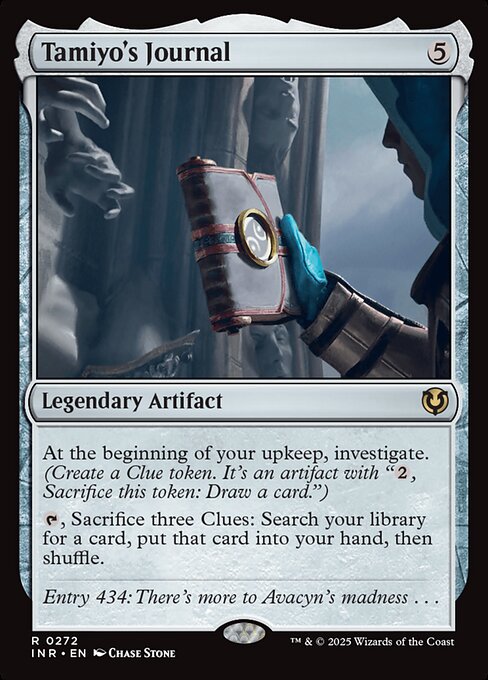 Tamiyo's Journal
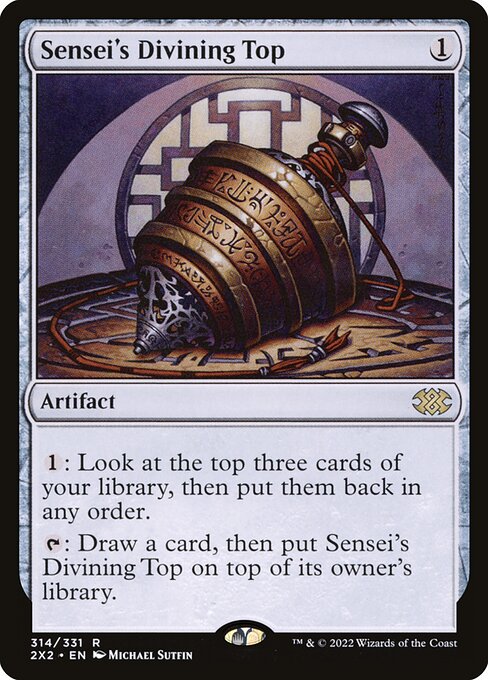 Sensei's Divining Top
 Lightning Greaves
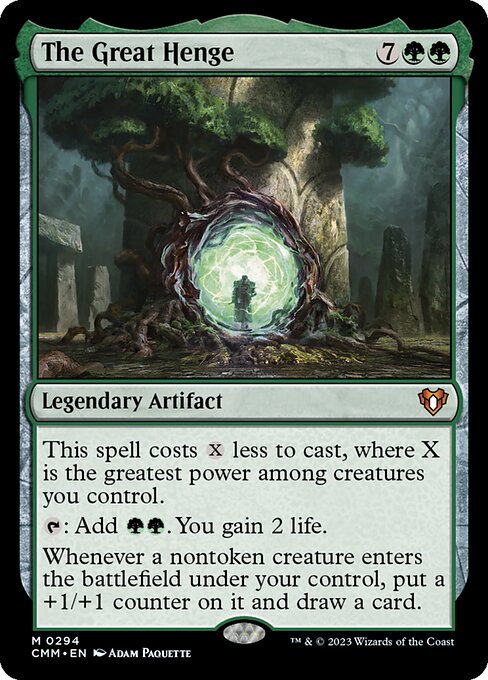 The Great Henge
Enchantments
Enchantments that reinforce the Equipment strategy in Lara Croft, Tomb Raider decks.
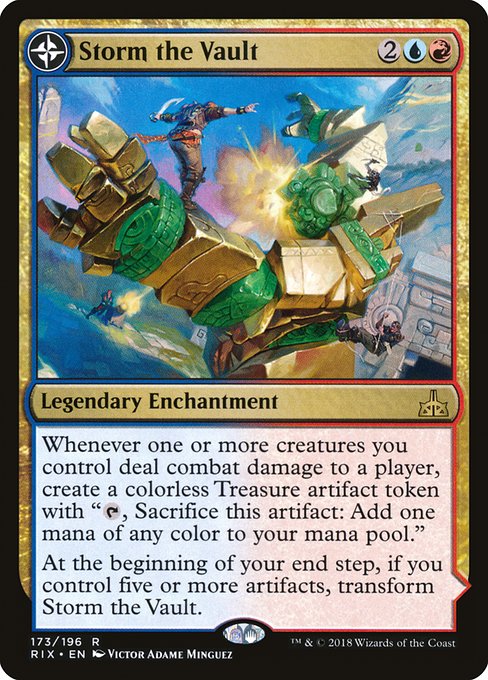
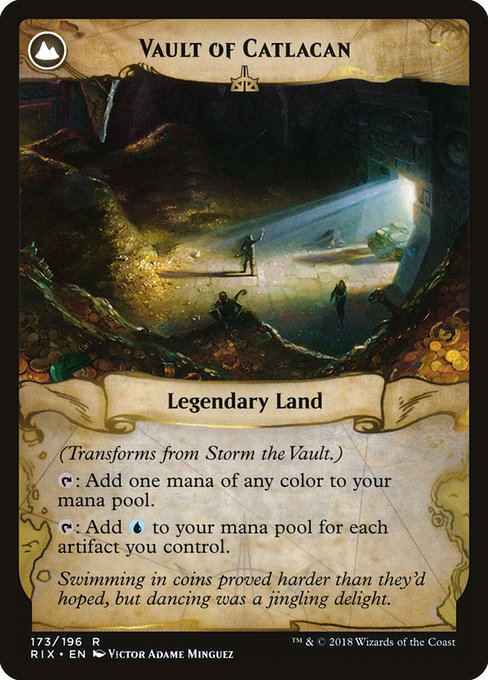 Storm the Vault
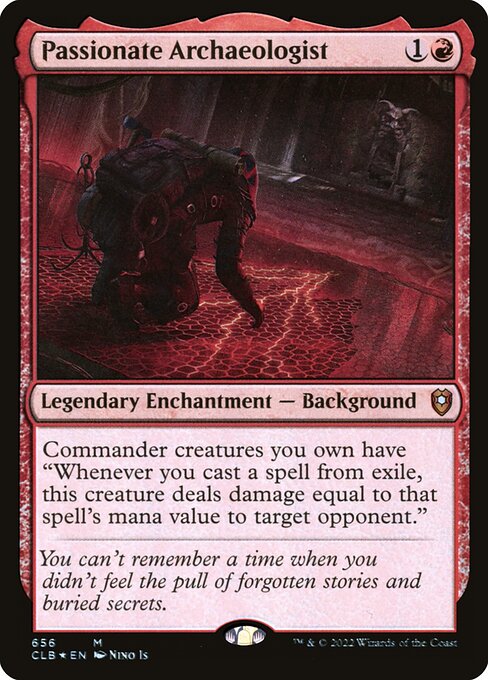 Passionate Archaeologist
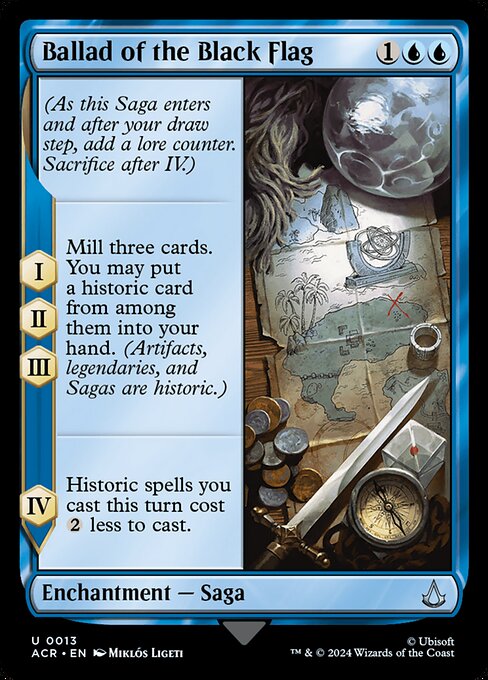 Ballad of the Black Flag
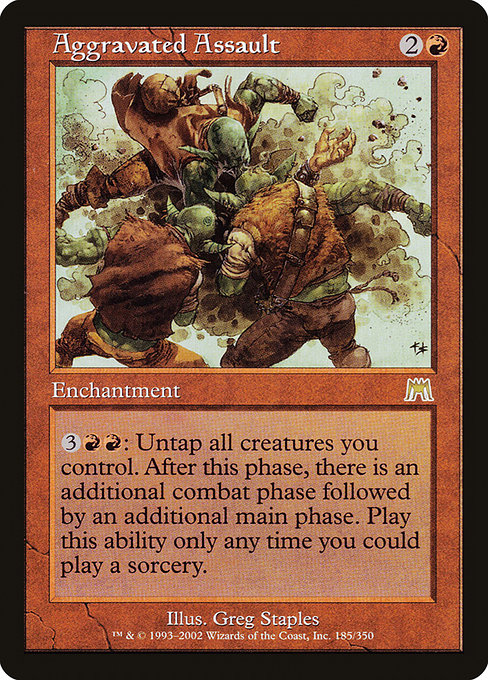 Aggravated Assault
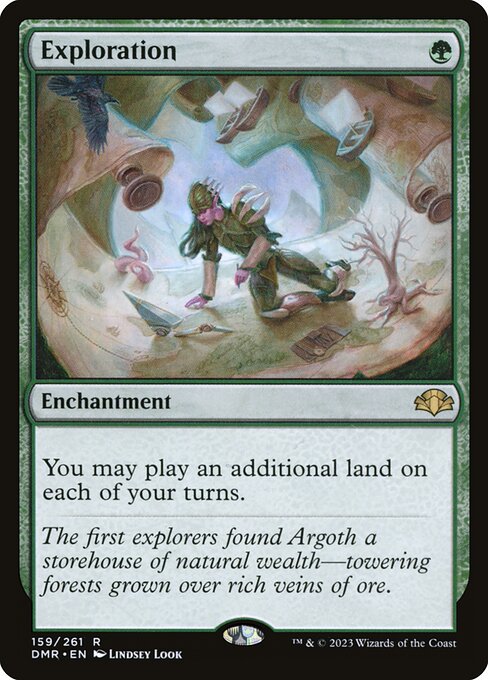 Exploration
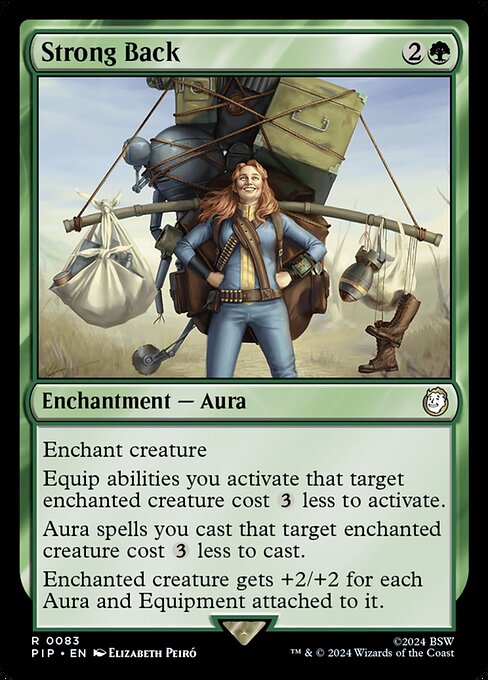 Strong Back
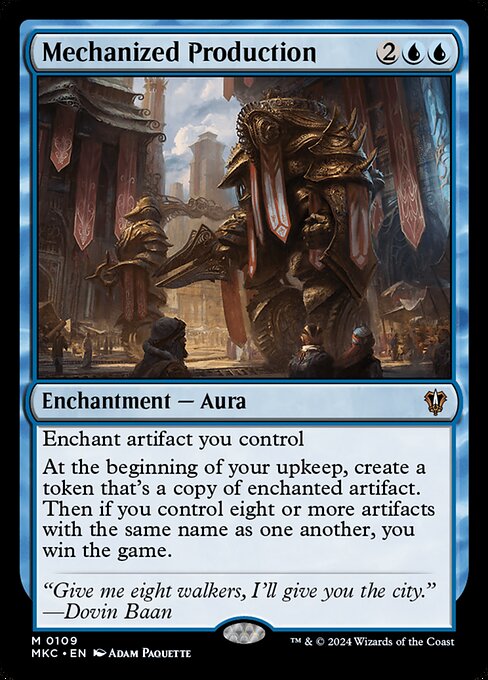 Mechanized Production
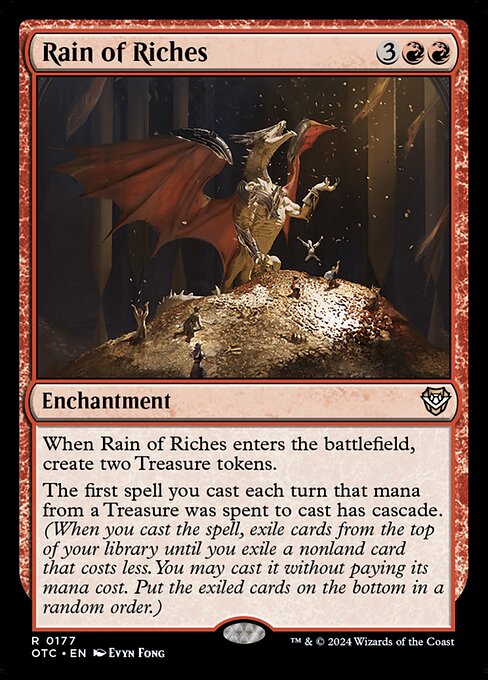 Rain of Riches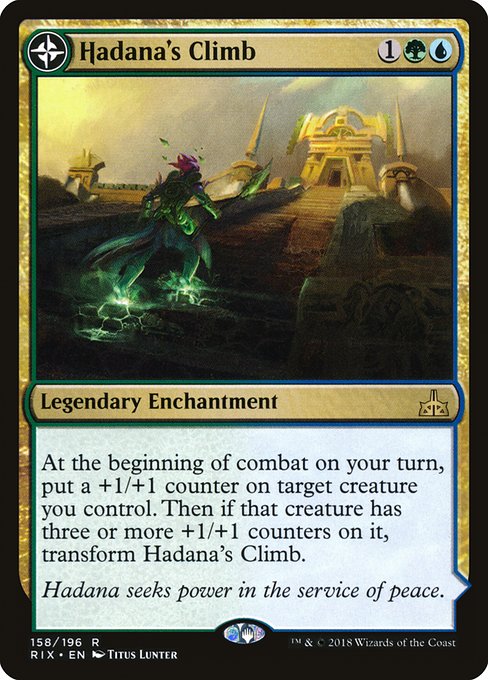
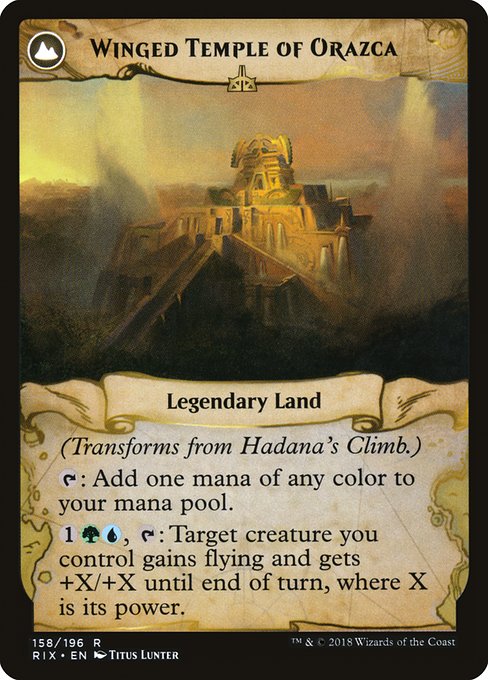 Hadana's Climb
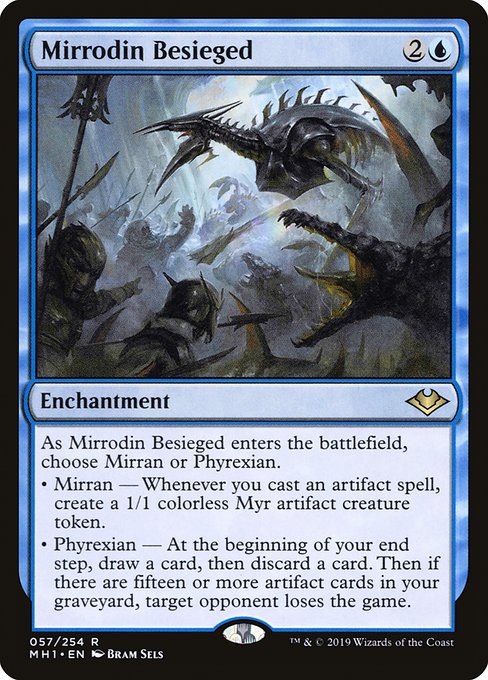 Mirrodin Besieged
 Path of Discovery
 Propaganda
Planeswalkers
Planeswalkers that back up Lara Croft, Tomb Raider's Equipment game plan.
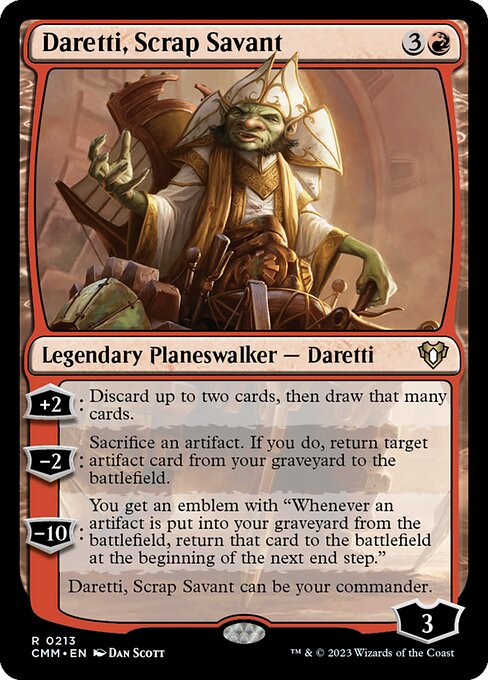 Daretti, Scrap Savant
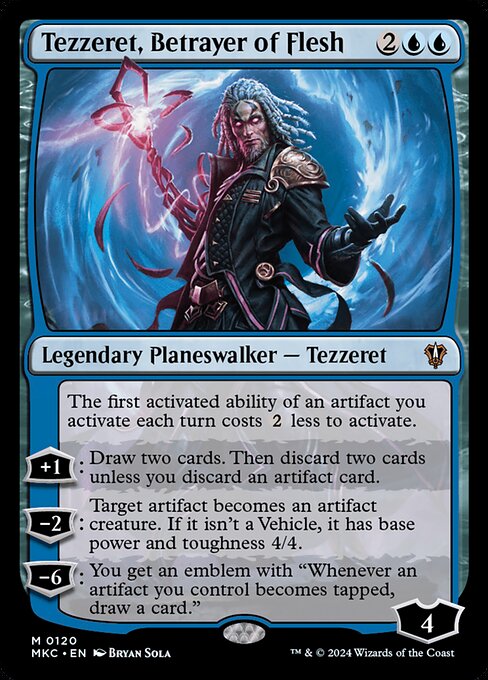 Tezzeret, Betrayer of Flesh
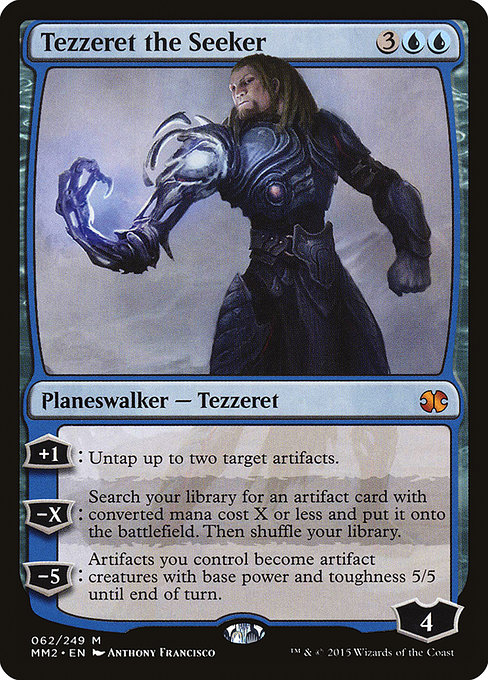 Tezzeret the Seeker
Utility Lands
Non-basic lands that pull extra weight in Lara Croft, Tomb Raider Equipment decks.
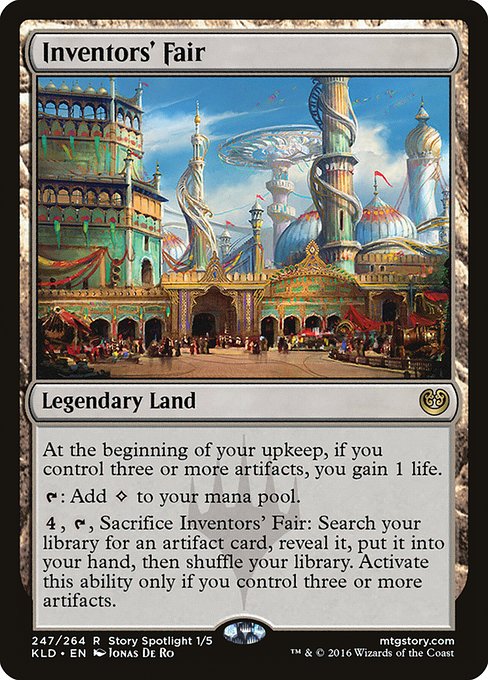 Inventors' Fair
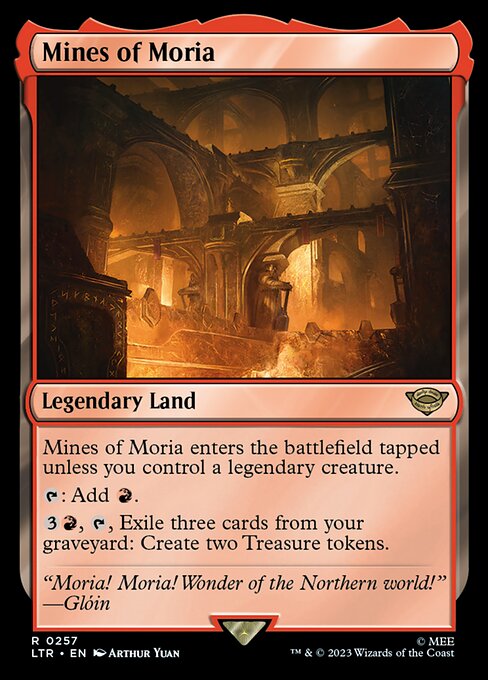 Mines of Moria
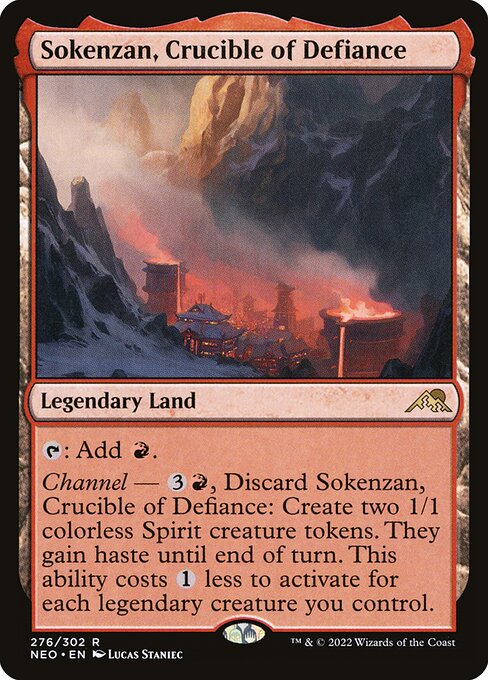 Sokenzan, Crucible of Defiance
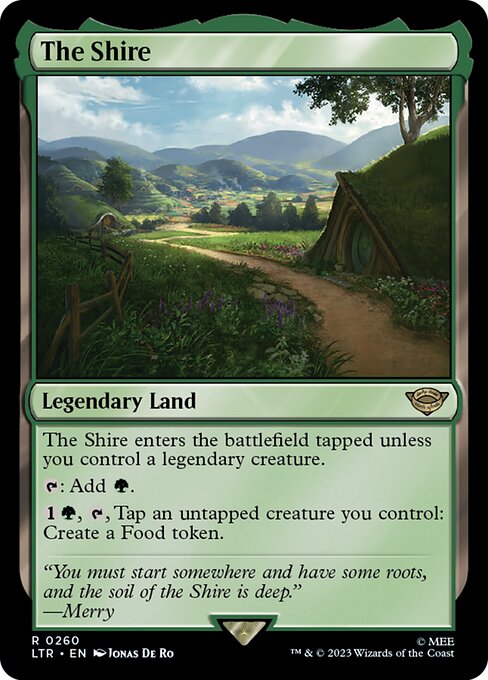 The Shire
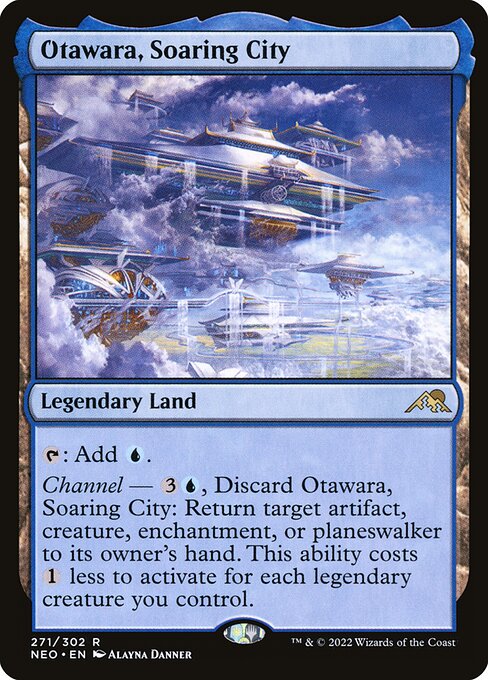 Otawara, Soaring City
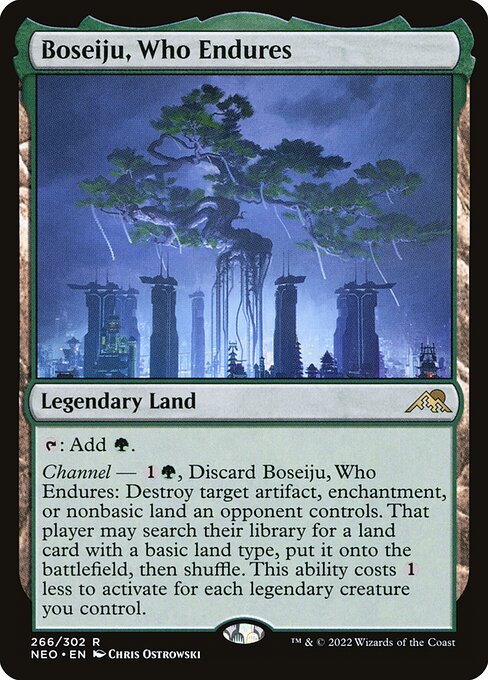 Boseiju, Who Endures
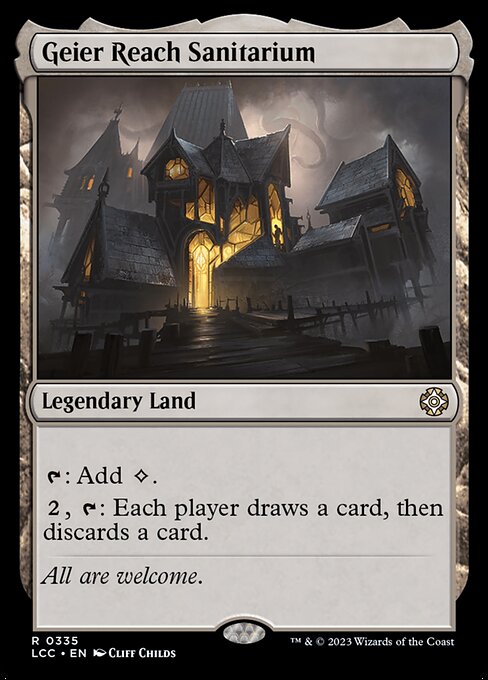 Geier Reach Sanitarium
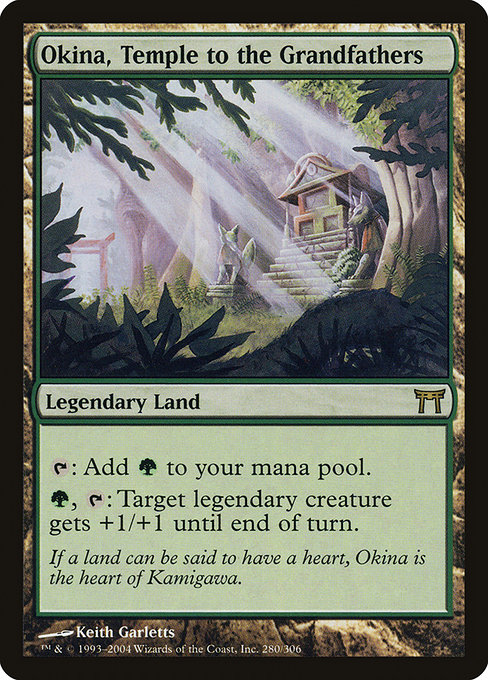 Okina, Temple to the Grandfathers
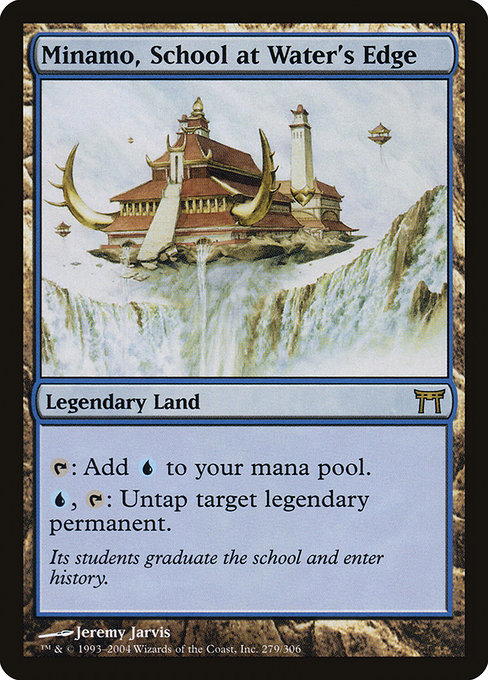 Minamo, School at Water's Edge
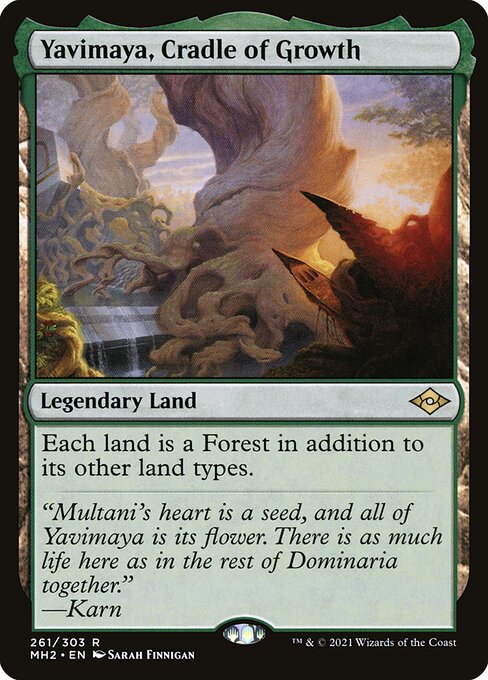 Yavimaya, Cradle of Growth
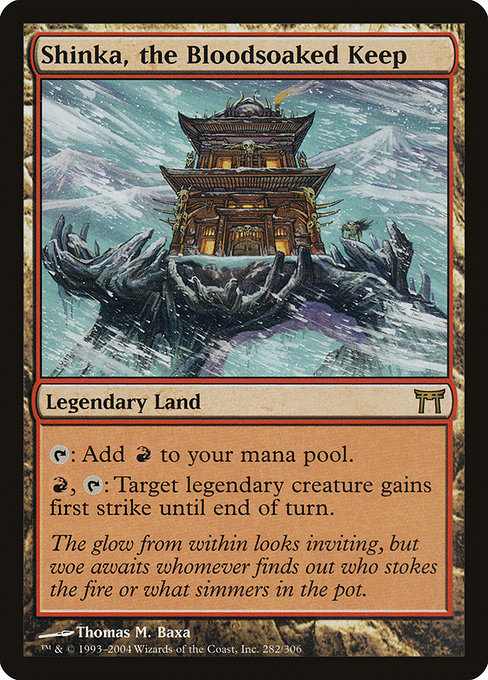 Shinka, the Bloodsoaked Keep
 Rogue's Passage
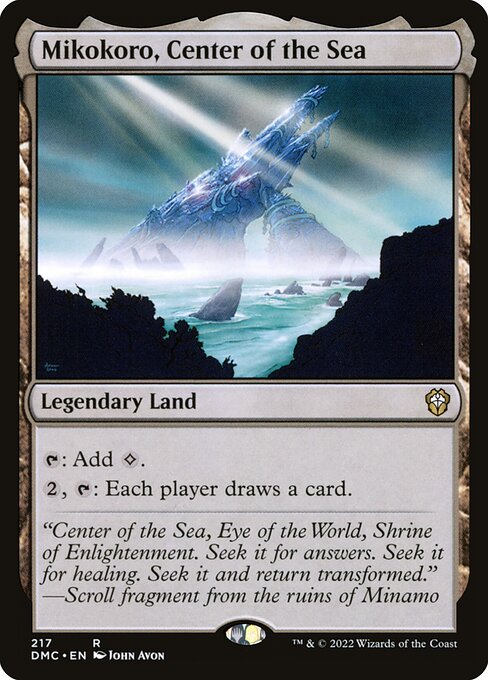 Mikokoro, Center of the Sea
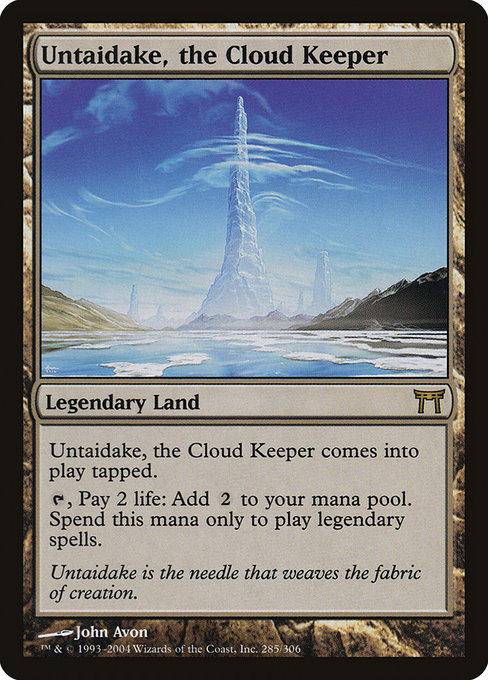 Untaidake, the Cloud Keeper
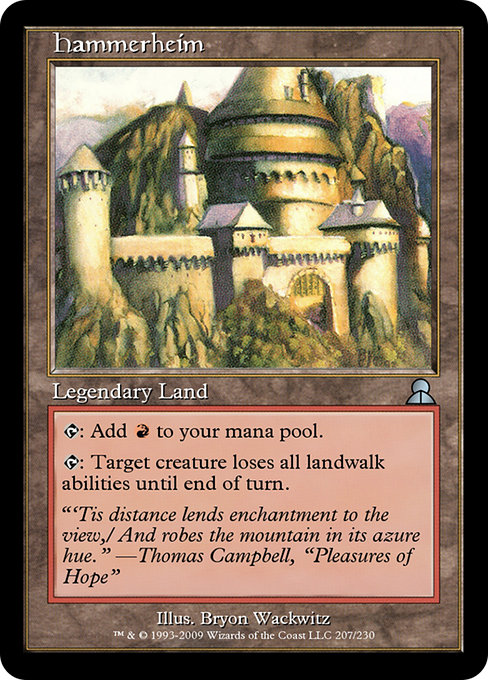 Hammerheim
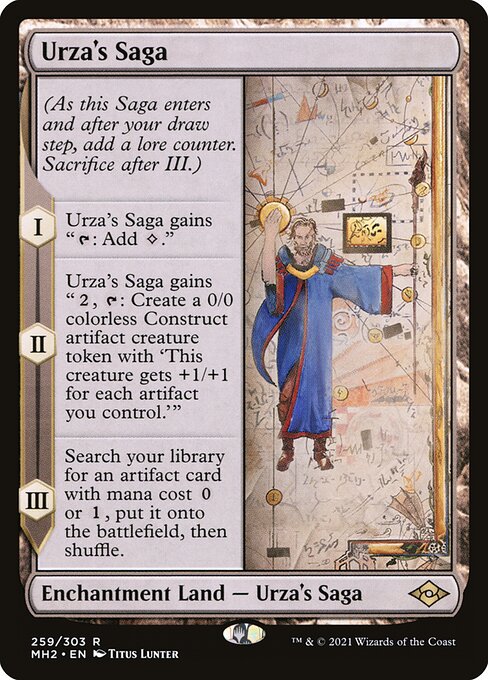 Urza's Saga
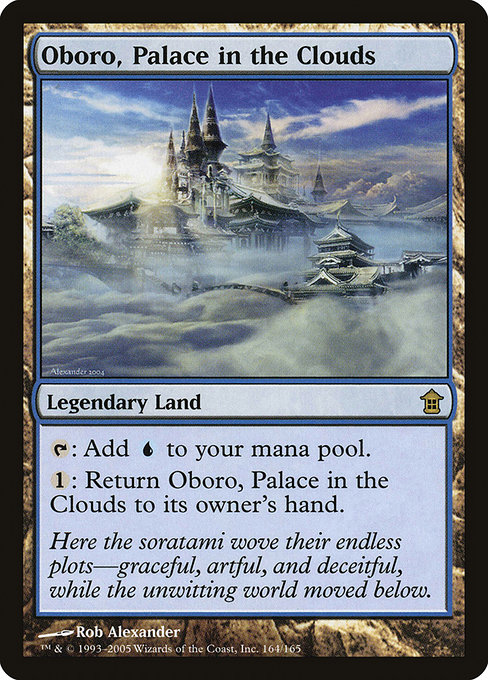 Oboro, Palace in the Clouds
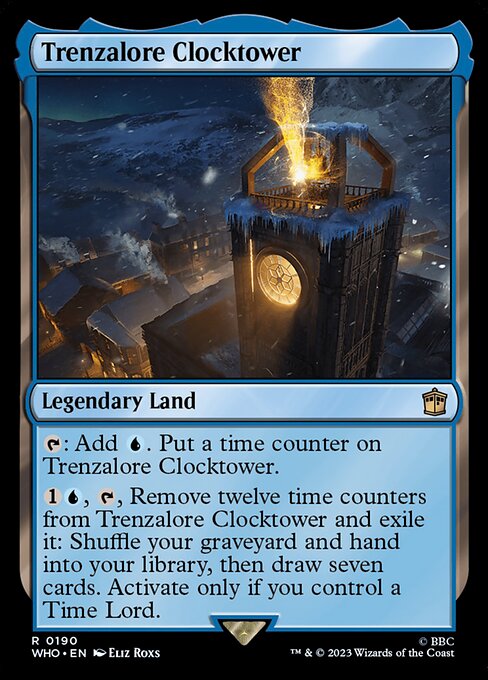 Trenzalore Clocktower
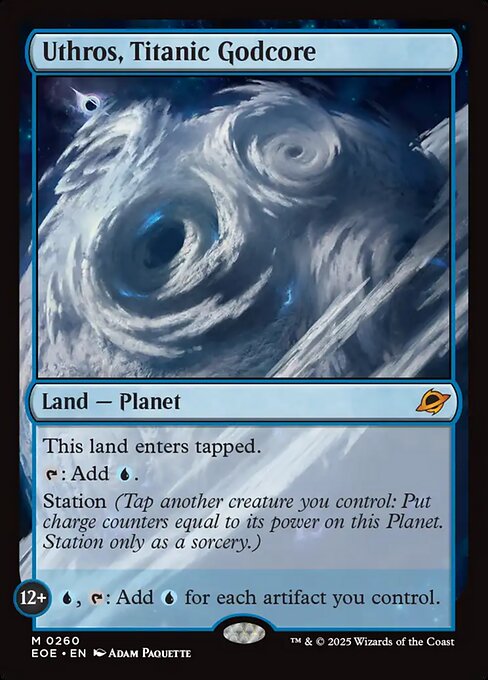 Uthros, Titanic Godcore
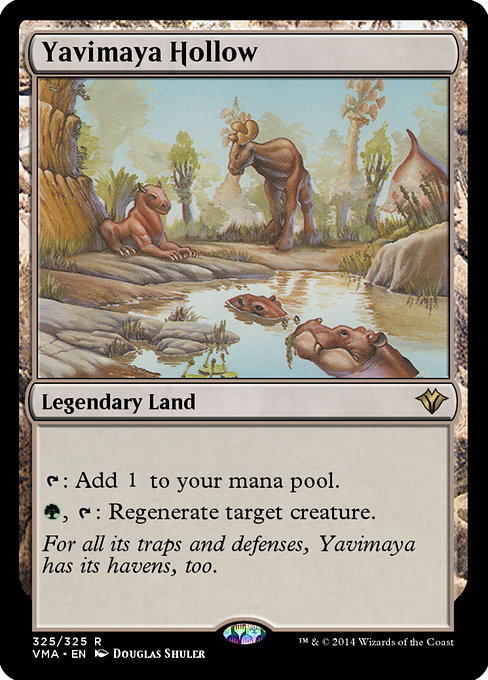 Yavimaya Hollow
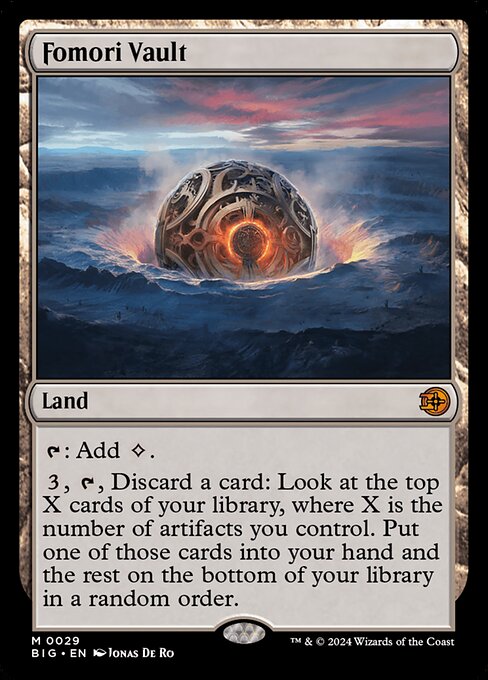 Fomori Vault
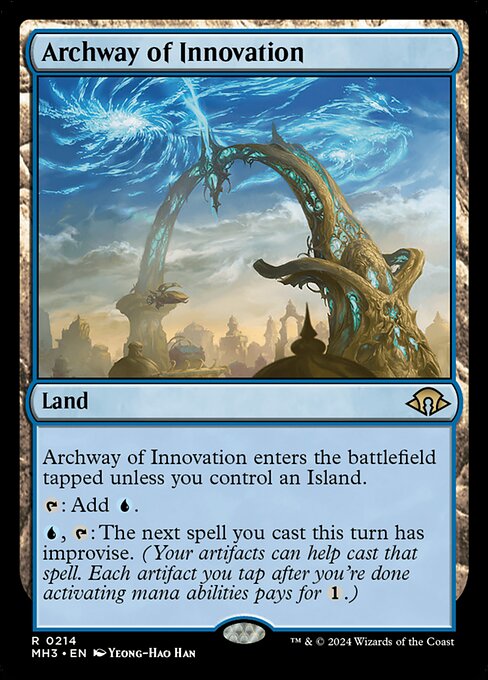 Archway of Innovation
 Kher Keep
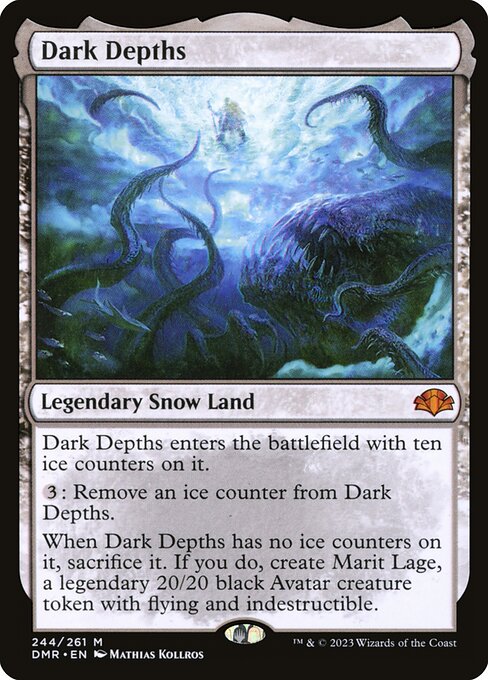 Dark Depths
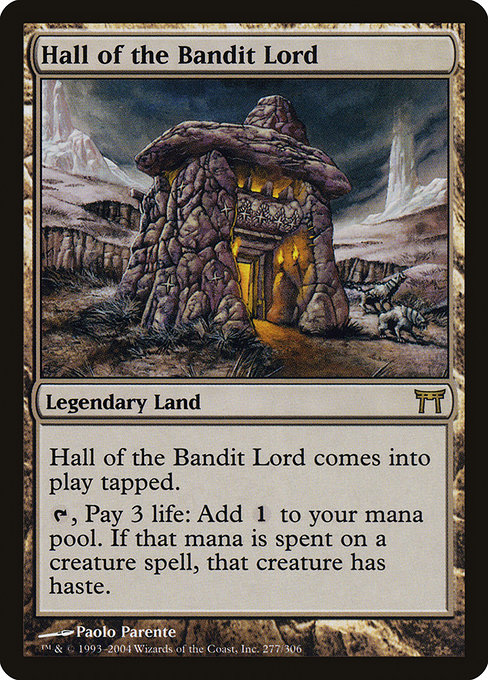 Hall of the Bandit Lord
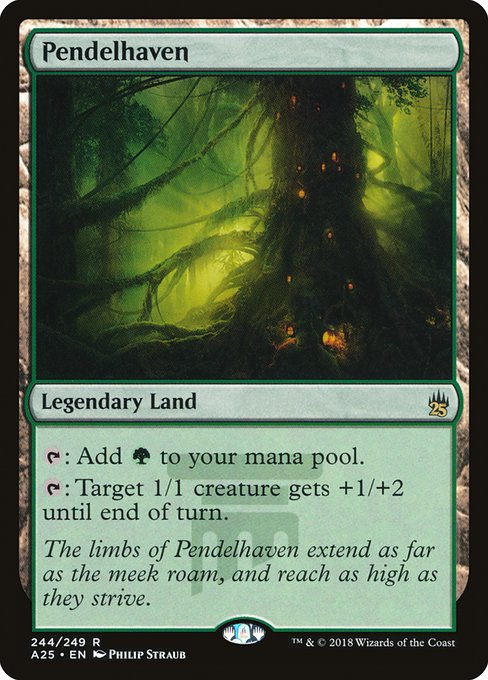 Pendelhaven
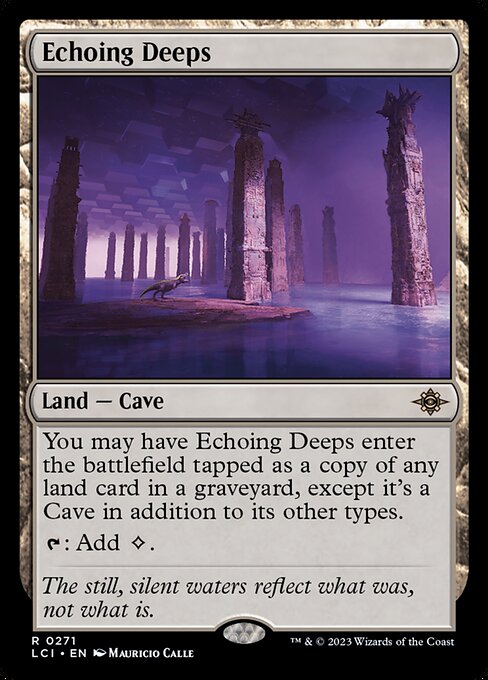 Echoing Deeps
 Seat of the Synod
 Great Furnace
 Buried Ruin
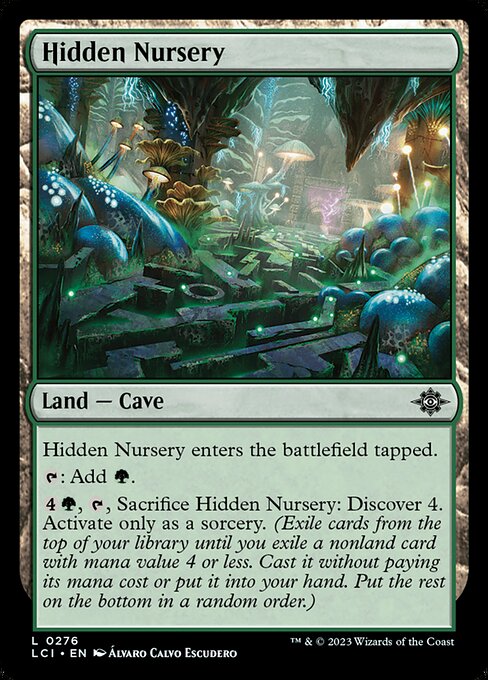 Hidden Nursery
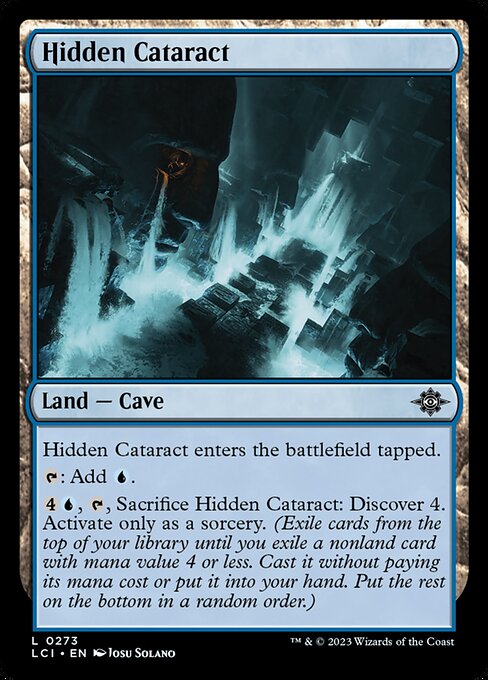 Hidden Cataract
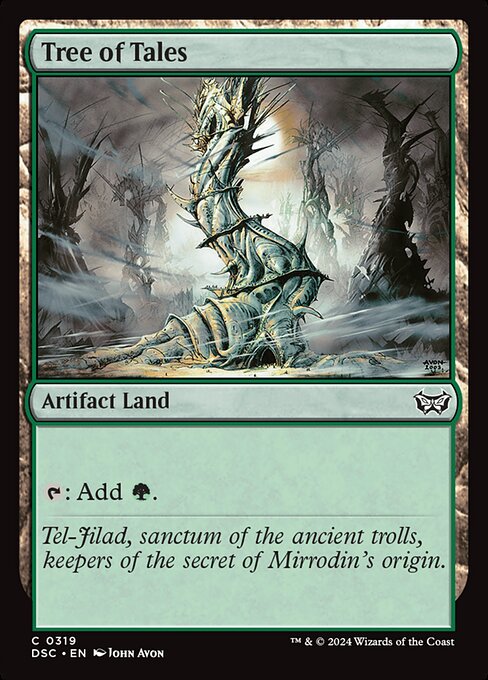 Tree of Tales
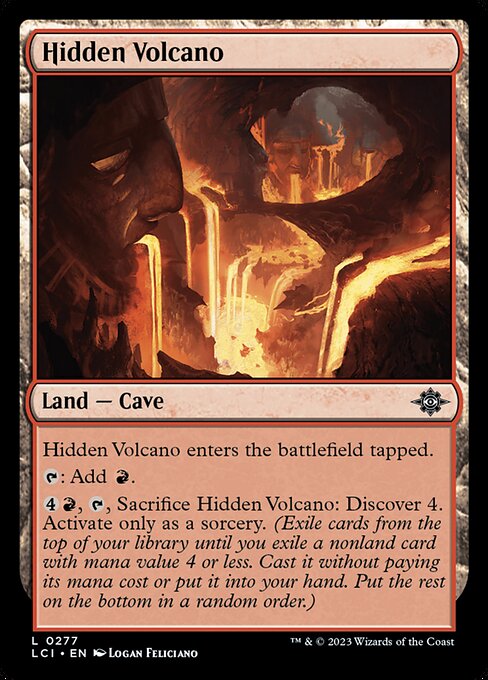 Hidden Volcano
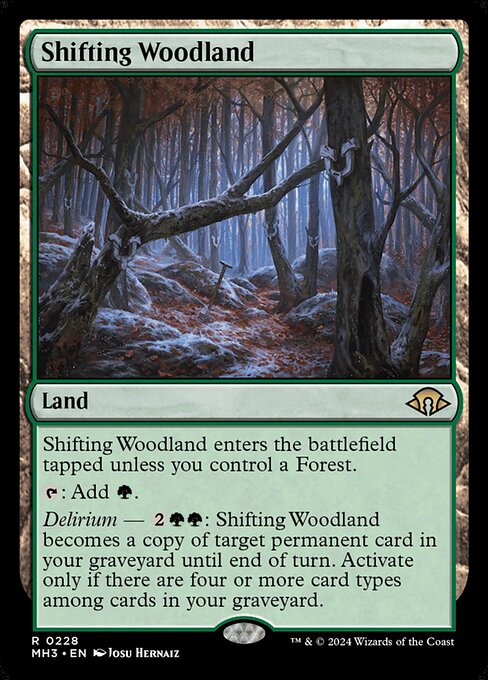 Shifting Woodland
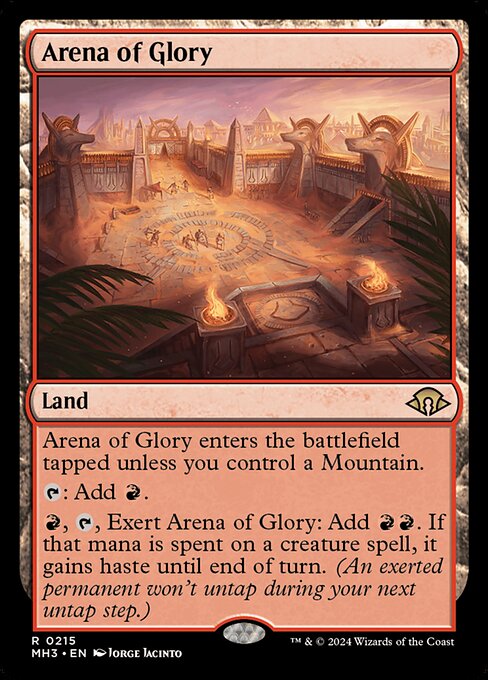 Arena of Glory
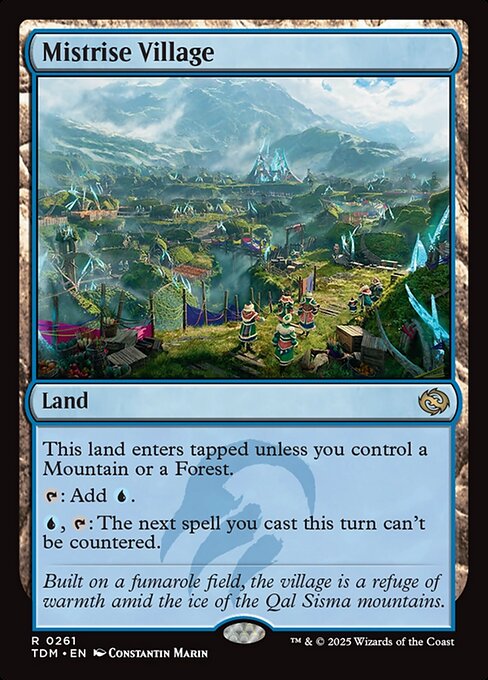 Mistrise Village
 Reliquary Tower
Mana Artifacts
Mana rocks and fixing to power out Lara Croft, Tomb Raider's Equipment strategy.
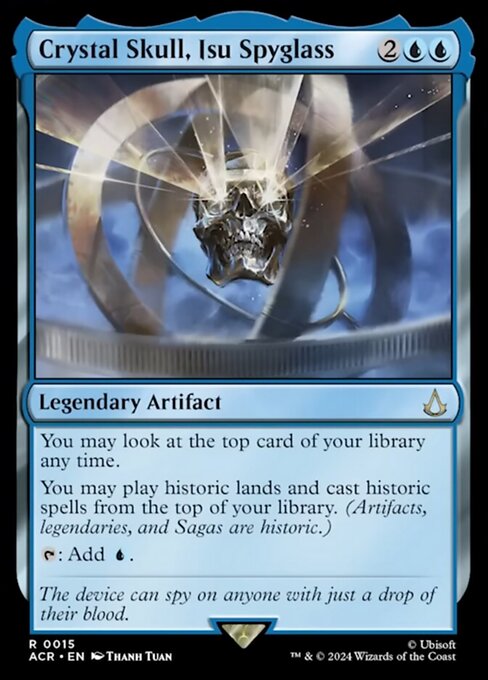 Crystal Skull, Isu Spyglass
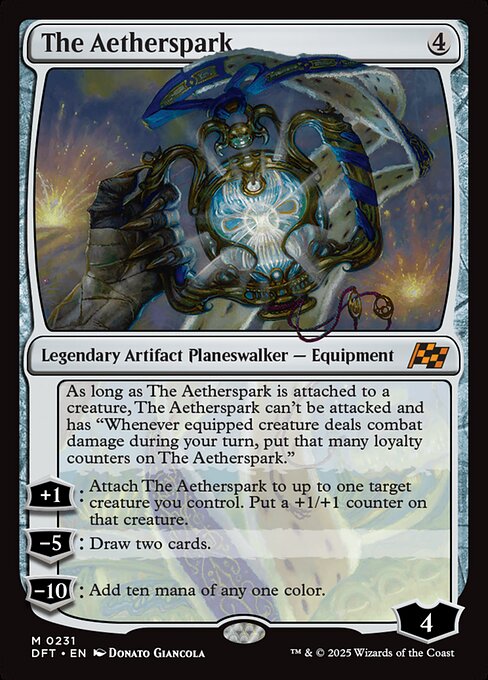 The Aetherspark
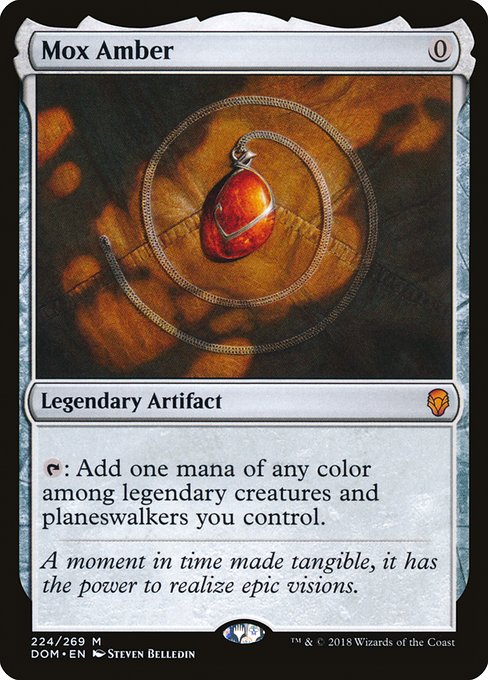 Mox Amber
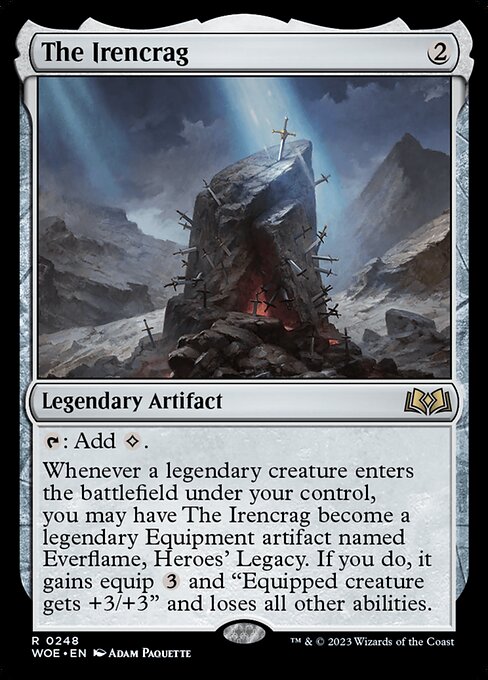 The Irencrag
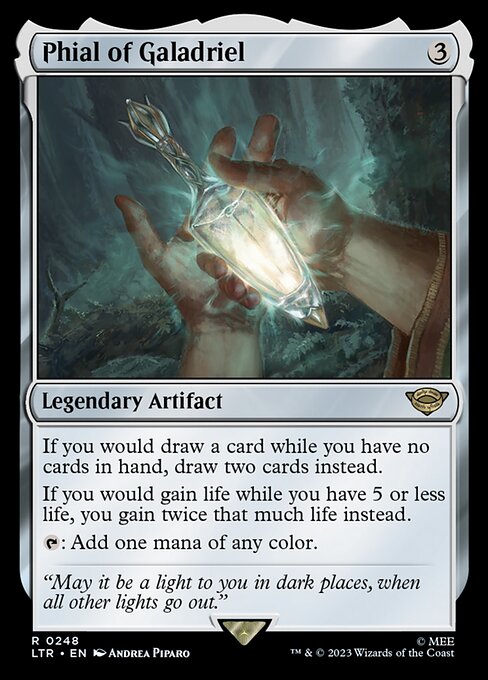 Phial of Galadriel
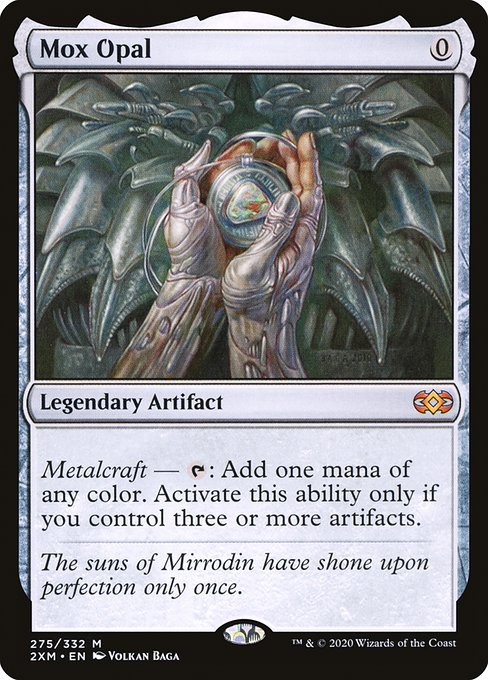 Mox Opal
 Arcane Signet
 Sol Ring
 Fellwar Stone
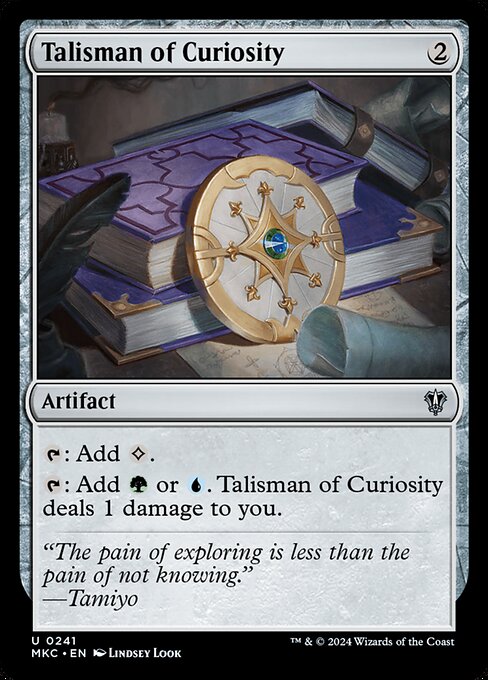 Talisman of Curiosity
 Talisman of Creativity
Lands
The mana base behind Lara Croft, Tomb Raider's Equipment decks.
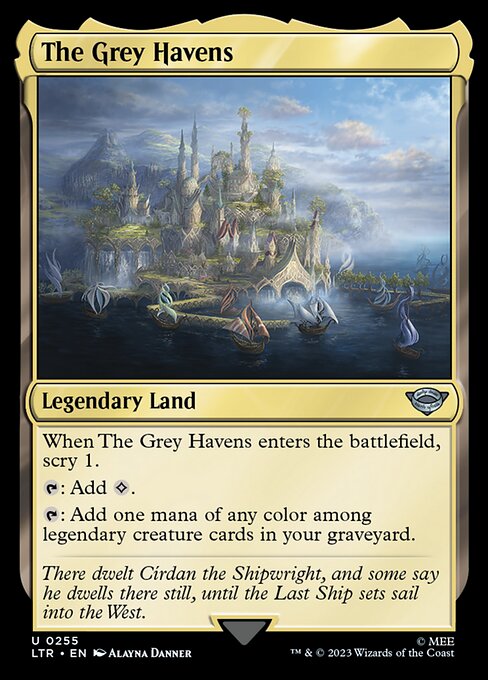 The Grey Havens
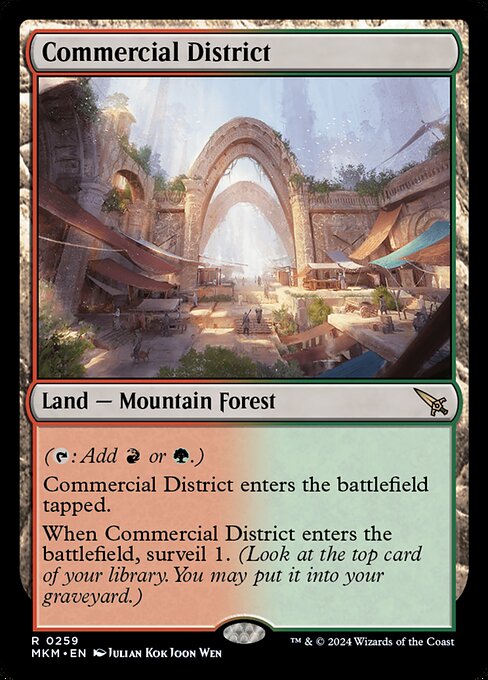 Commercial District
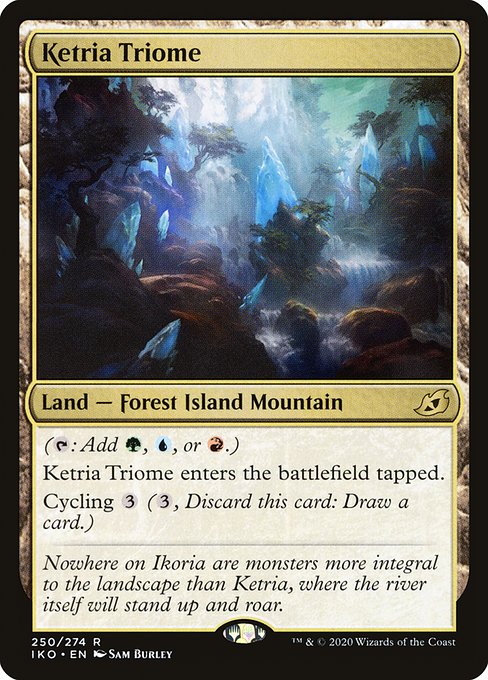 Ketria Triome
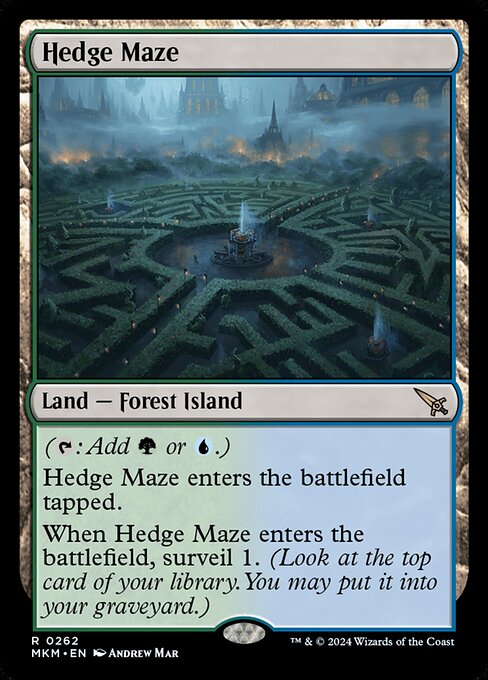 Hedge Maze
 Plaza of Heroes
 Steam Vents
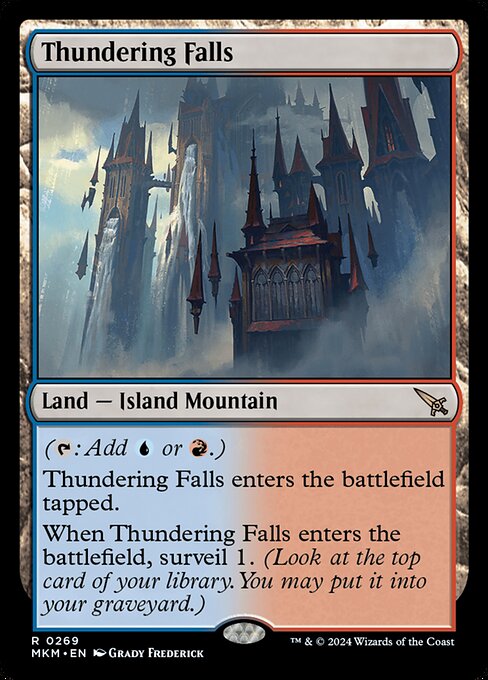 Thundering Falls
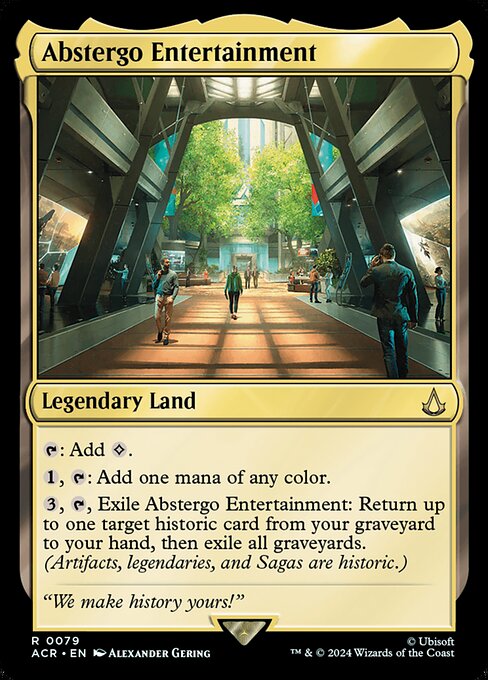 Abstergo Entertainment
 Breeding Pool
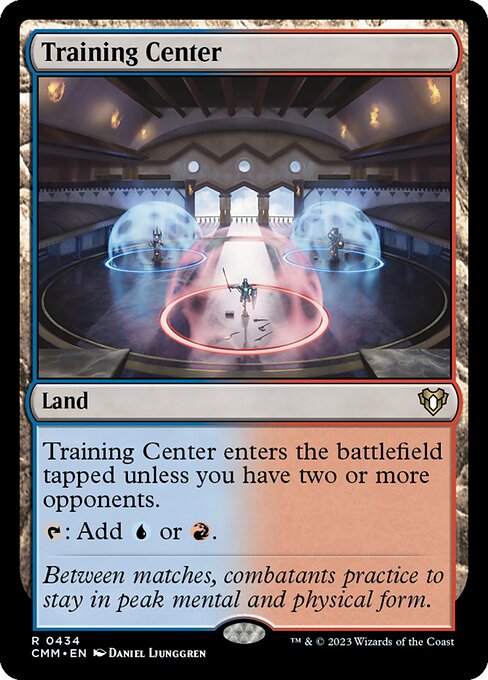 Training Center
 Rejuvenating Springs
 Stomping Ground
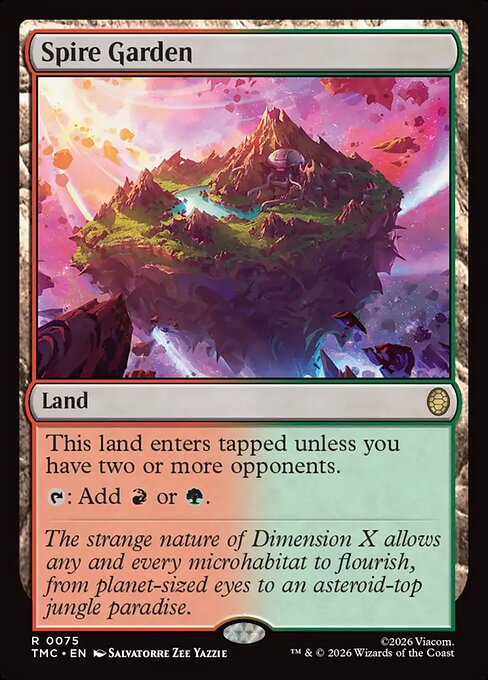 Spire Garden
 Stormcarved Coast
 Command Tower
 Dreamroot Cascade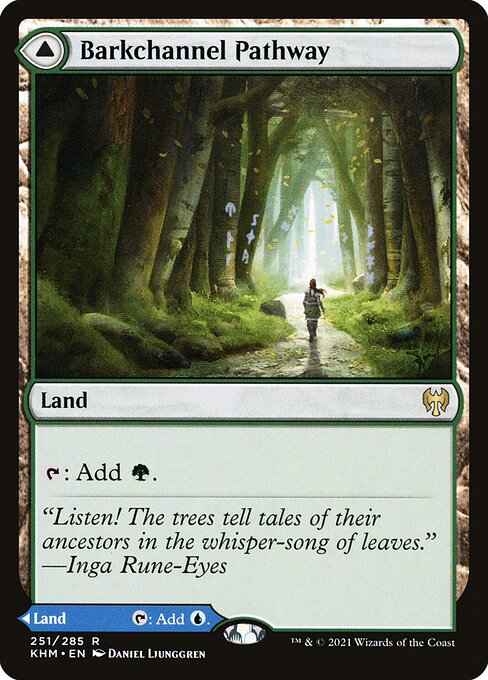
 Barkchannel Pathway
 Misty Rainforest
Bala Ged Recovery
Misty Rainforest
Bala Ged Recovery
 Riverglide Pathway
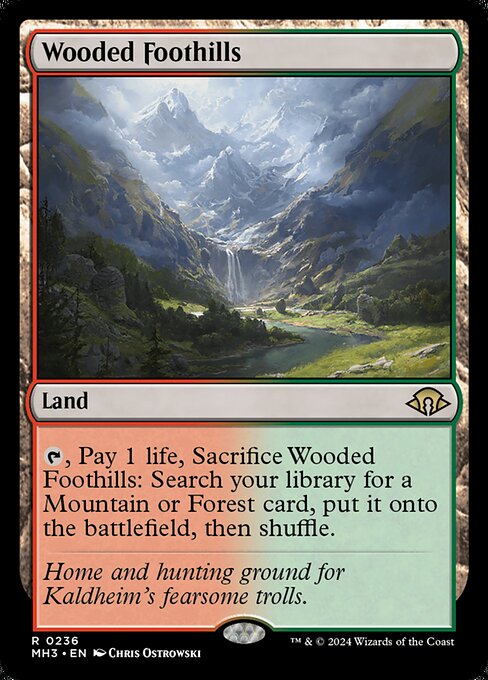 Wooded Foothills
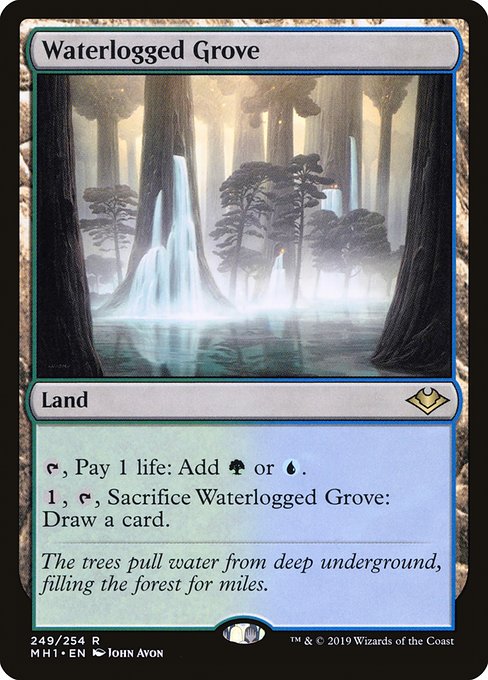 Waterlogged Grove
 Mountain
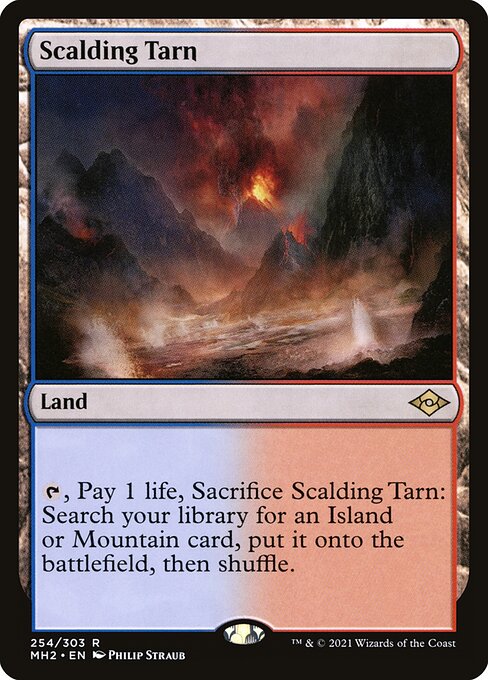 Scalding Tarn
Sink into Stupor
Scalding Tarn
Sink into Stupor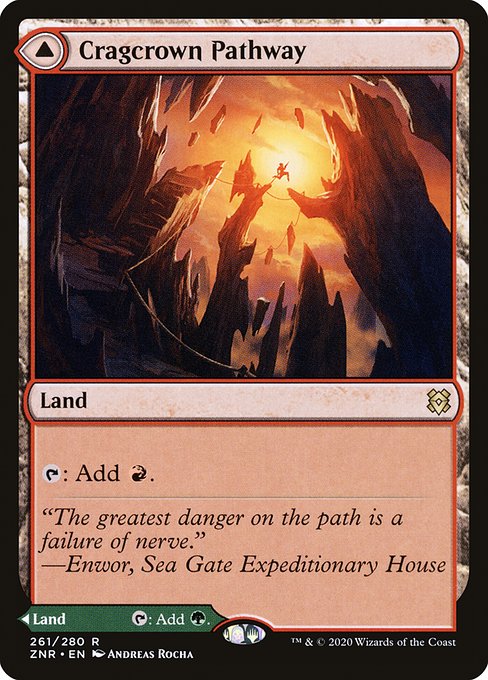
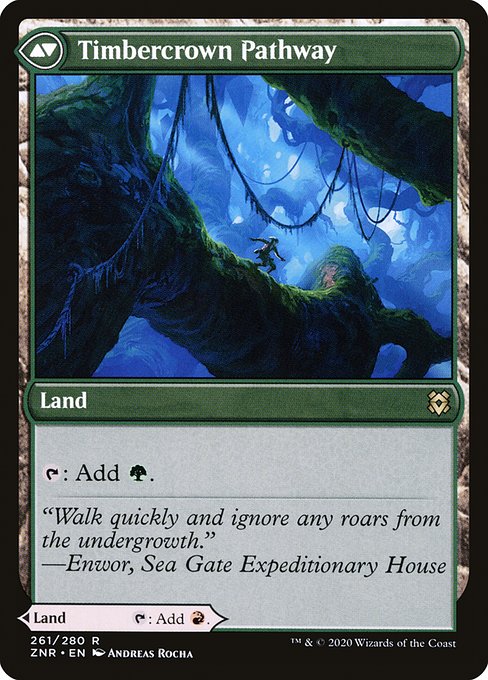 Cragcrown Pathway
 Island
 Forest
 Cascade Bluffs
 Reflecting Pool
 Rockfall Vale
 Temple of Epiphany
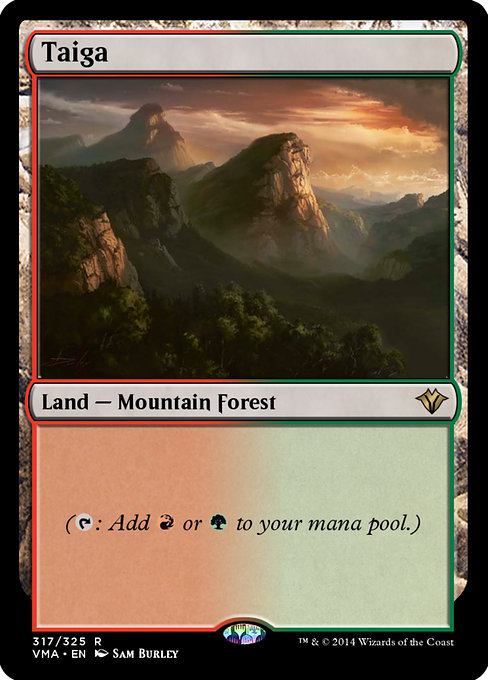 Taiga
Taiga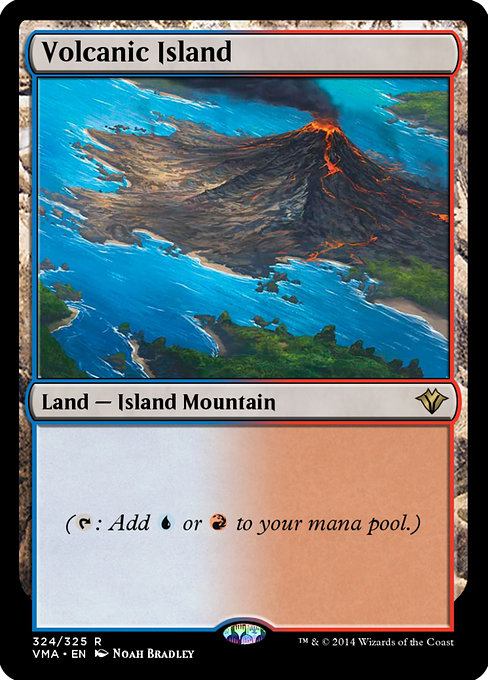 Volcanic Island
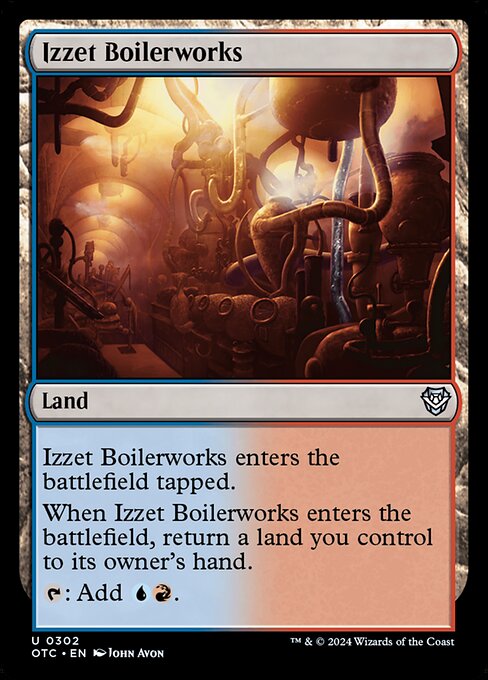 Izzet Boilerworks
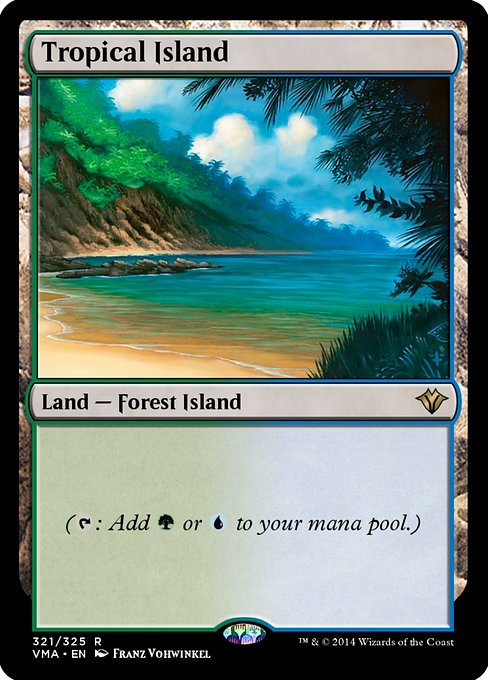 Tropical Island
 Temple of Mystery
 Shivan Reef
 Karplusan Forest
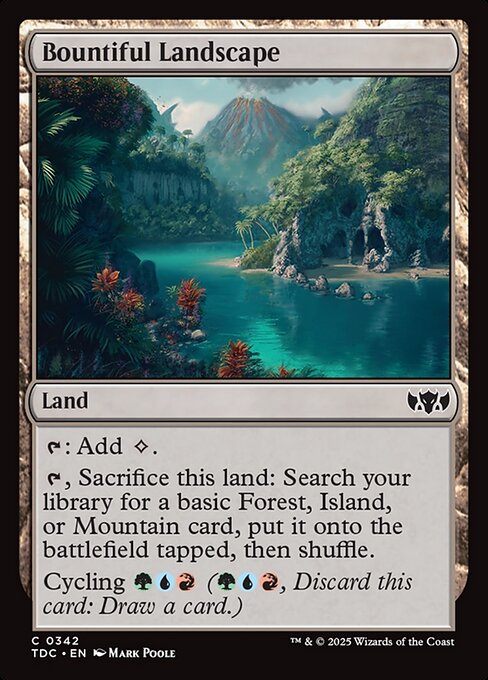 Bountiful Landscape
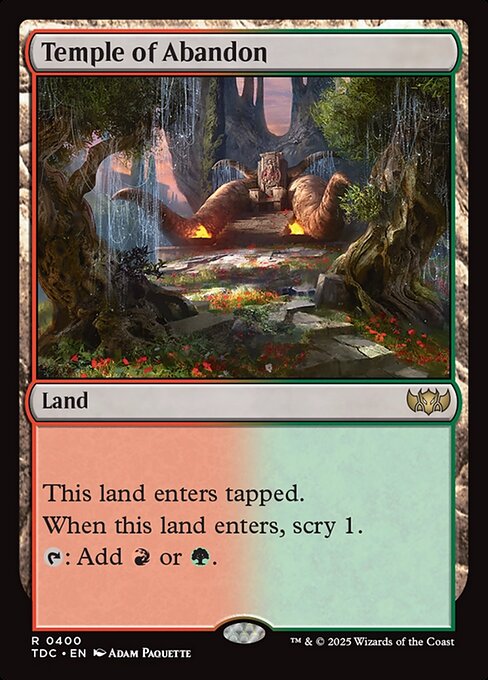 Temple of Abandon
 Yavimaya Coast
 Exotic Orchard
 Sulfur Falls
 Path of Ancestry
 Evolving Wilds
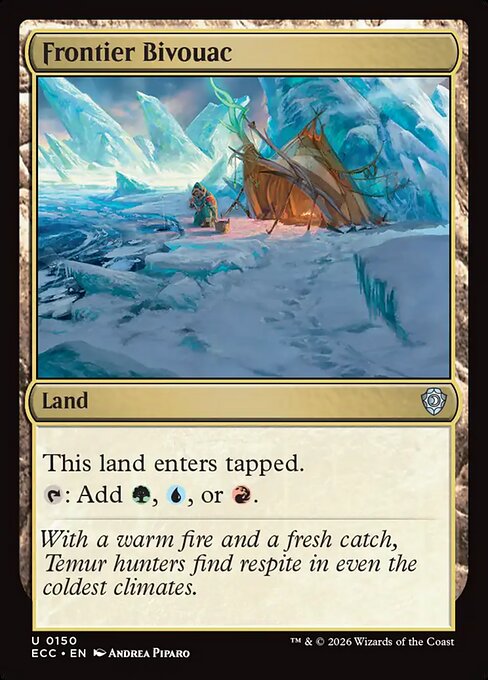 Frontier Bivouac
 Rootbound Crag
 Hinterland Harbor
 Cinder Glade
Similar Commanders
The following Commanders share a similar playing style, strategy, or theme like Lara Croft, Tomb Raider: Equipment.
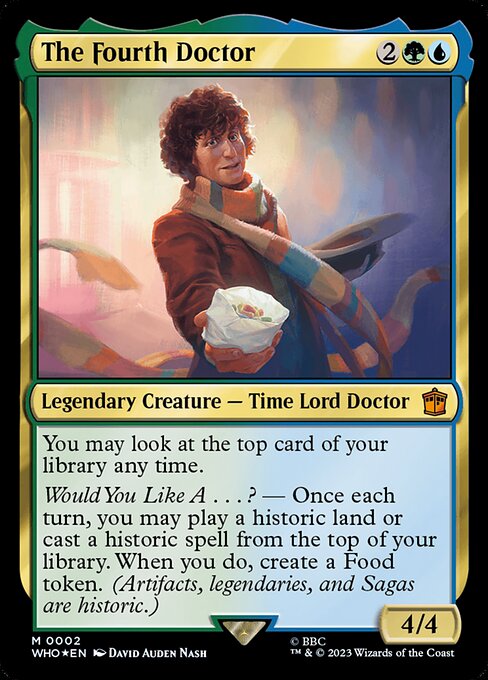
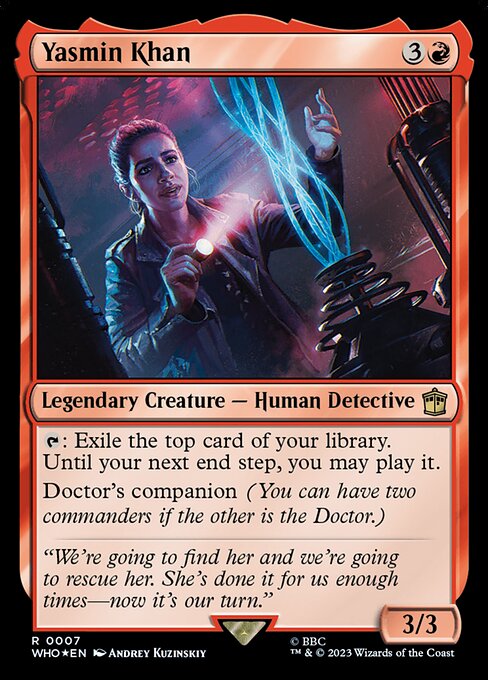 The Fourth Doctor // Yasmin Khan
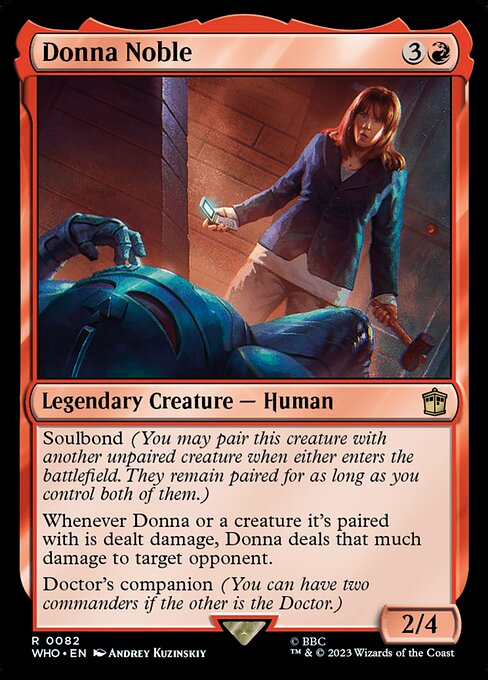 The Fourth Doctor // Donna Noble
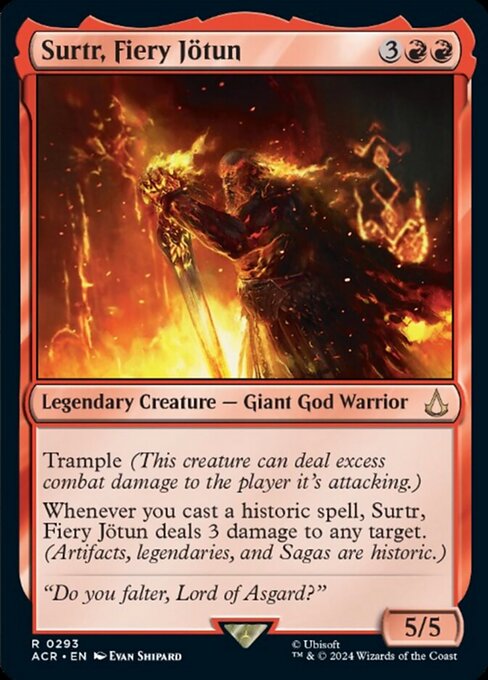 Surtr, Fiery Jötun
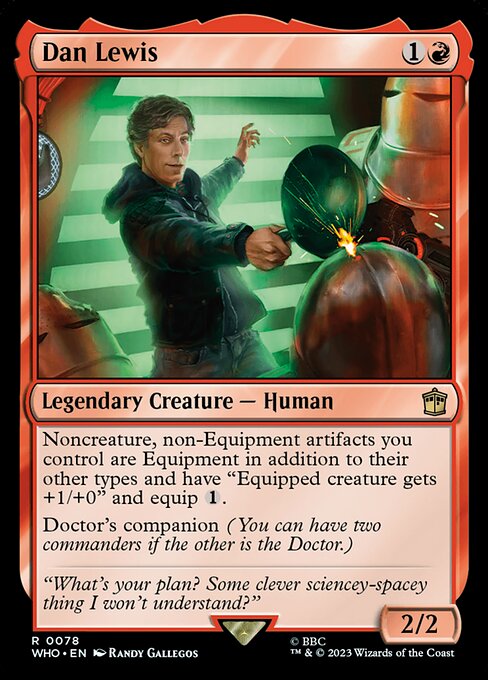 The Fourth Doctor // Dan Lewis
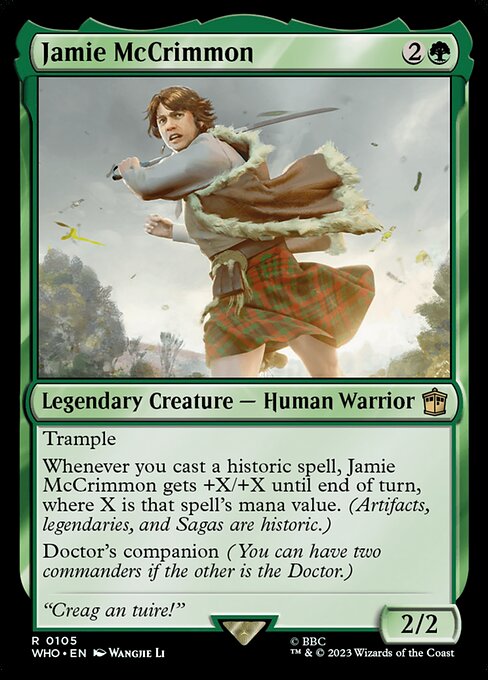 The Fourth Doctor // Jamie McCrimmon
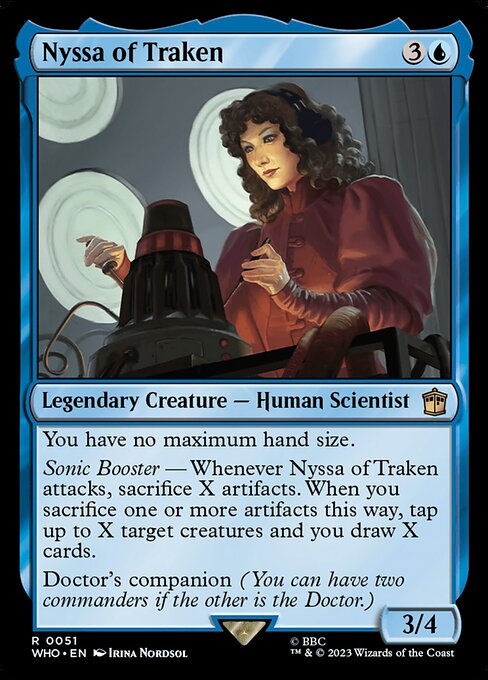 The Fourth Doctor // Nyssa of Traken
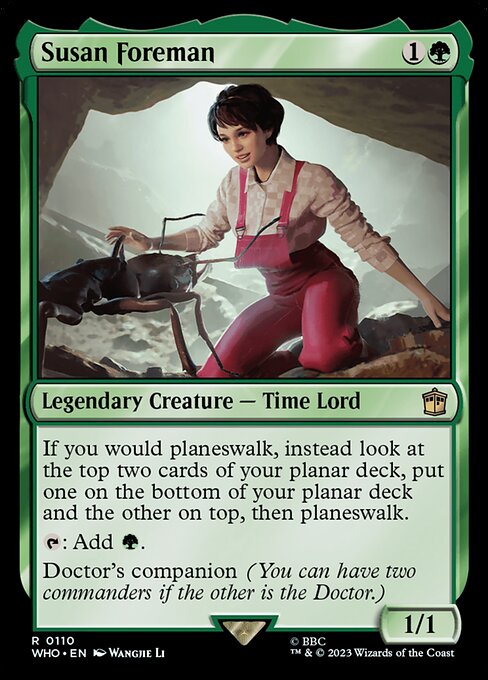 The Fourth Doctor // Susan Foreman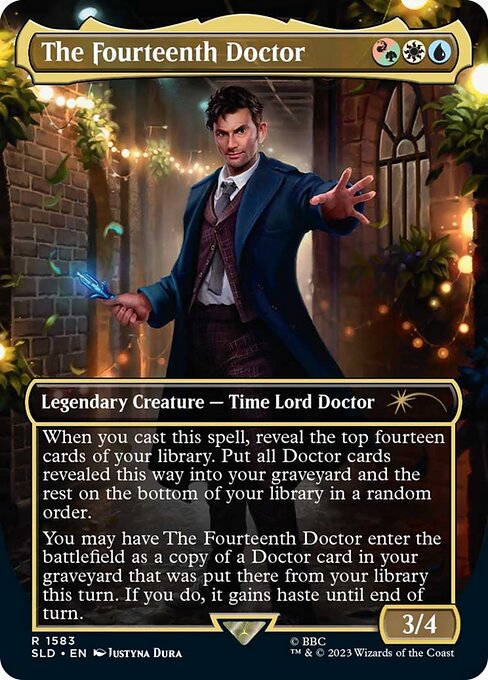
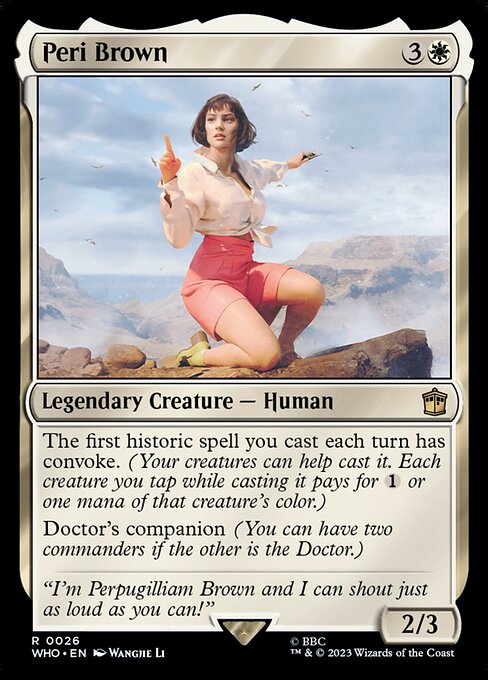 The Fourteenth Doctor // Peri Brown
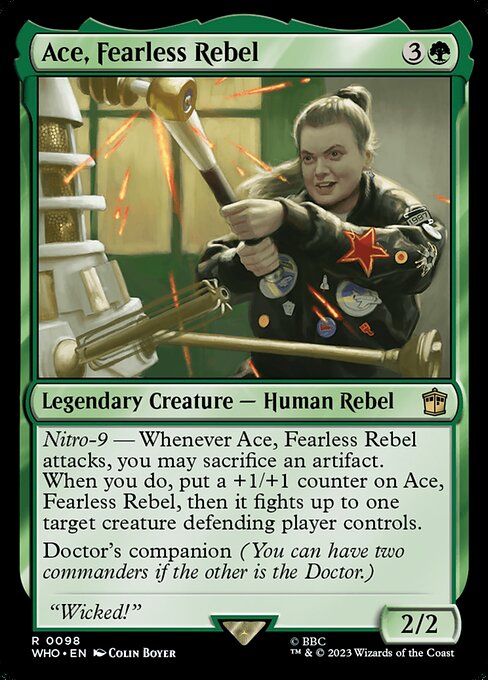 The Fourth Doctor // Ace, Fearless Rebel
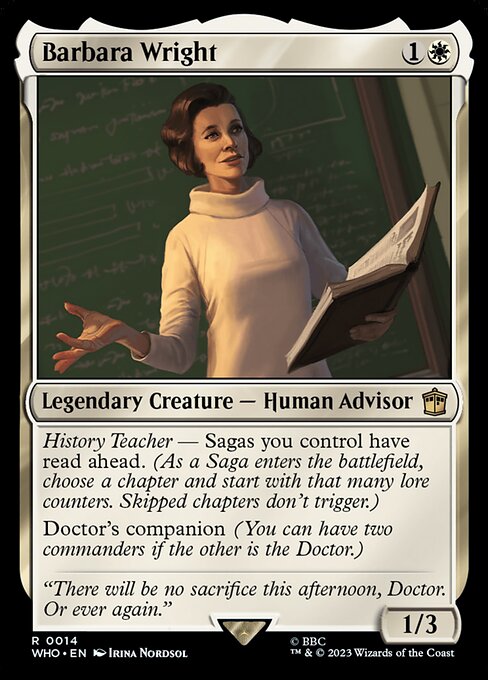 The Fourteenth Doctor // Barbara Wright
The Fourteenth Doctor // Yasmin Khan
The Fourth Doctor
The Sixth Doctor // Yasmin Khan
Rashmi and Ragavan
The Sixth Doctor // Donna Noble
The Fourteenth Doctor // Barbara Wright
The Fourteenth Doctor // Yasmin Khan
The Fourth Doctor
The Sixth Doctor // Yasmin Khan
Rashmi and Ragavan
The Sixth Doctor // Donna Noble
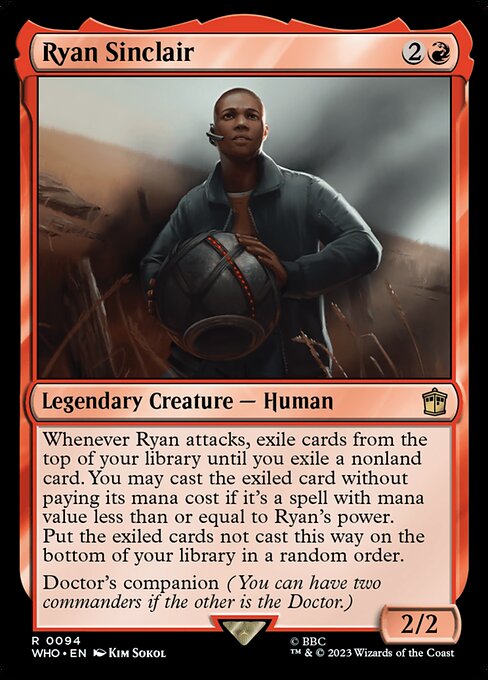 The Sixth Doctor // Ryan Sinclair
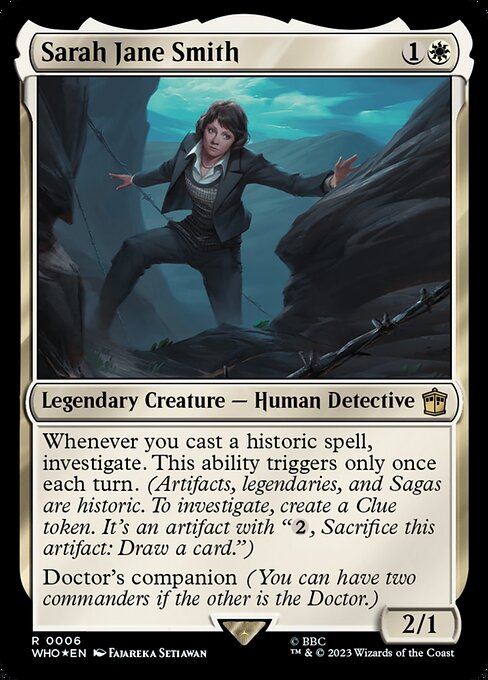 The Fourteenth Doctor // Sarah Jane Smith
The Fourteenth Doctor // Jamie McCrimmon
The Fourth Doctor // K-9, Mark I
The Fourteenth Doctor // Sarah Jane Smith
The Fourteenth Doctor // Jamie McCrimmon
The Fourth Doctor // K-9, Mark I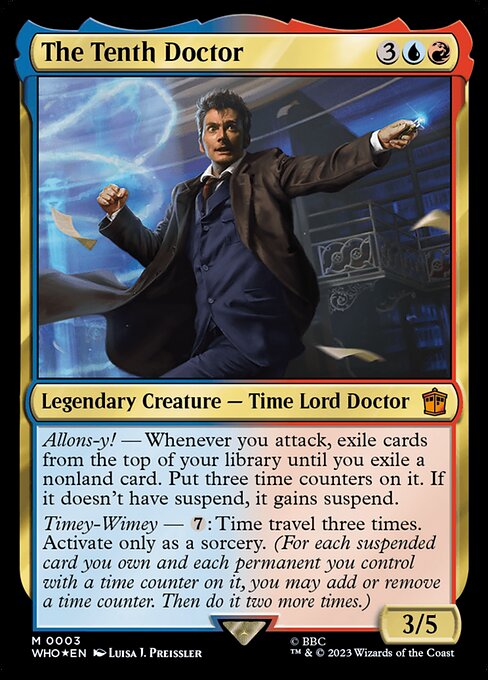 The Tenth Doctor // Jamie McCrimmon
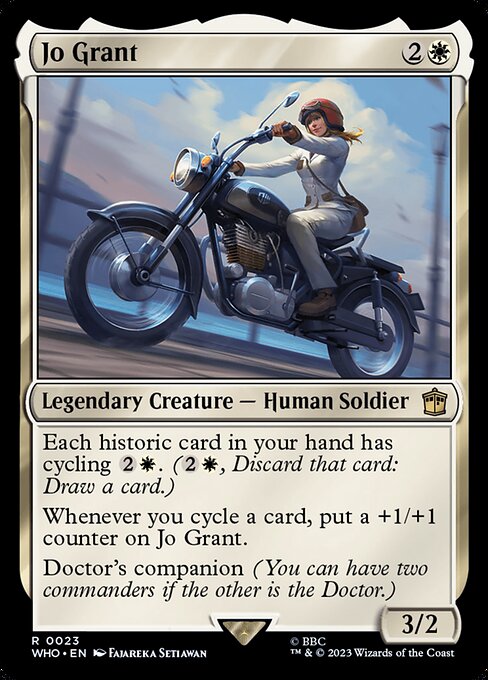 The Fourteenth Doctor // Jo Grant
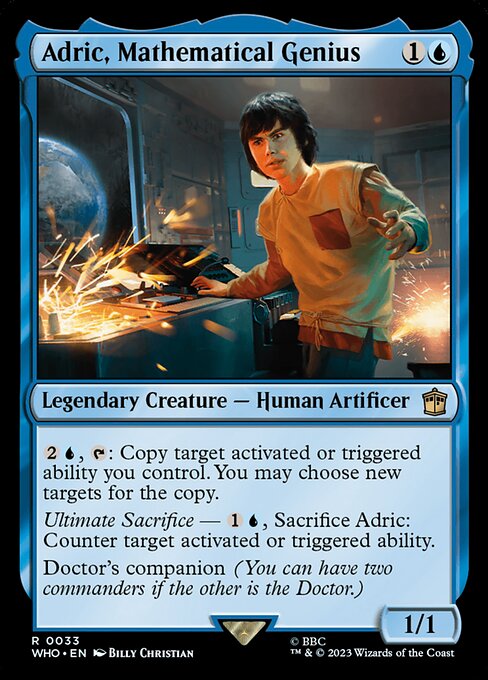 The Sixth Doctor // Adric, Mathematical Genius
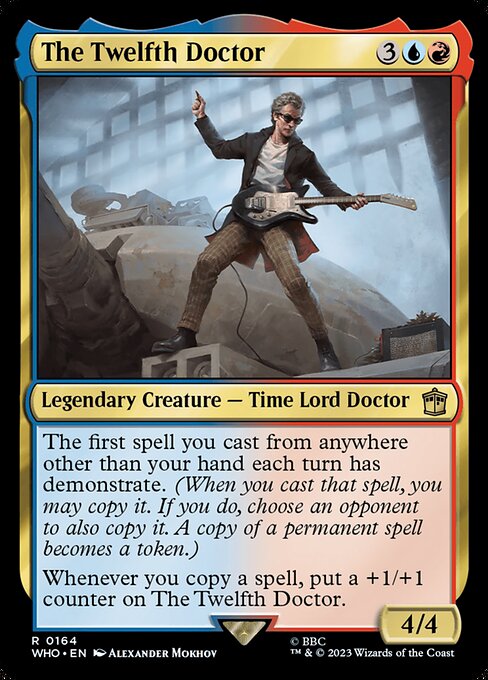 The Twelfth Doctor // Ace, Fearless Rebel
The Fourteenth Doctor
The Twelfth Doctor // Ace, Fearless Rebel
The Fourteenth Doctor
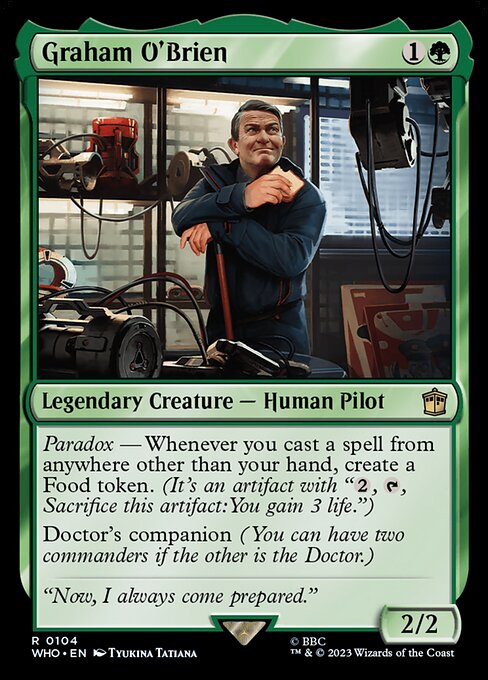 The Fourth Doctor // Graham O'Brien
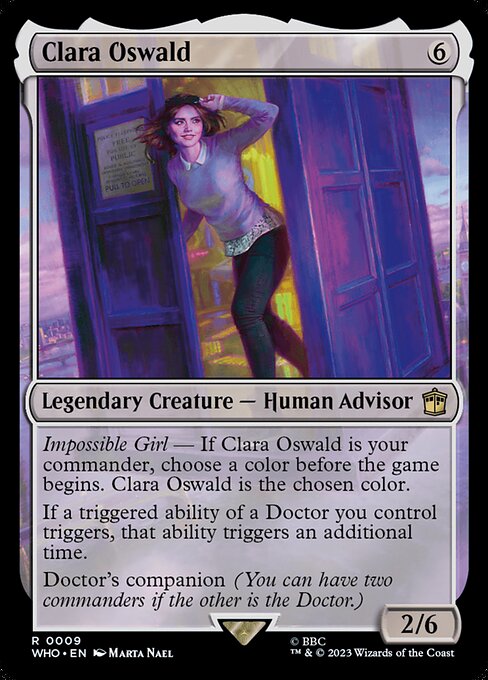 The Fourth Doctor // Clara Oswald
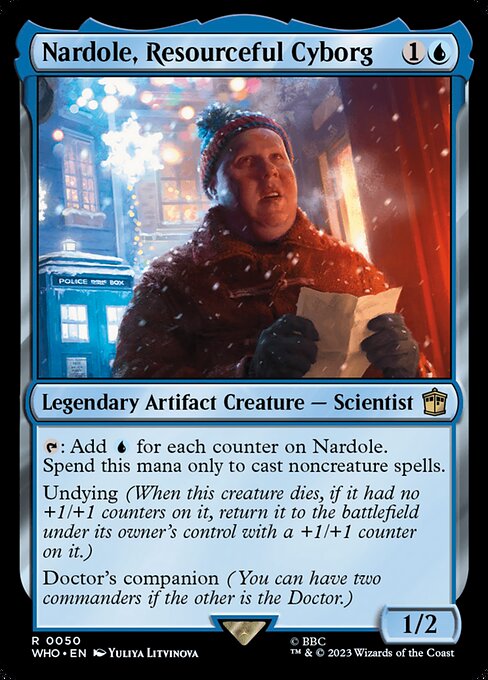 The Fourth Doctor // Nardole, Resourceful Cyborg
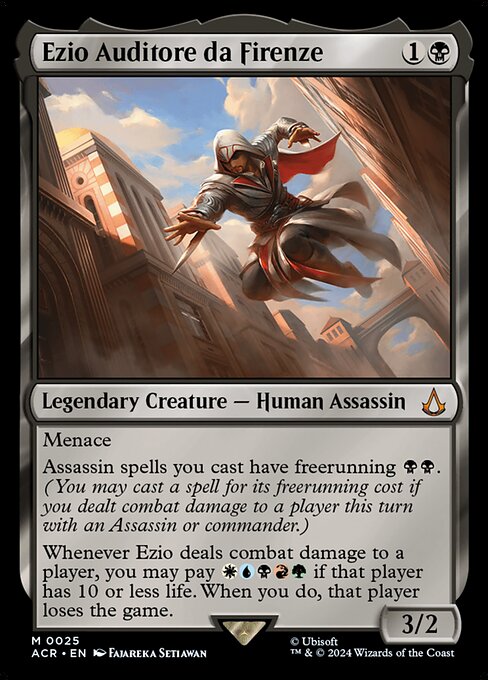 Ezio Auditore da Firenze
The Fourteenth Doctor // Donna Noble
Ezio Auditore da Firenze
The Fourteenth Doctor // Donna Noble
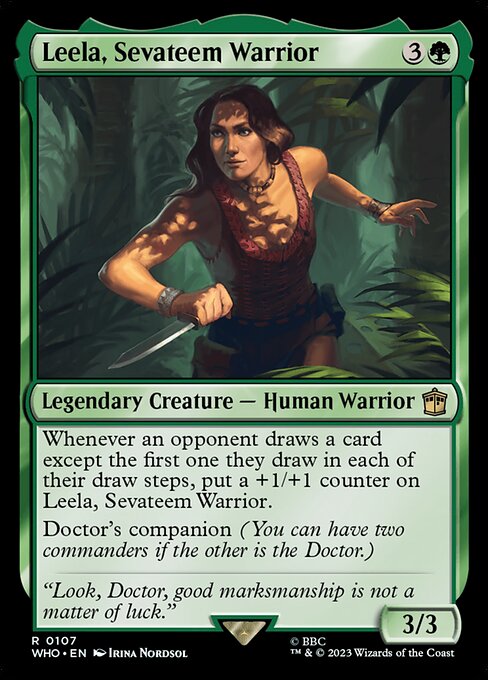 The Fourteenth Doctor // Leela, Sevateem Warrior
The Sixth Doctor // Clara Oswald
The Sixth Doctor // Jamie McCrimmon
The Fourteenth Doctor // Leela, Sevateem Warrior
The Sixth Doctor // Clara Oswald
The Sixth Doctor // Jamie McCrimmon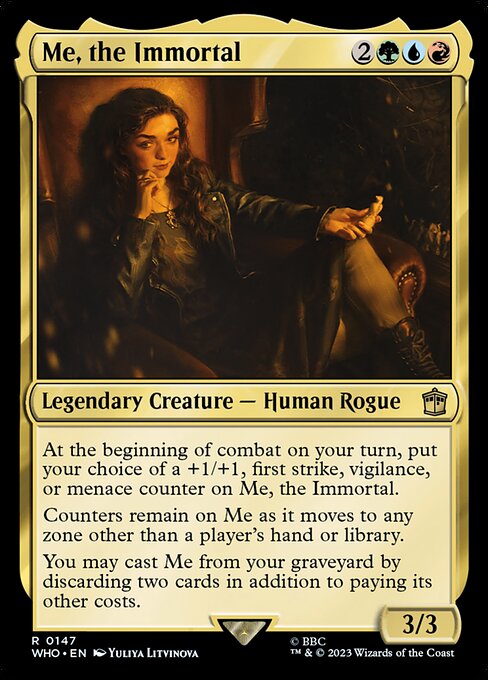 Me, the Immortal
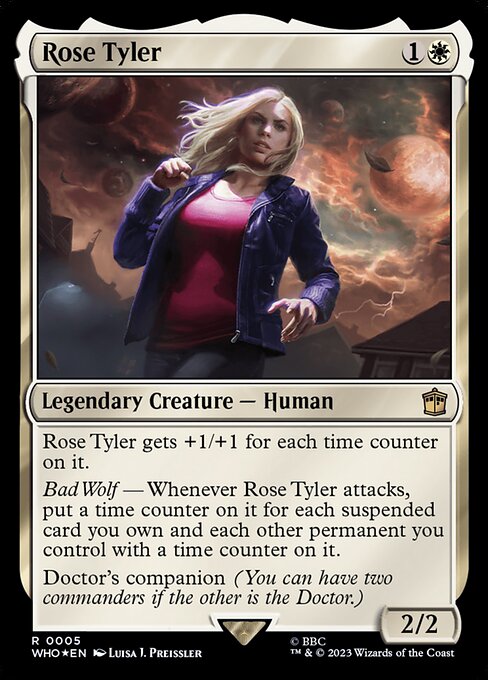 The Fourteenth Doctor // Rose Tyler
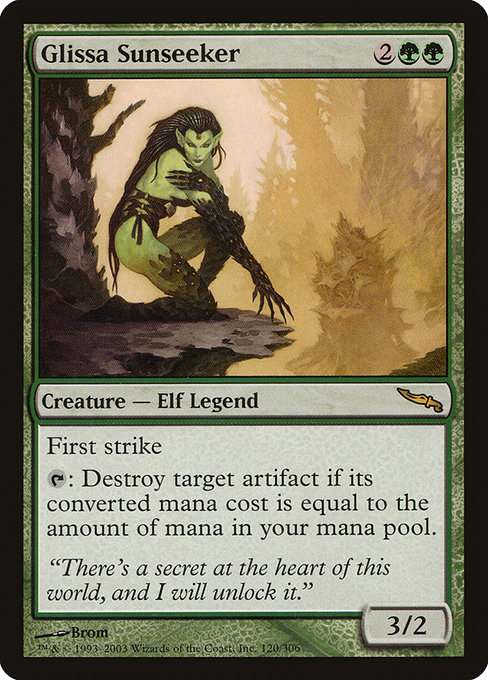 Glissa Sunseeker
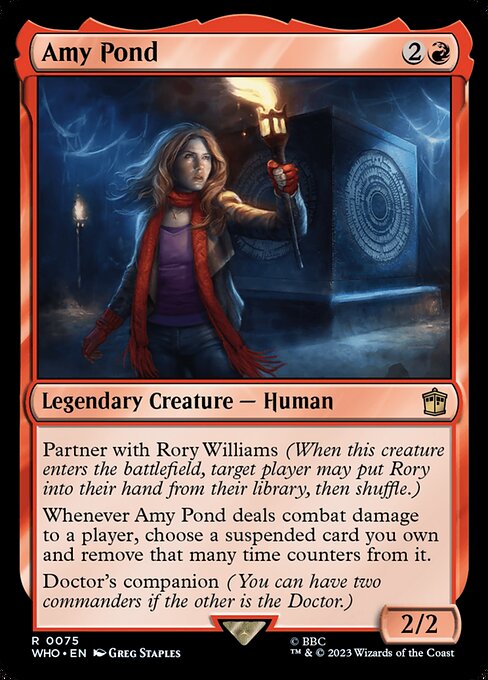 The Fourth Doctor // Amy Pond
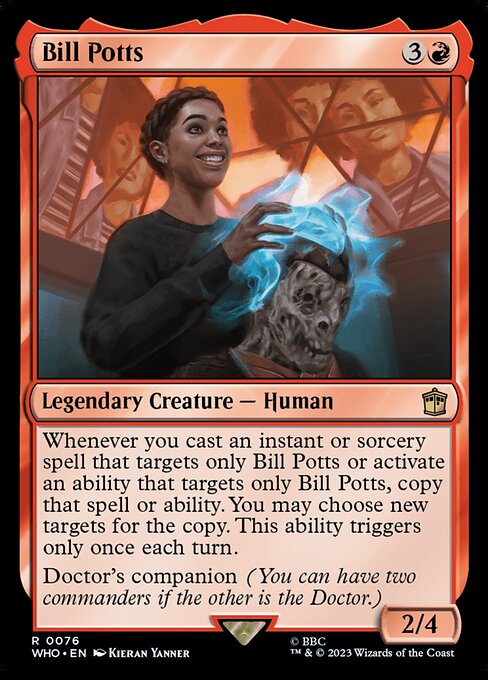 The Fourth Doctor // Bill Potts
Jamie McCrimmon
The Fourth Doctor // Bill Potts
Jamie McCrimmon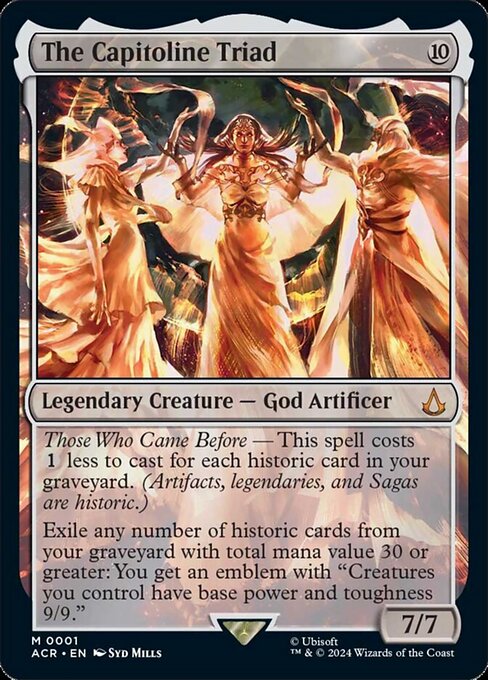 The Capitoline Triad
Jhoira, Weatherlight Captain
The Capitoline Triad
Jhoira, Weatherlight Captain